
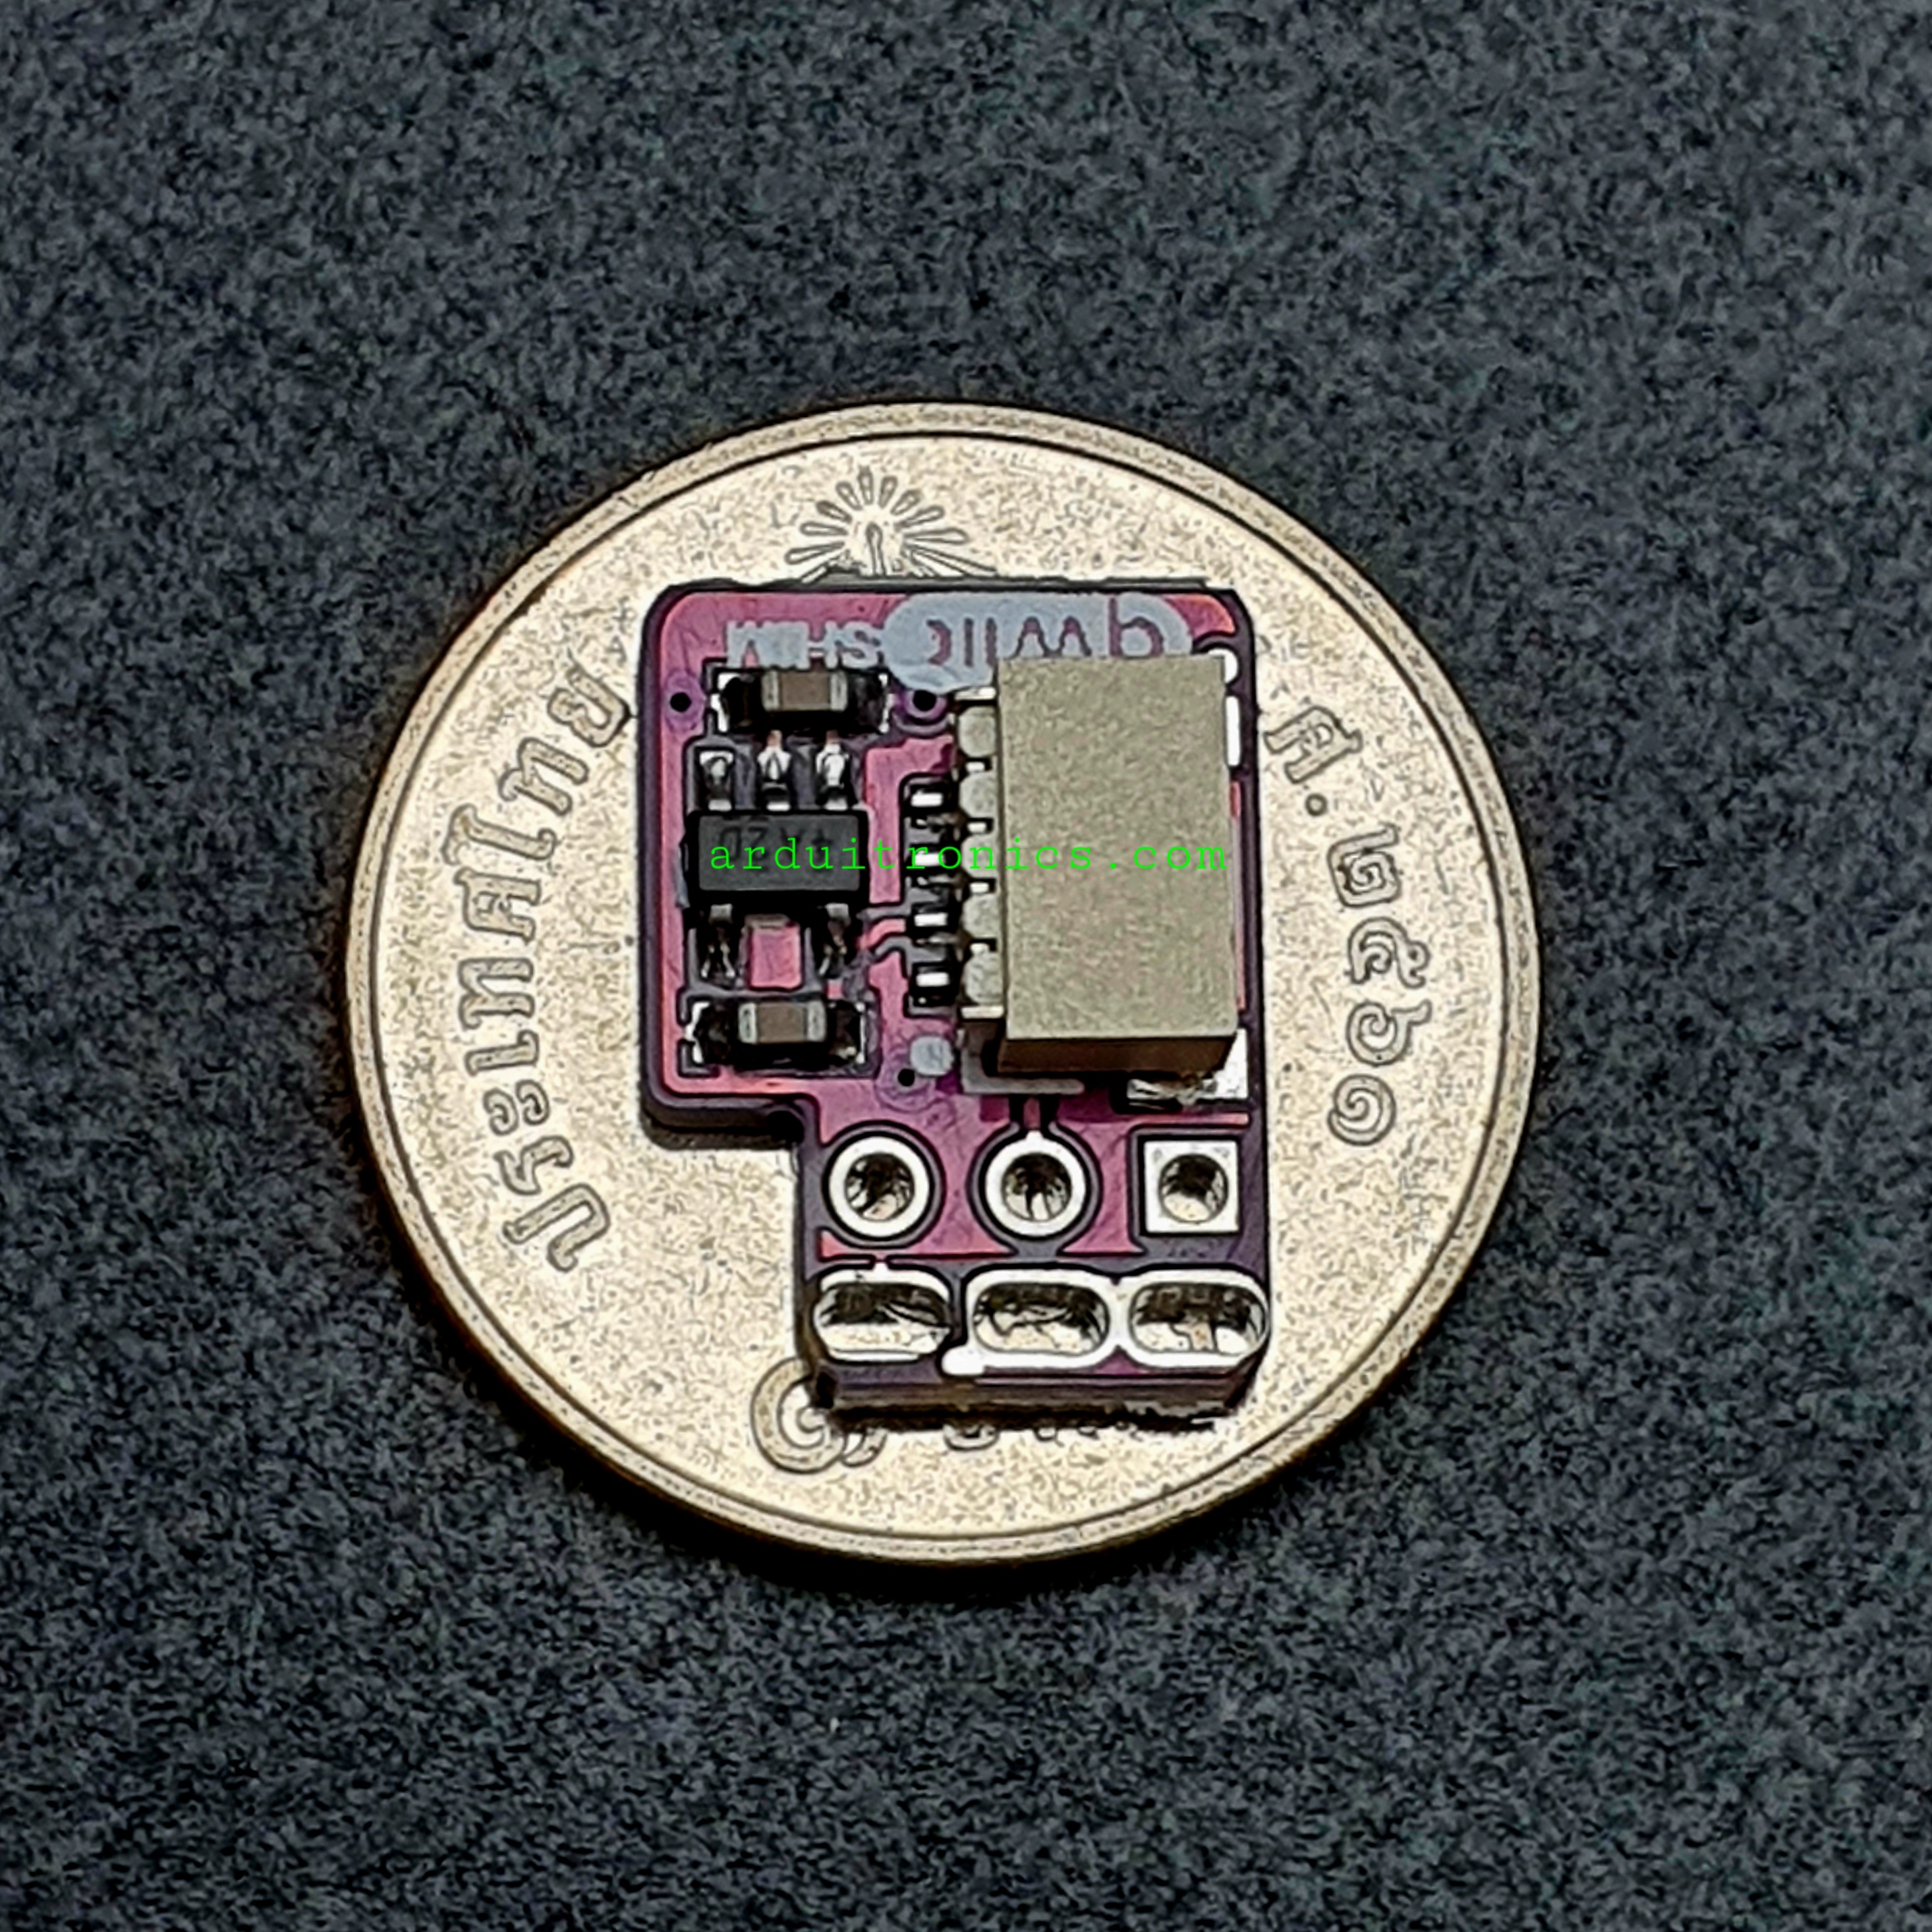
Qwiic SHIM for Raspberry Pi

| รหัสสินค้า | BR00334 |
| หมวดหมู่ | Shield/Sensor Shield/HAT |
| ราคา | 60.00 บาท |
| สถานะสินค้า | พร้อมส่ง |
| จำนวน | ชิ้น |

รายละเอียดสินค้า
ดูรายละเอียดการใช้งานและการติดตั้งได้ที่ Click
Introduction:
Features:
- Small Form Factor
- HAT Stackable
- Fits inside Protective Case
- No Soldering Required
- Qwiic Connector
- Schematic
- Eagle Files
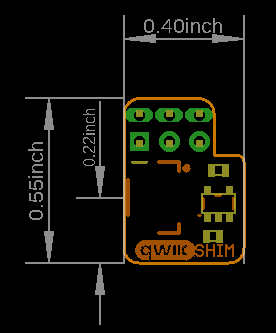
- Board Dimensions
- Hookup Guide
- GitHub Hardware Repo
- Dimensional Drawing (PNG)
- Raspberry Pi Resource Page
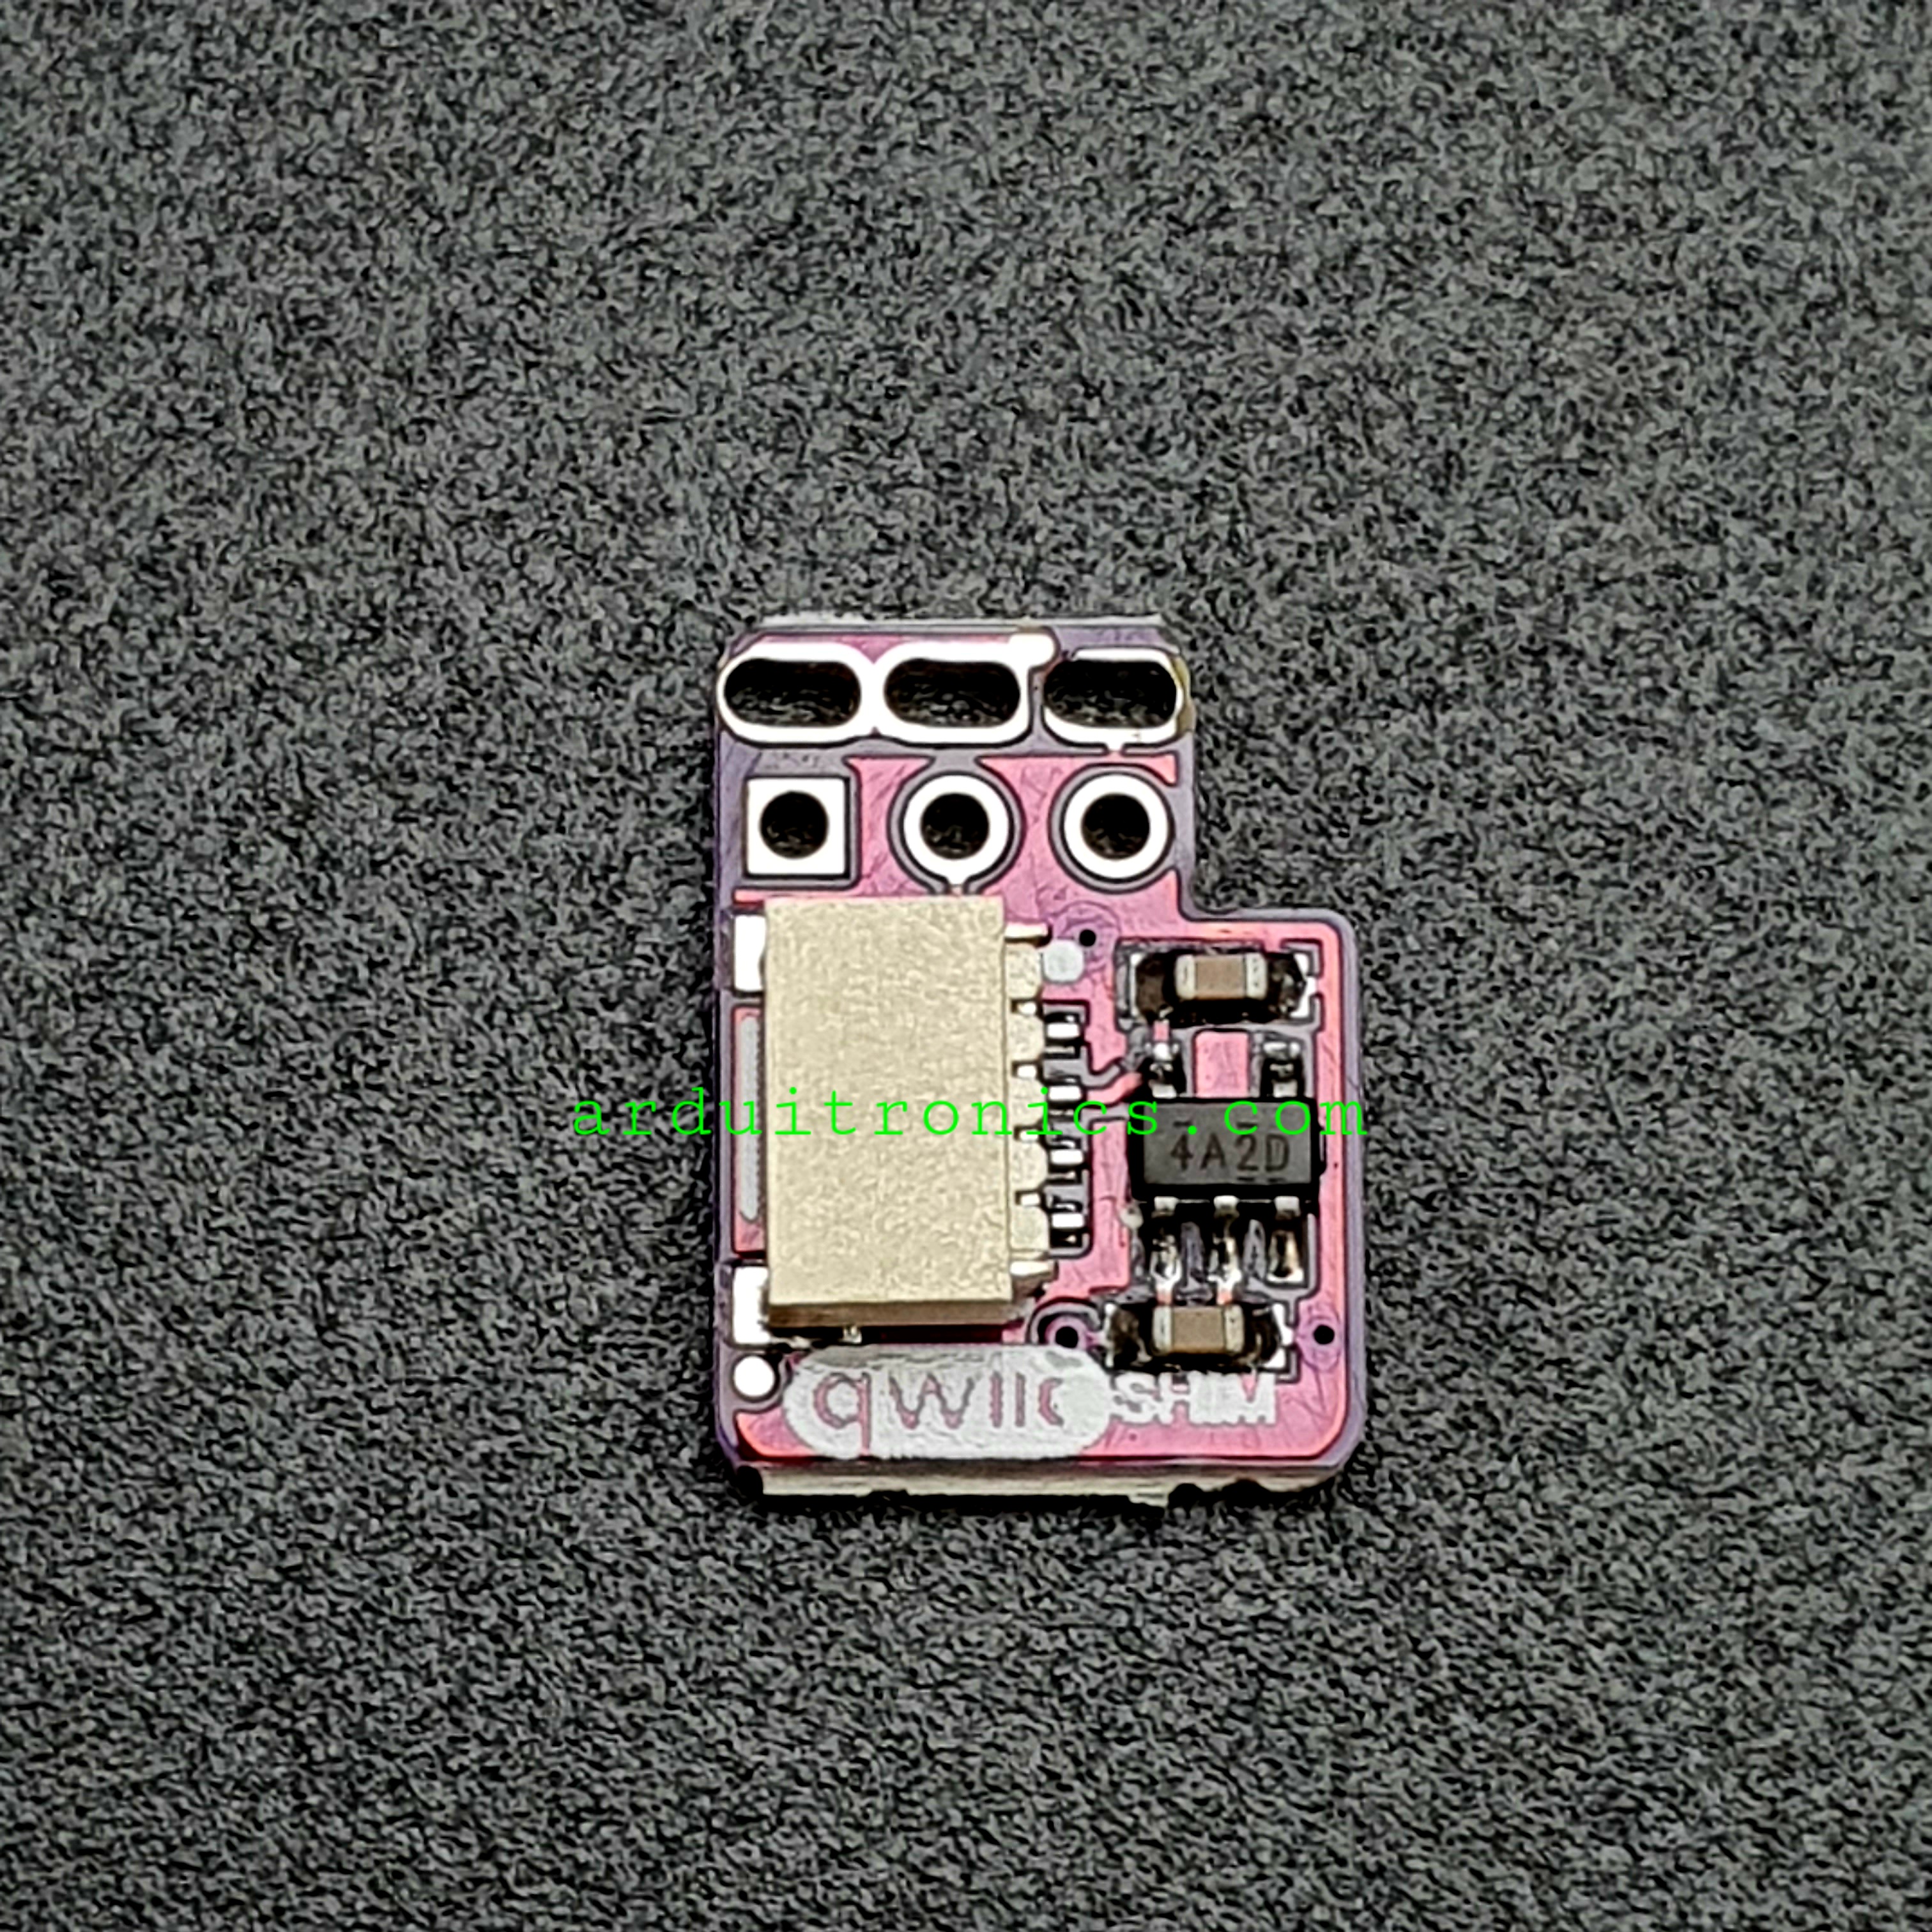
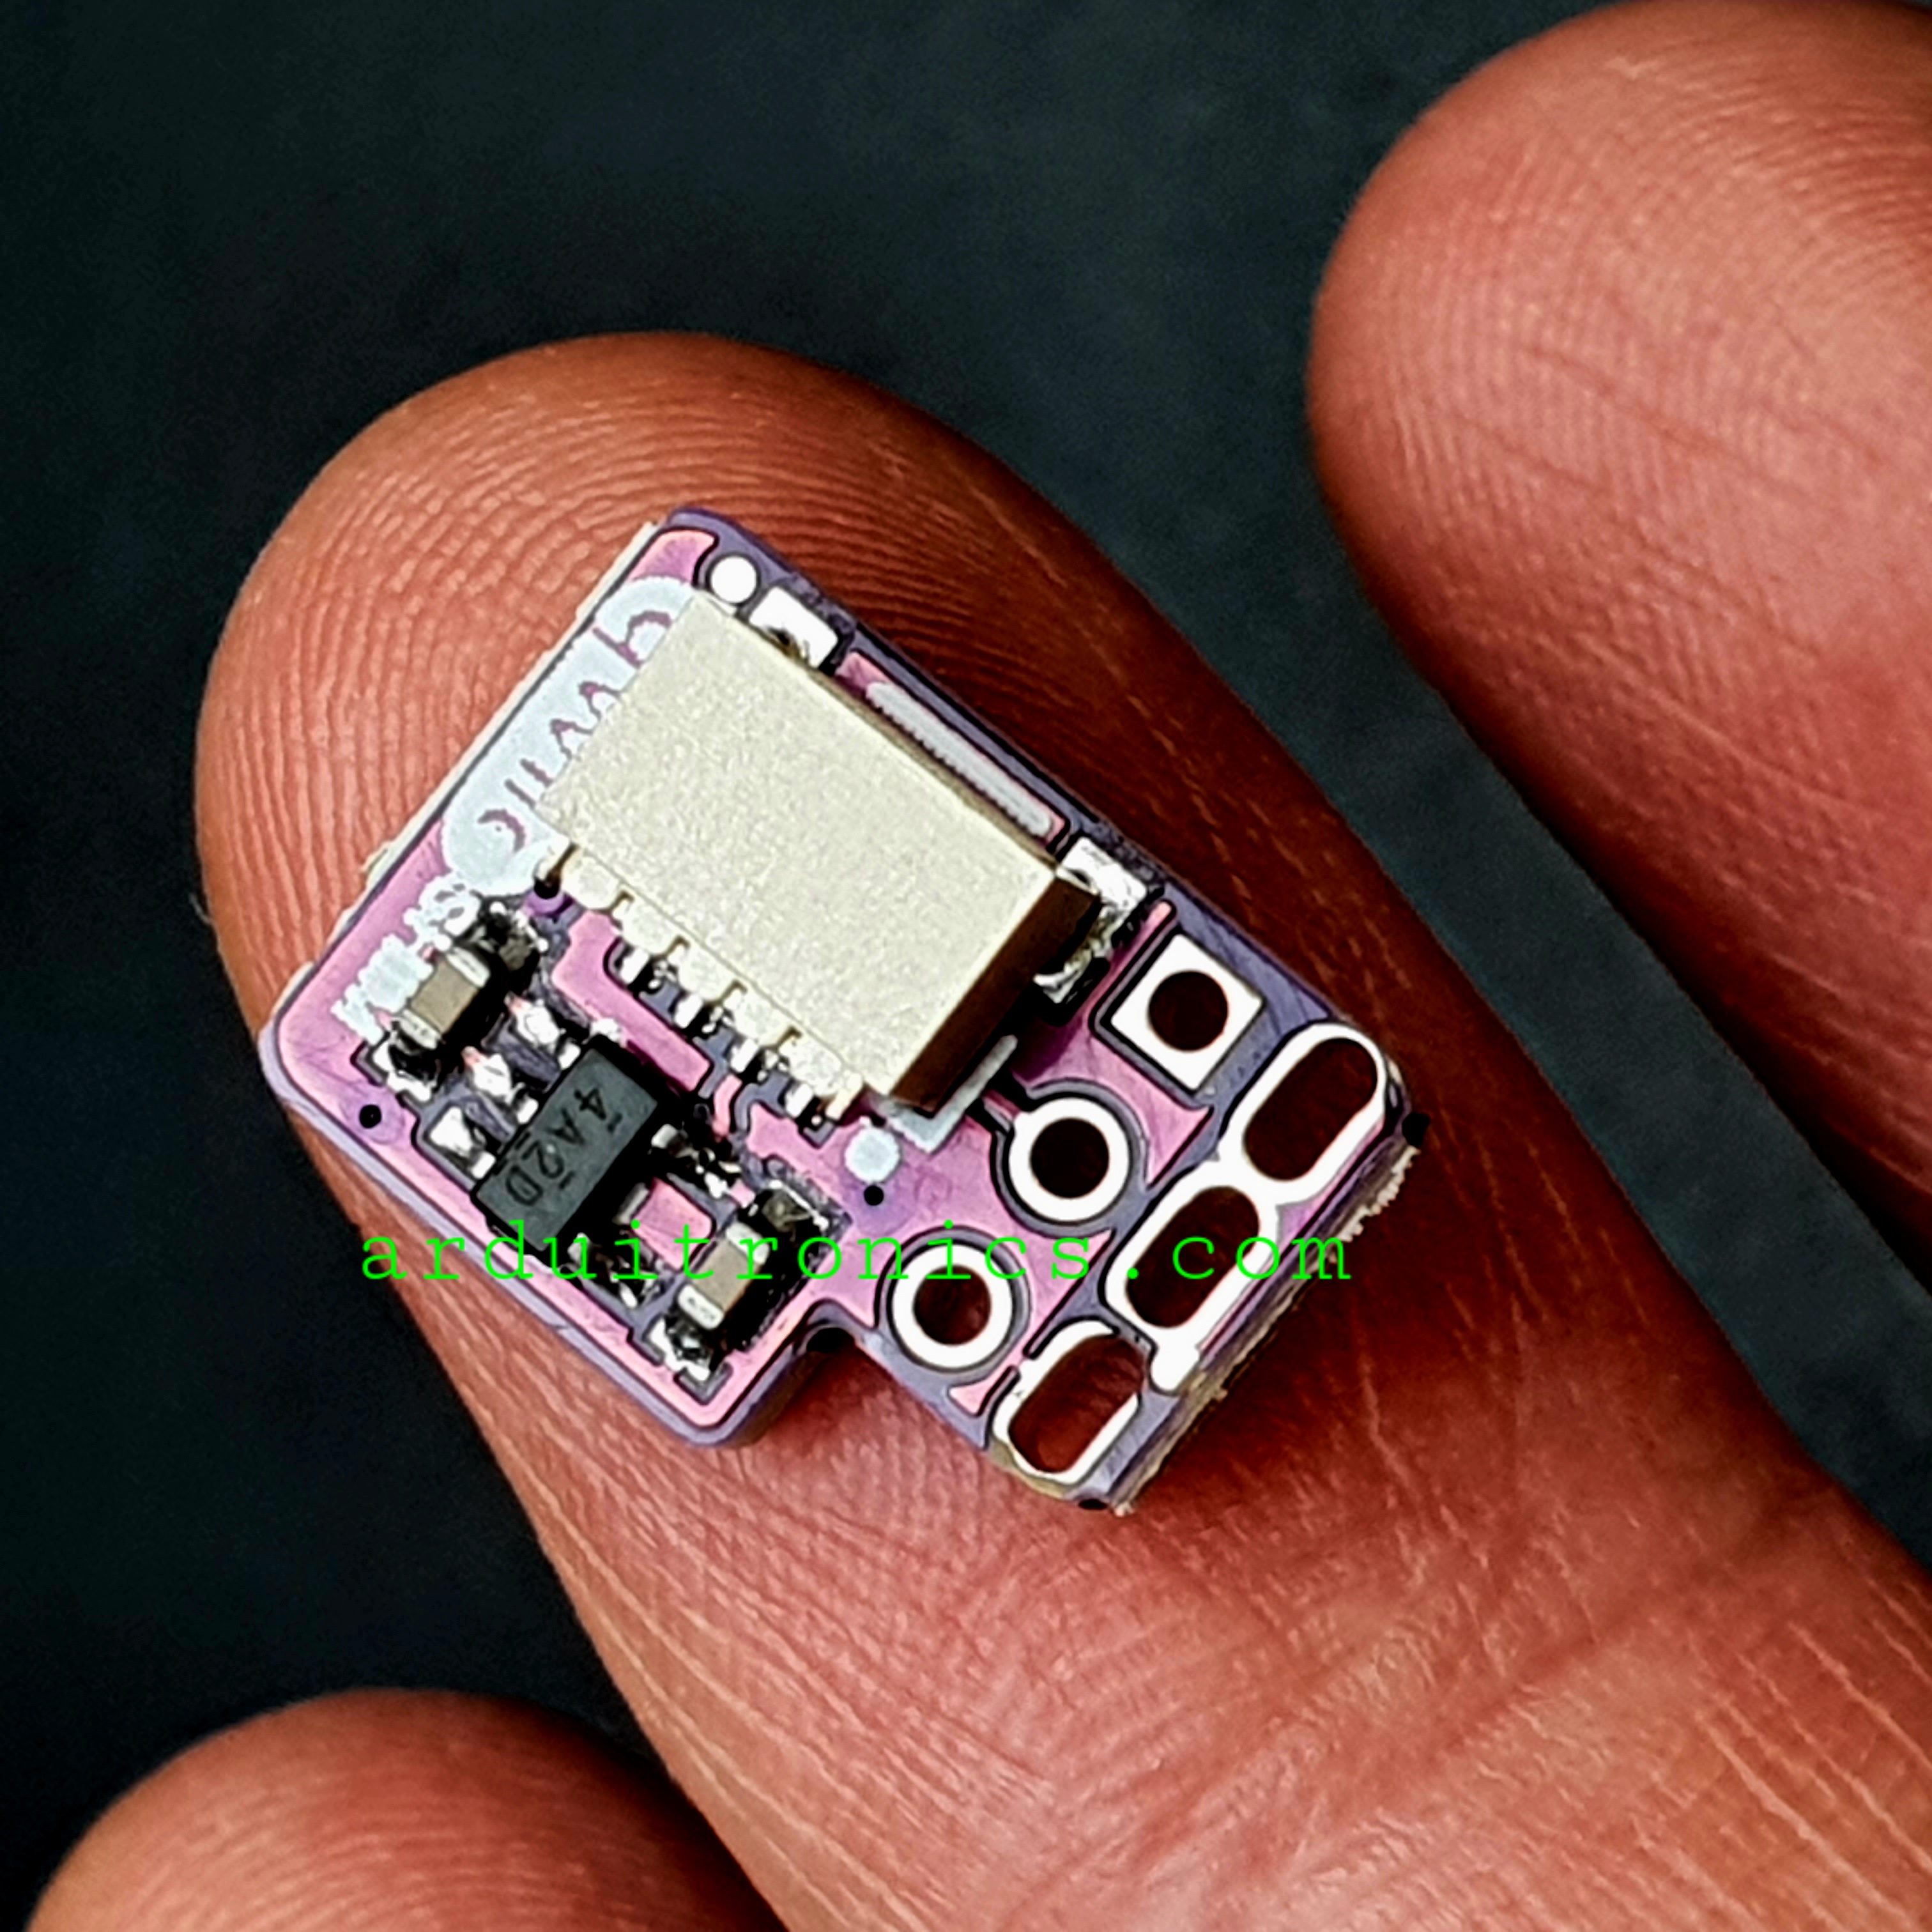
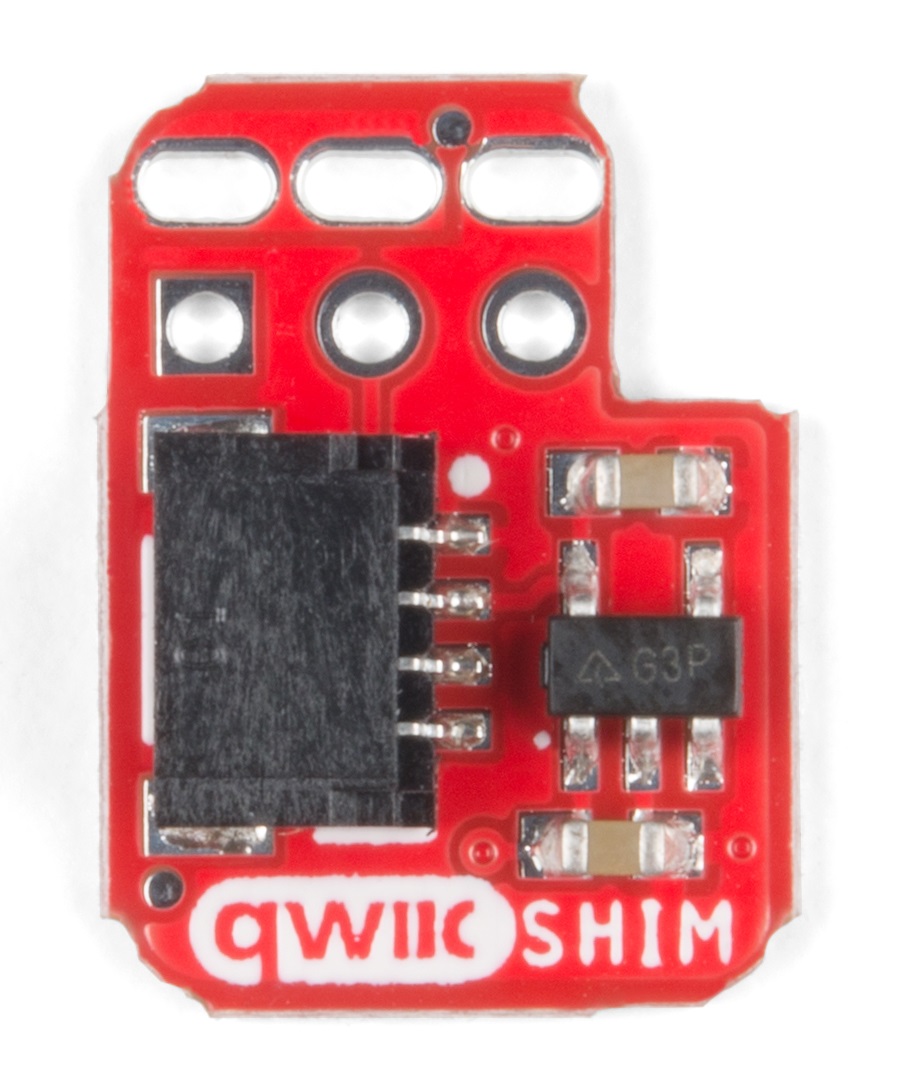
Hardware Overview
The Qwiic SHIM uses a unique friction-based connector that wedges itself onto the GPIO header for a secure, solderless connection. As you would expect, it has a single Qwiic connector that connects to your Pi's I2C bus (SDA, SCL, 5V and Ground). The SHIM also has a 3.3V regulator so it will work with all Qwiic devices.
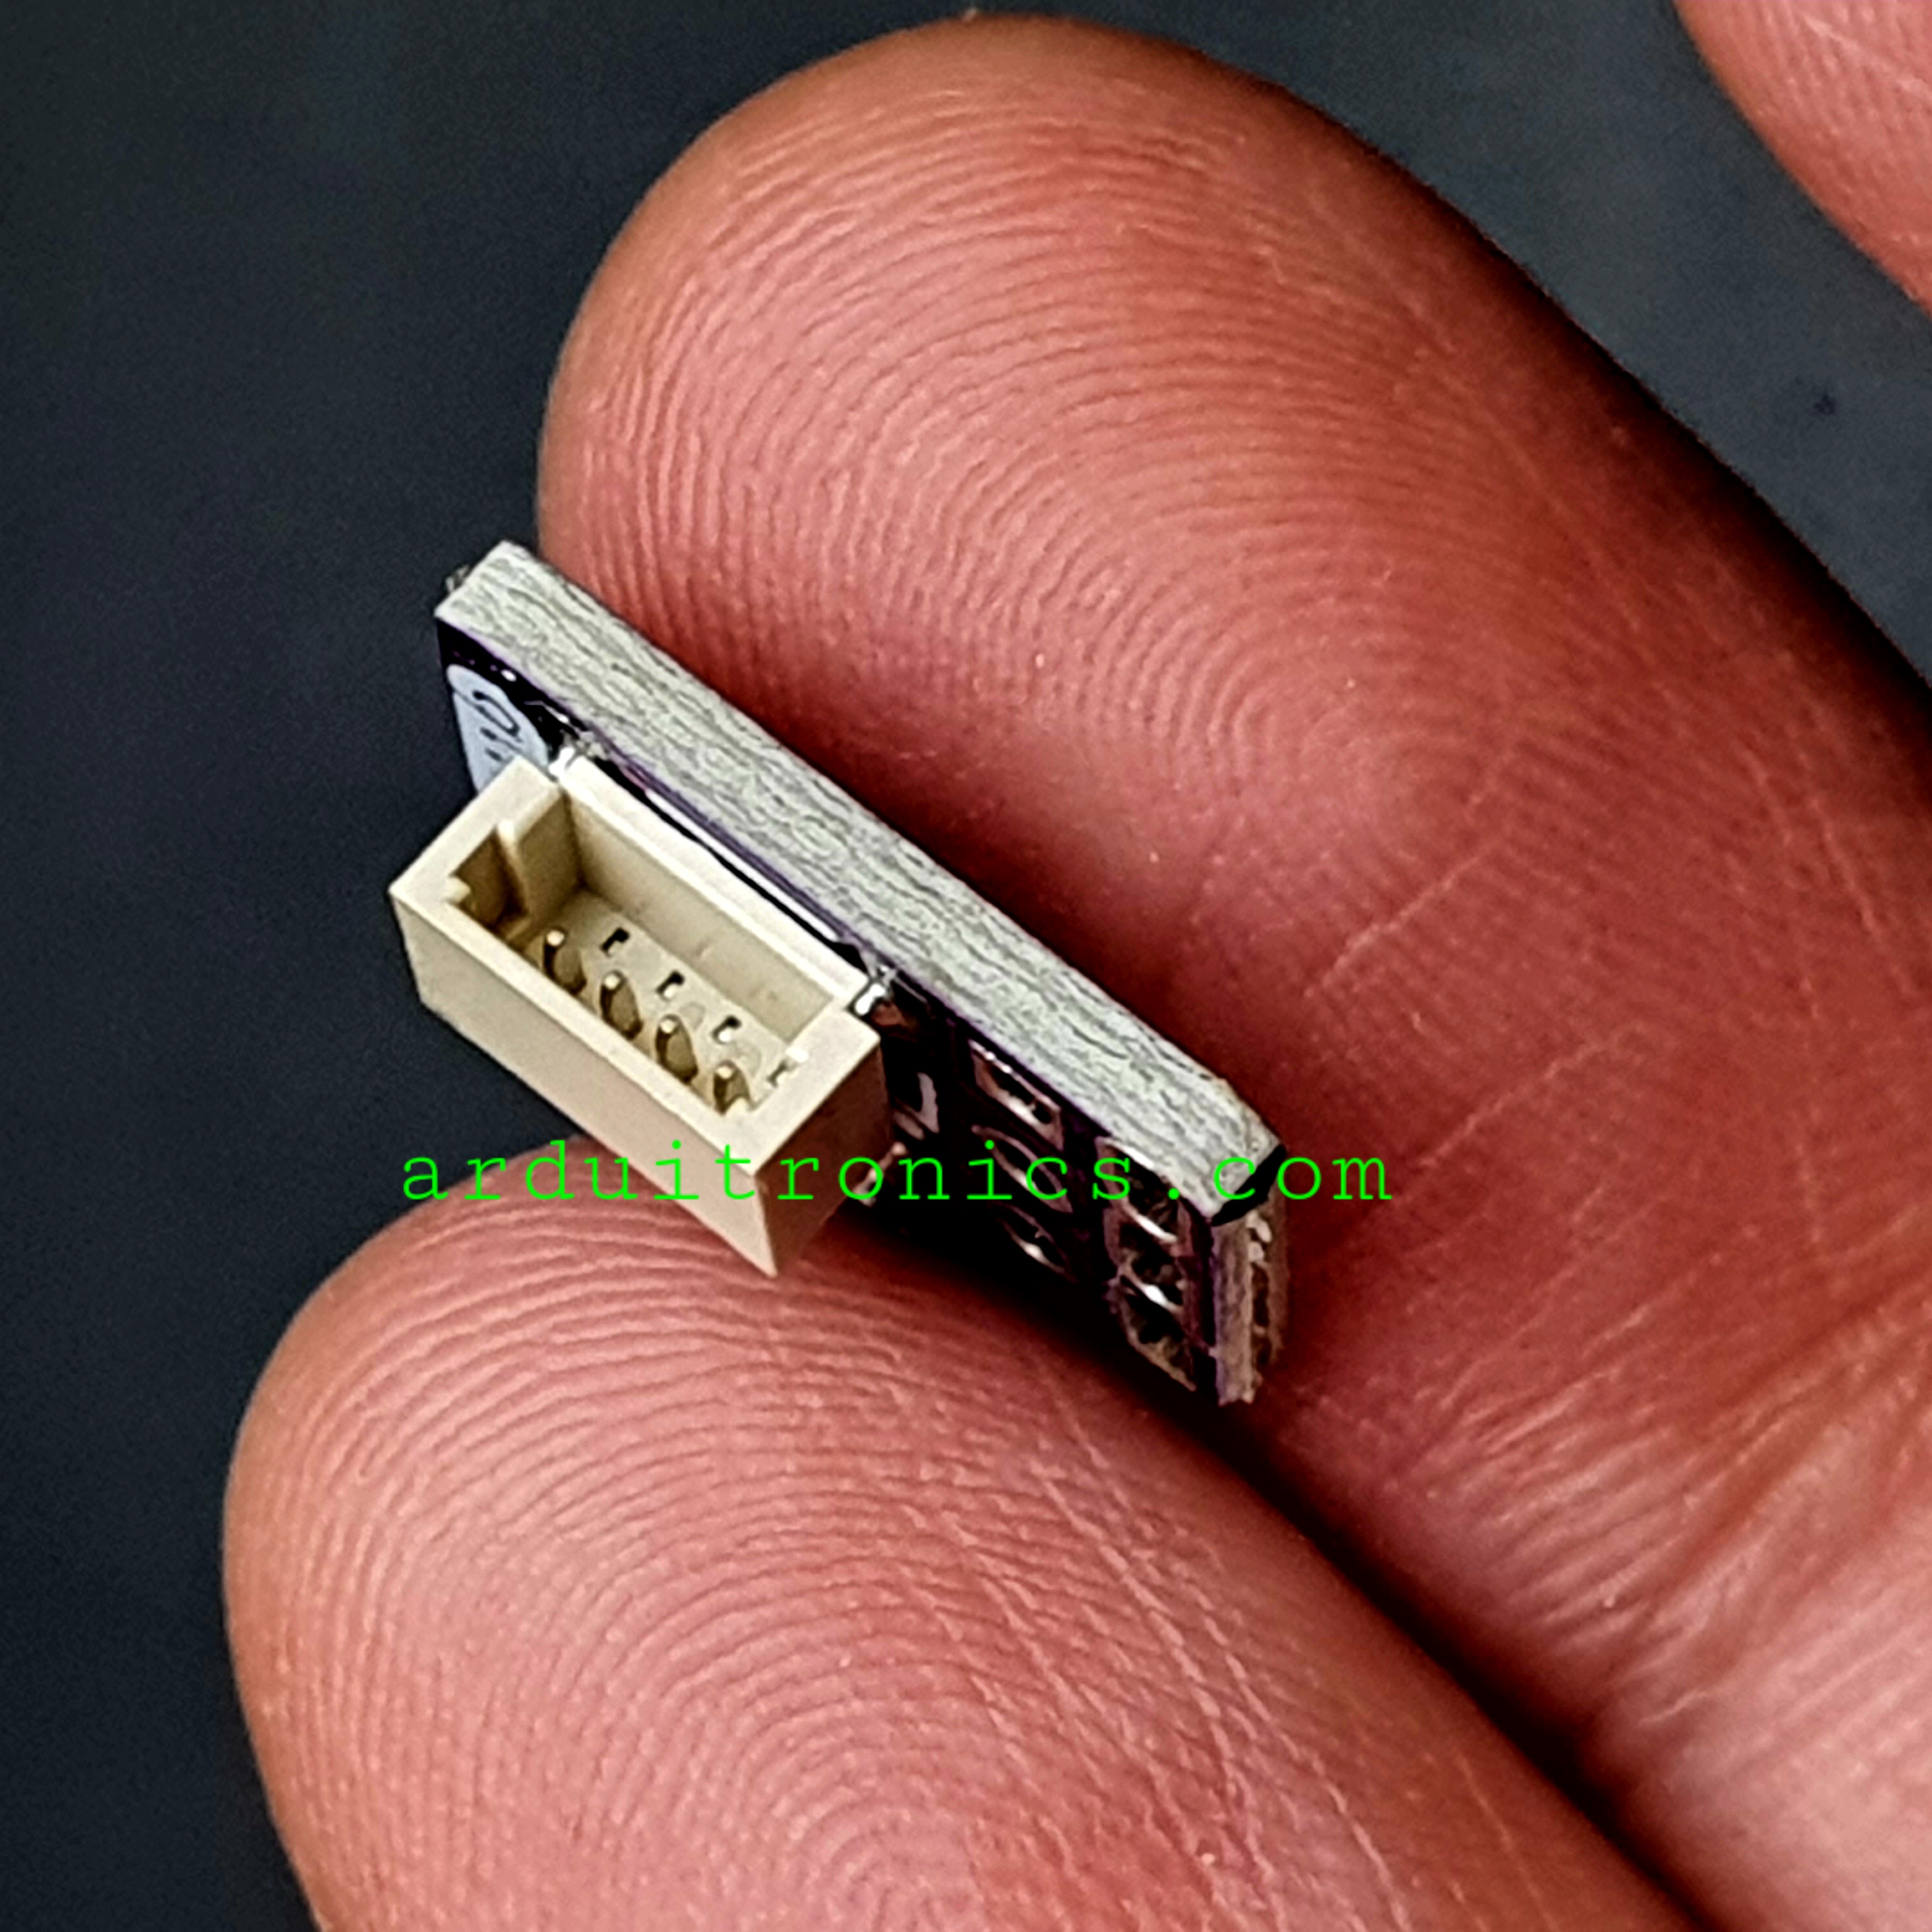
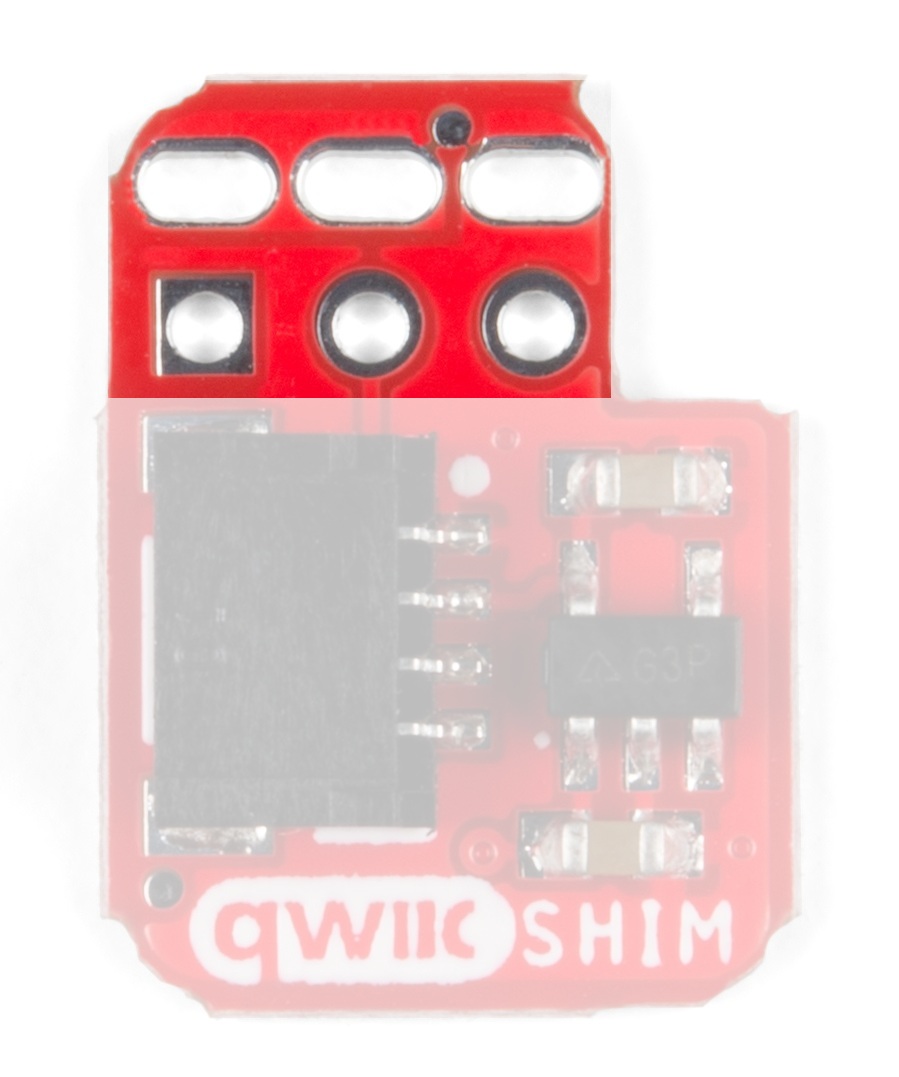
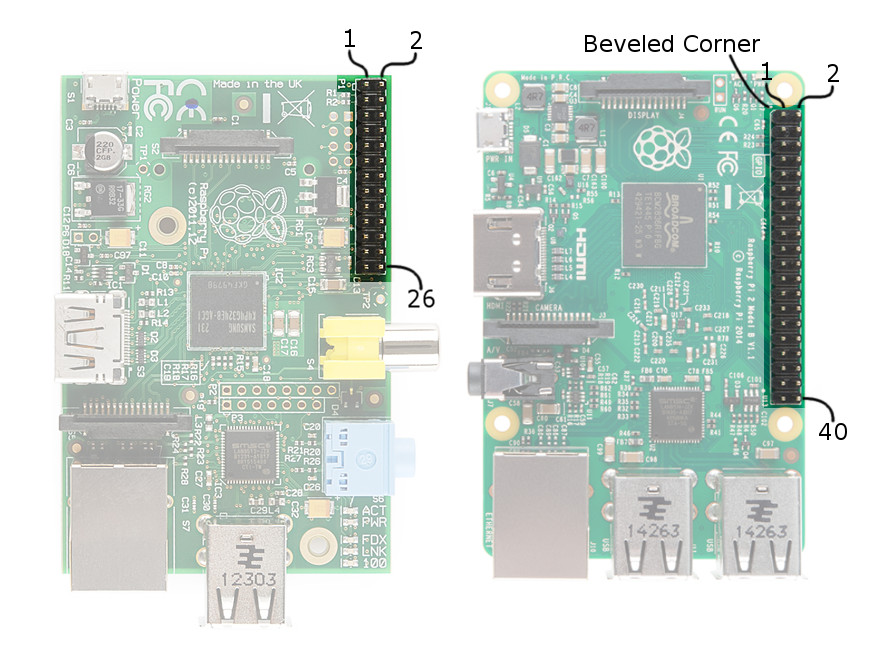
Press Fit Header
The Press Fit Header on the Qwiic SHIM allows you to easily place the Qwiic SHIM on to your Pi (or other Single-Board Computer with the Pi GPIO) aligning the square pin on the Qwiic SHIM with Pin 1 of your GPIO. Pin one on the GPIO can be identified by the square pin or the beveled corner on the silkscreen. We will cover that in more detail in the Hardware Hookup section.
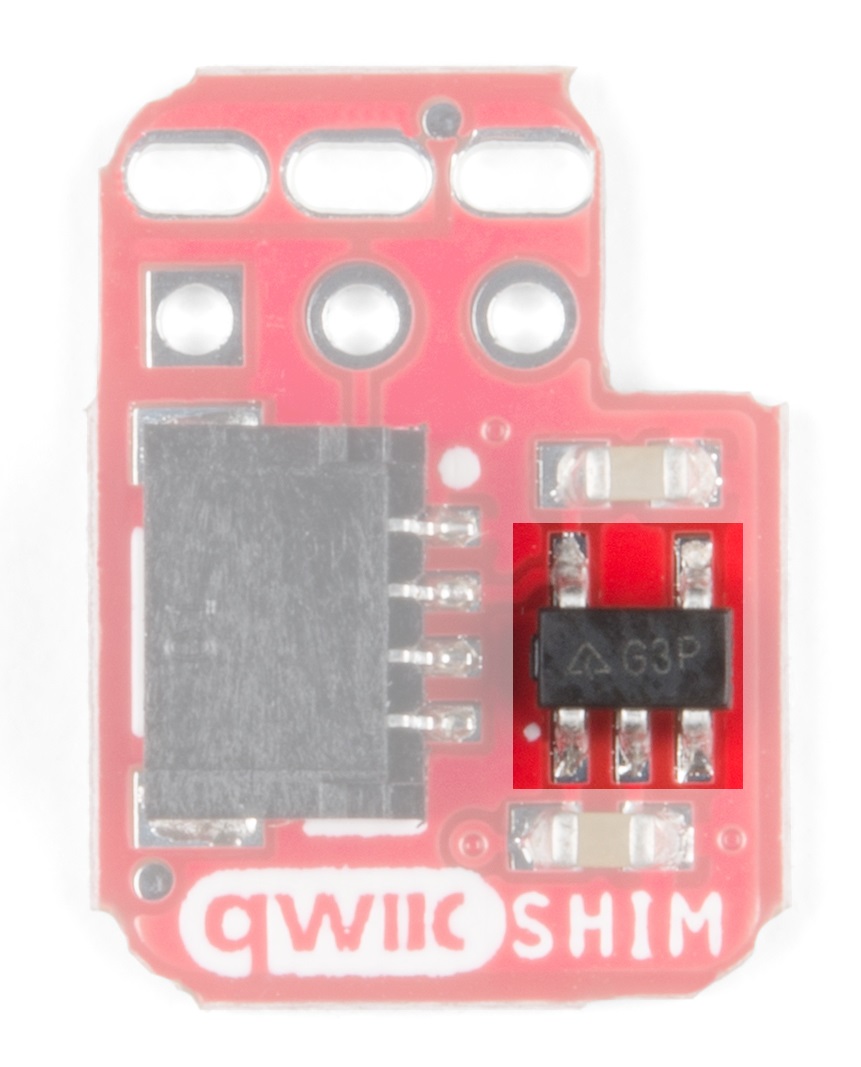
Voltage Regulator
For you savvy readers out there, you may wonder why not just connect directly to the 3.3V rail on the Pi GPIO? A simple answer is the Pi's 5V rail is able to source more current than the 3.3V rail so the regulator allows you to connect more devices to the I2C bus without needing to worry about overtaxing your Pi.The on board AP2112K 3.3V regulator provides a clean 3.3V out for all attached Qwiic devices and can source up to 600mA@3.3V so you should have plenty of available current for your Qwiic project.
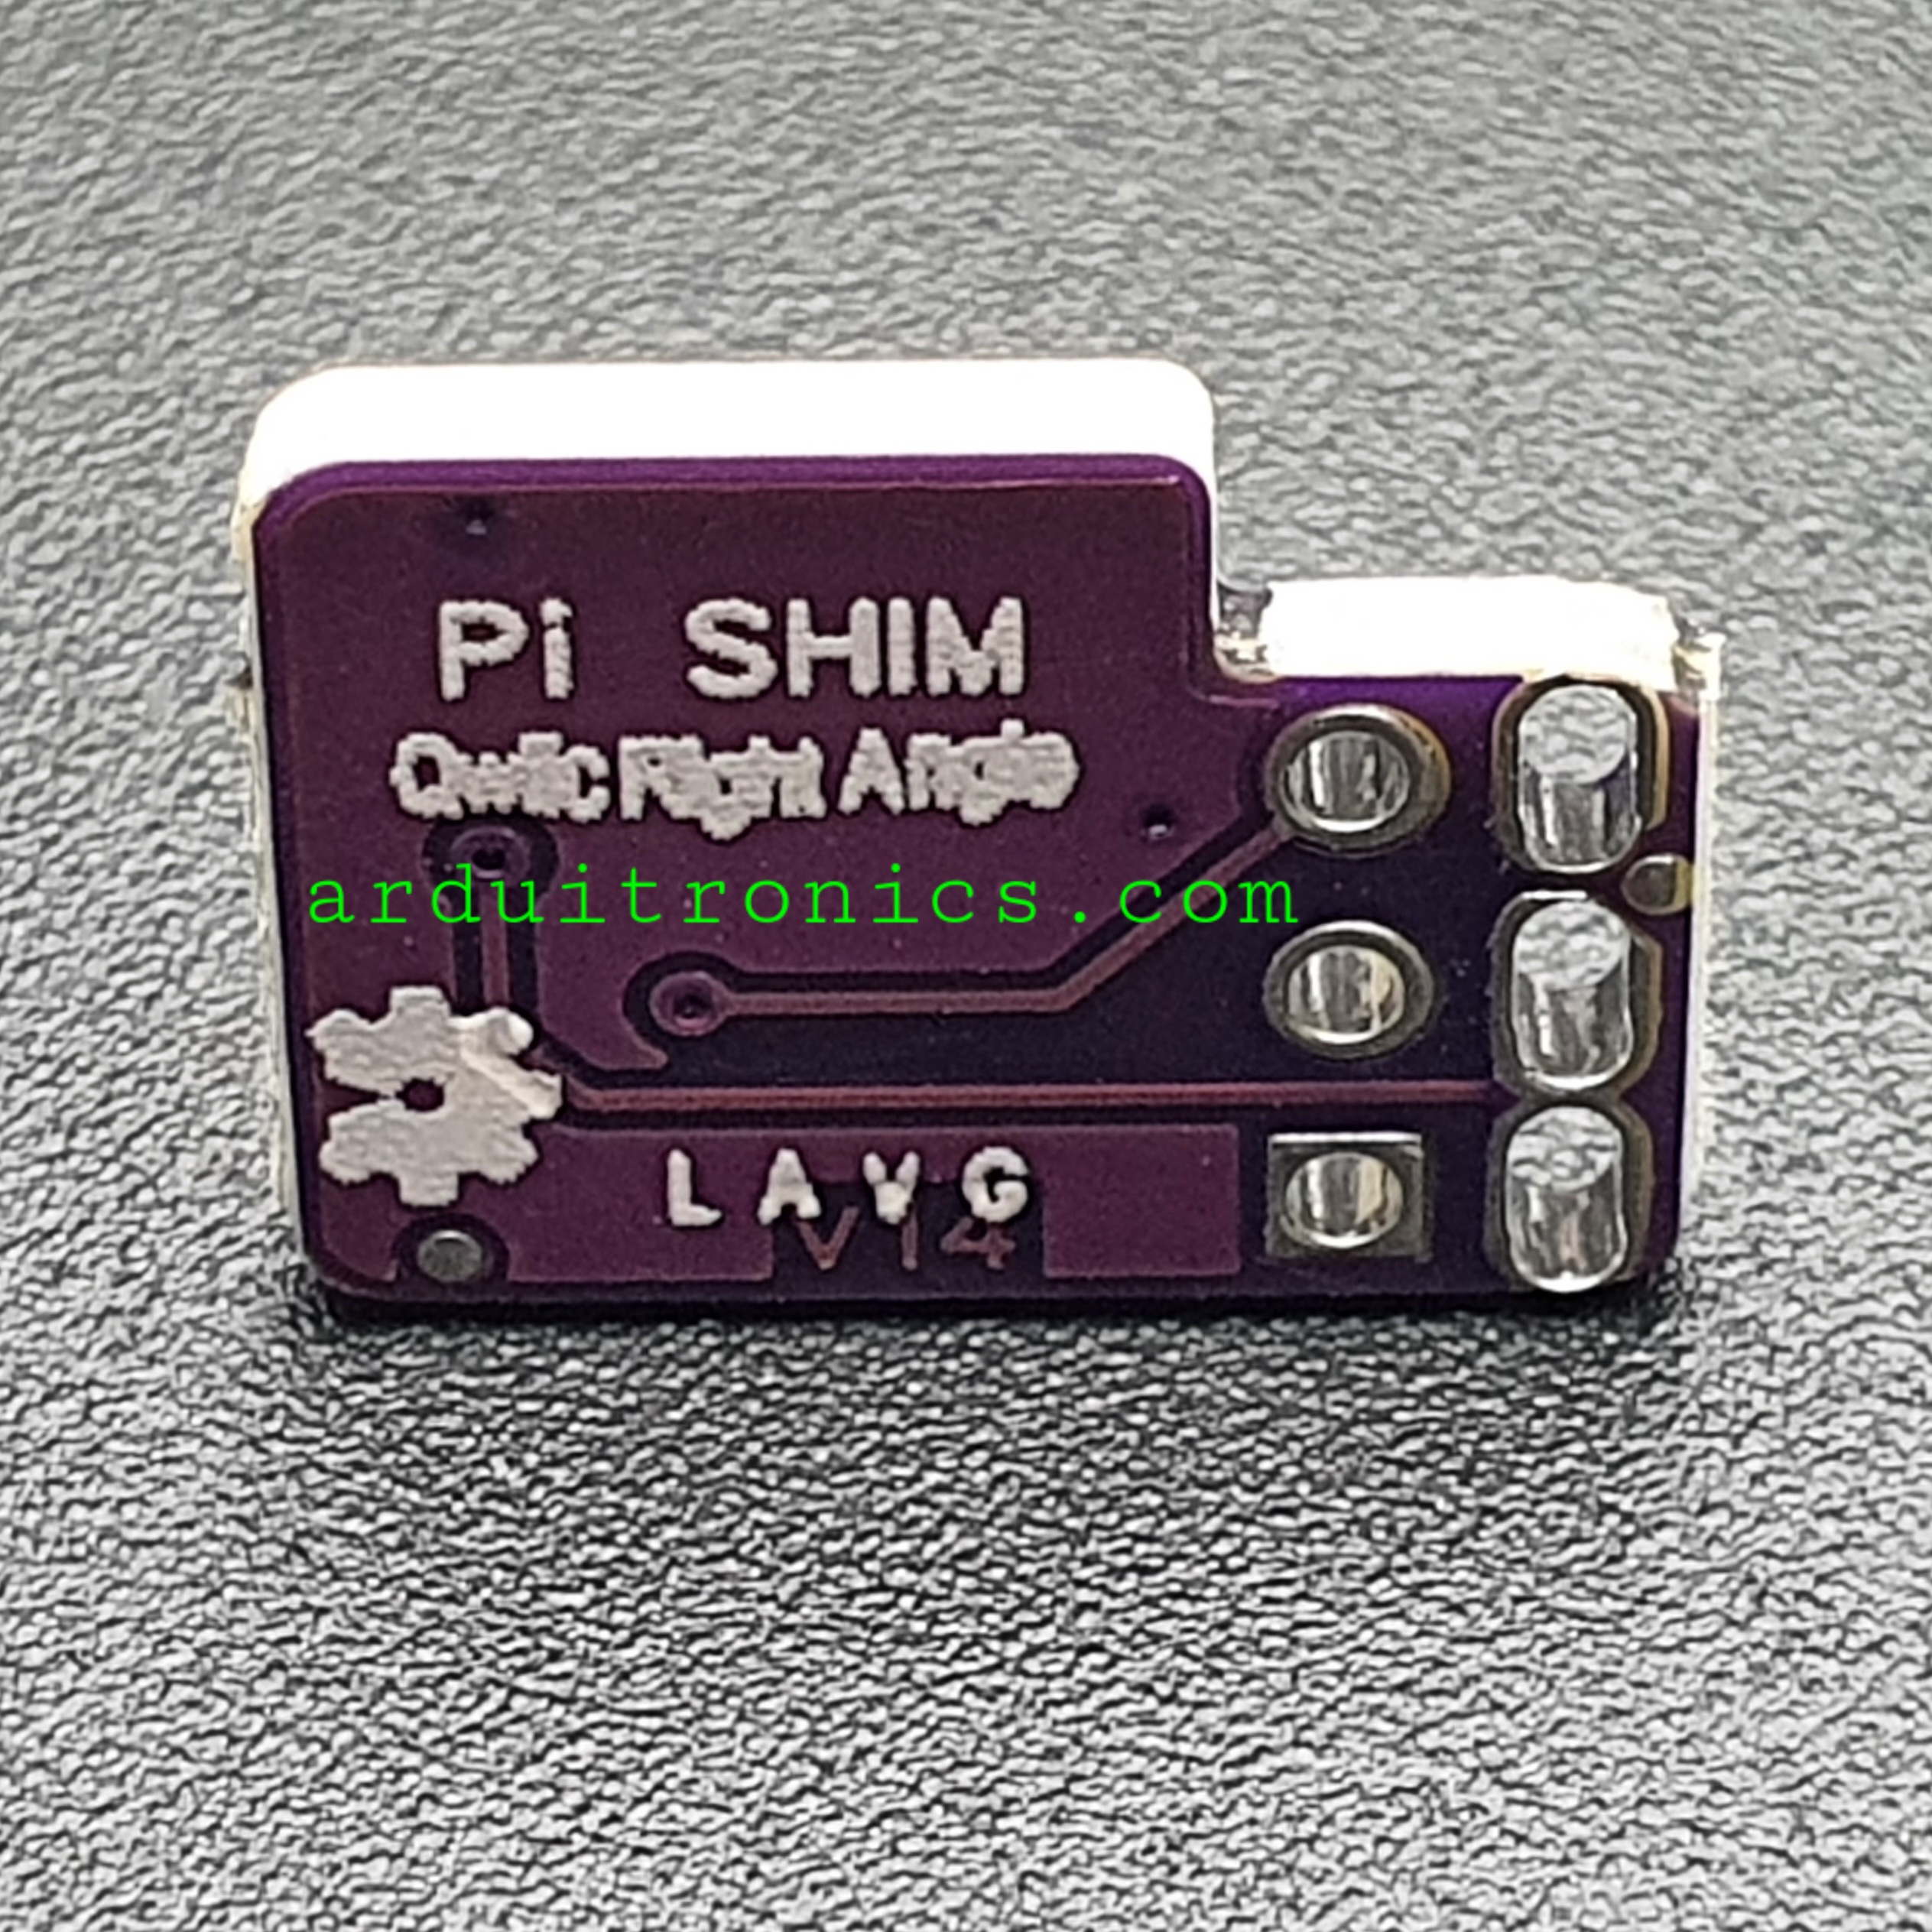
Board Dimensions
Hardware Hookup
Getting started with the Qwiic SHIM is a snap (well, actually it's more like a push but you get the idea). Making sure to align the Qwiic SHIM's Pin 1 with Pin 1 on your Pi's GPIO header, press the Qwiic SHIM down onto the header. Pin 1 on both the Qwiic SHIM and the Pi GPIO will be marked with a square pin. There is also a beveled corner on the Pi GPIO header indicating Pin 1 from the top of your Pi. That's it! With the SHIM in place you can now attach all your Qwiic devices to your Pi with space to spare for other Pi HATs.
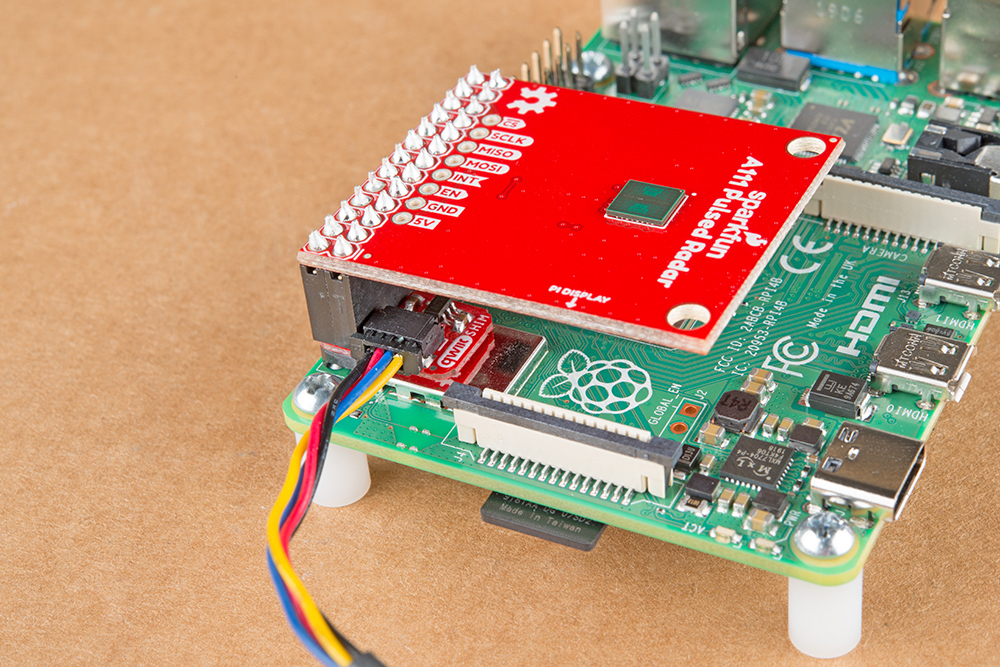
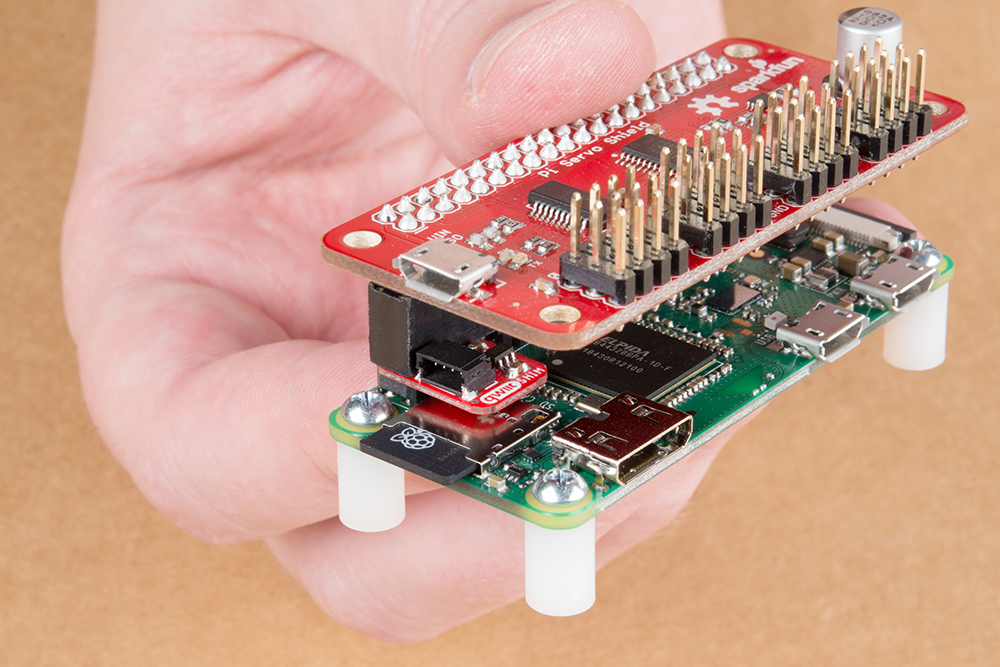
With your Qwiic SHIM mounted on your Pi it should look like this:
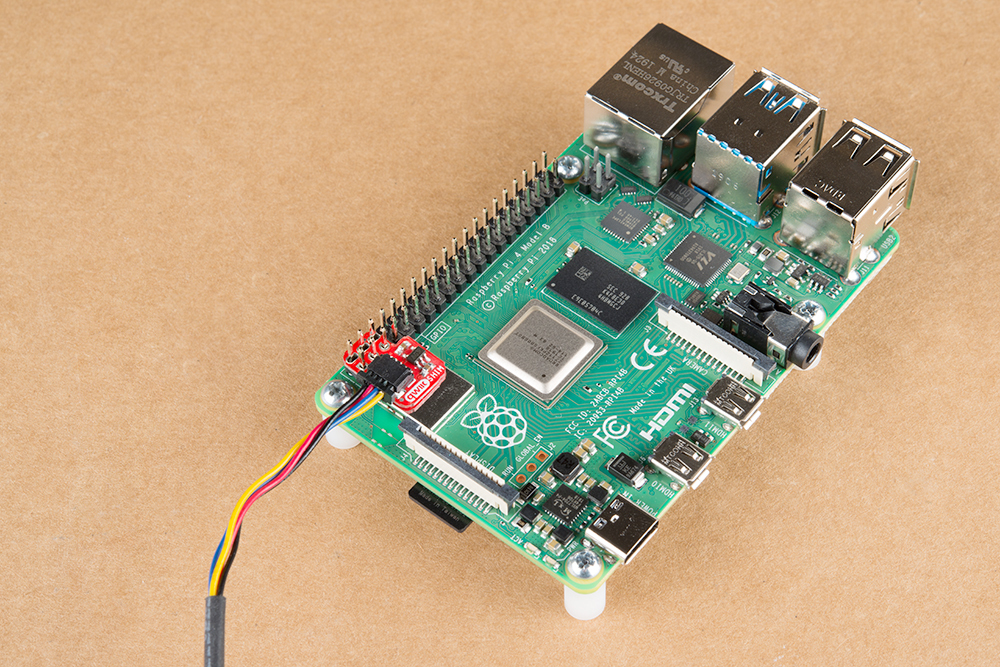 |
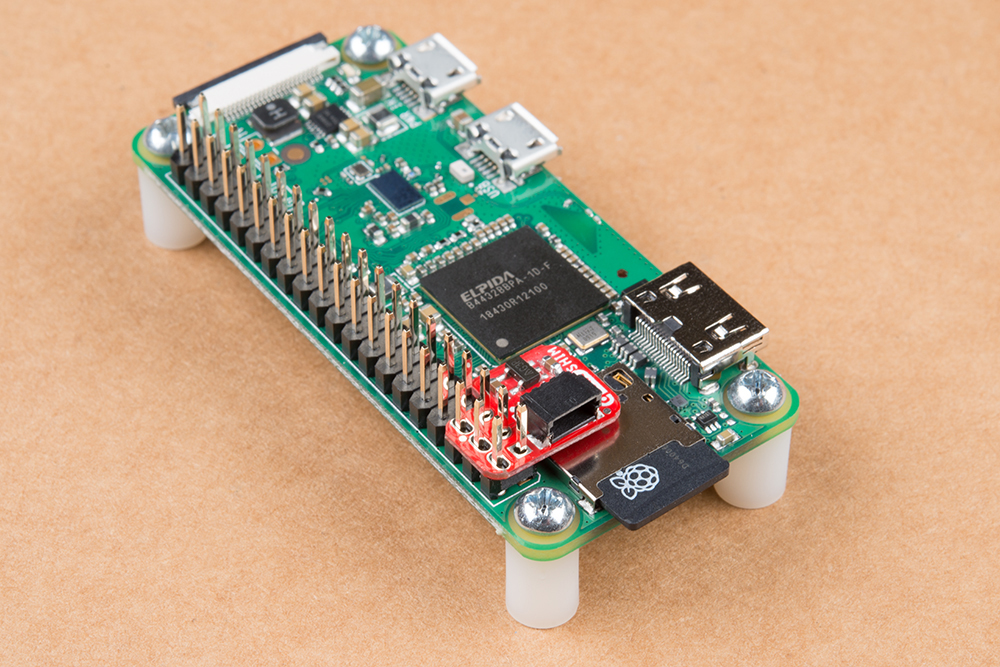 |
| Qwiic SHIM mounted on a Pi 4. | Qwiic SHIM mounted on a Pi Zero W. |
With the Qwiic SHIM in place, you can now stack all the HATs you would like on top. With a HAT on top of the SHIM, the press fit header will make an even better connection and the thin PCB allows any HAT to still connect fully to the GPIO header.
วิธีการชำระเงิน
ชำระเงินค่าสินค้าโดยการโอนเงินเข้าบัญชีธนาคาร KBANK, SCB, BBL,TMB
กรุณาเก็บหลักฐานการโอนเงินของท่านไว้เพื่อแจ้งการชำระเงินด้วยค่ะ
ท่านสามารถแจ้งการชำระเงินผ่านระบบอัตโนมัติได้โดย Click Link ข้างล่างค่ะ
https://www.arduitronics.com/informpayment
ชำระเงินผ่านธนาคาร


@rfm0967y
ติดต่อสอบถาม
Join เป็นสมาชิกร้านค้า
MEMBER
