
WeMos D1 Development Board with ESP8266 ( Type-C )


รายละเอียดสินค้า
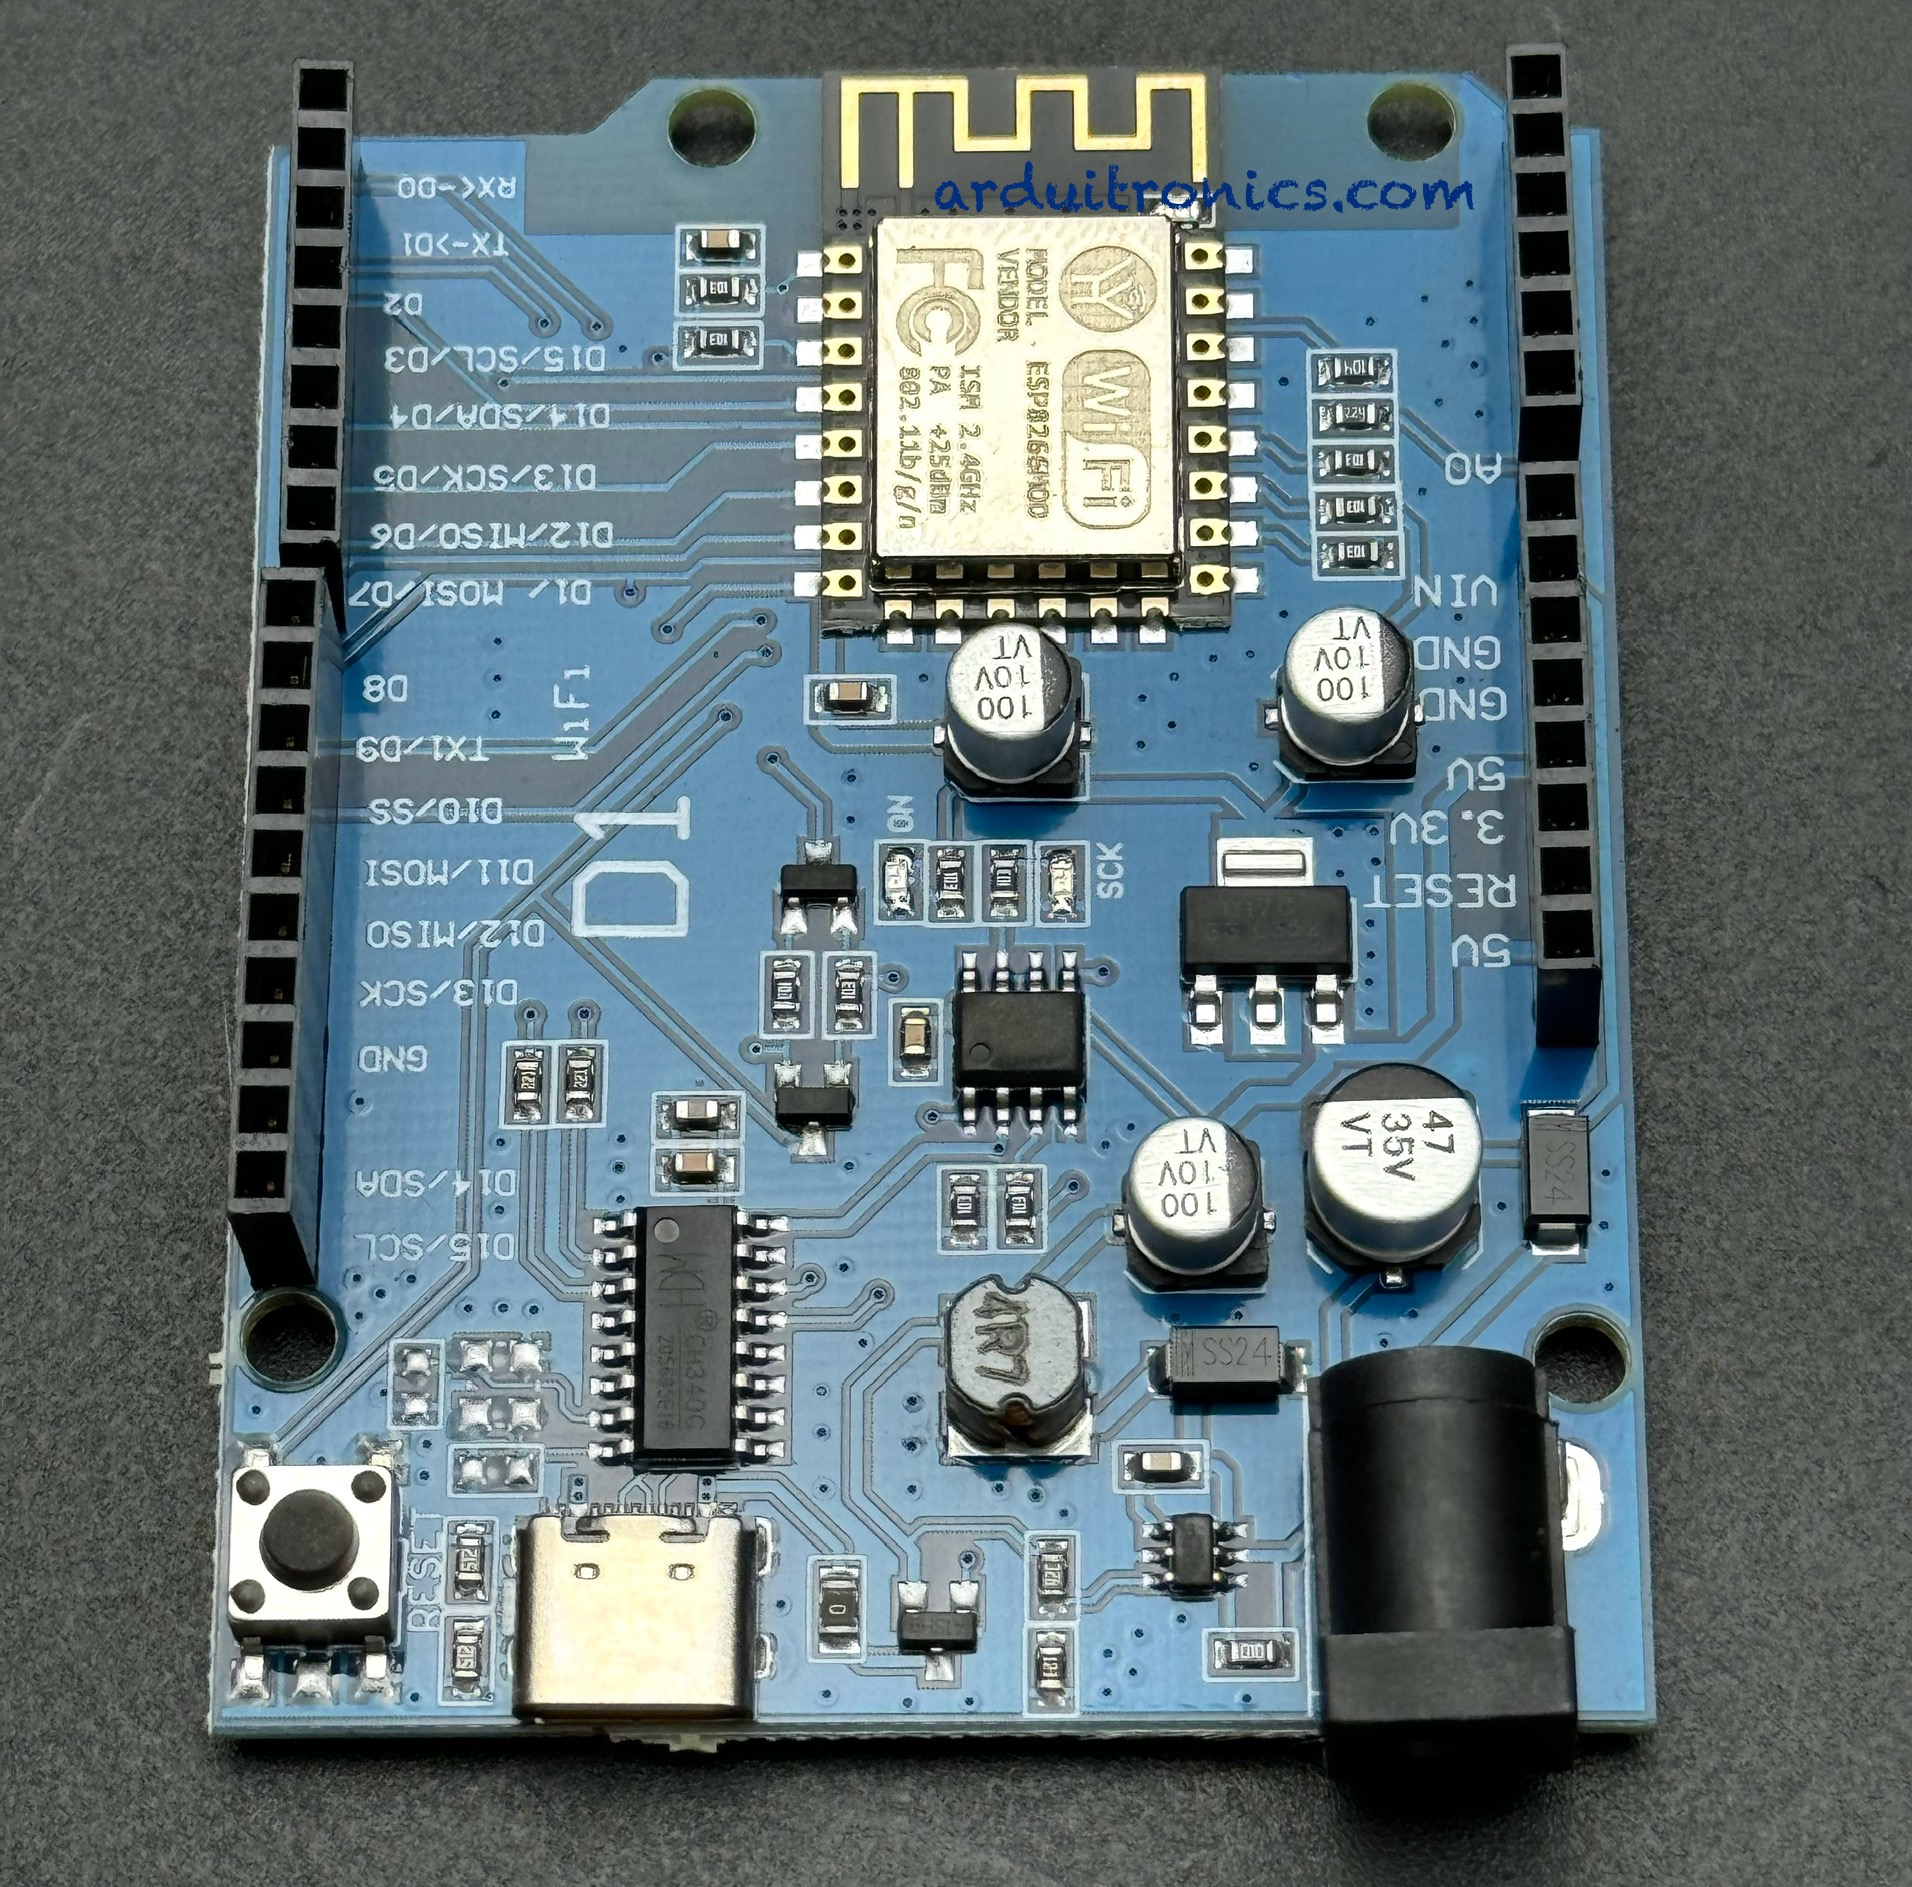
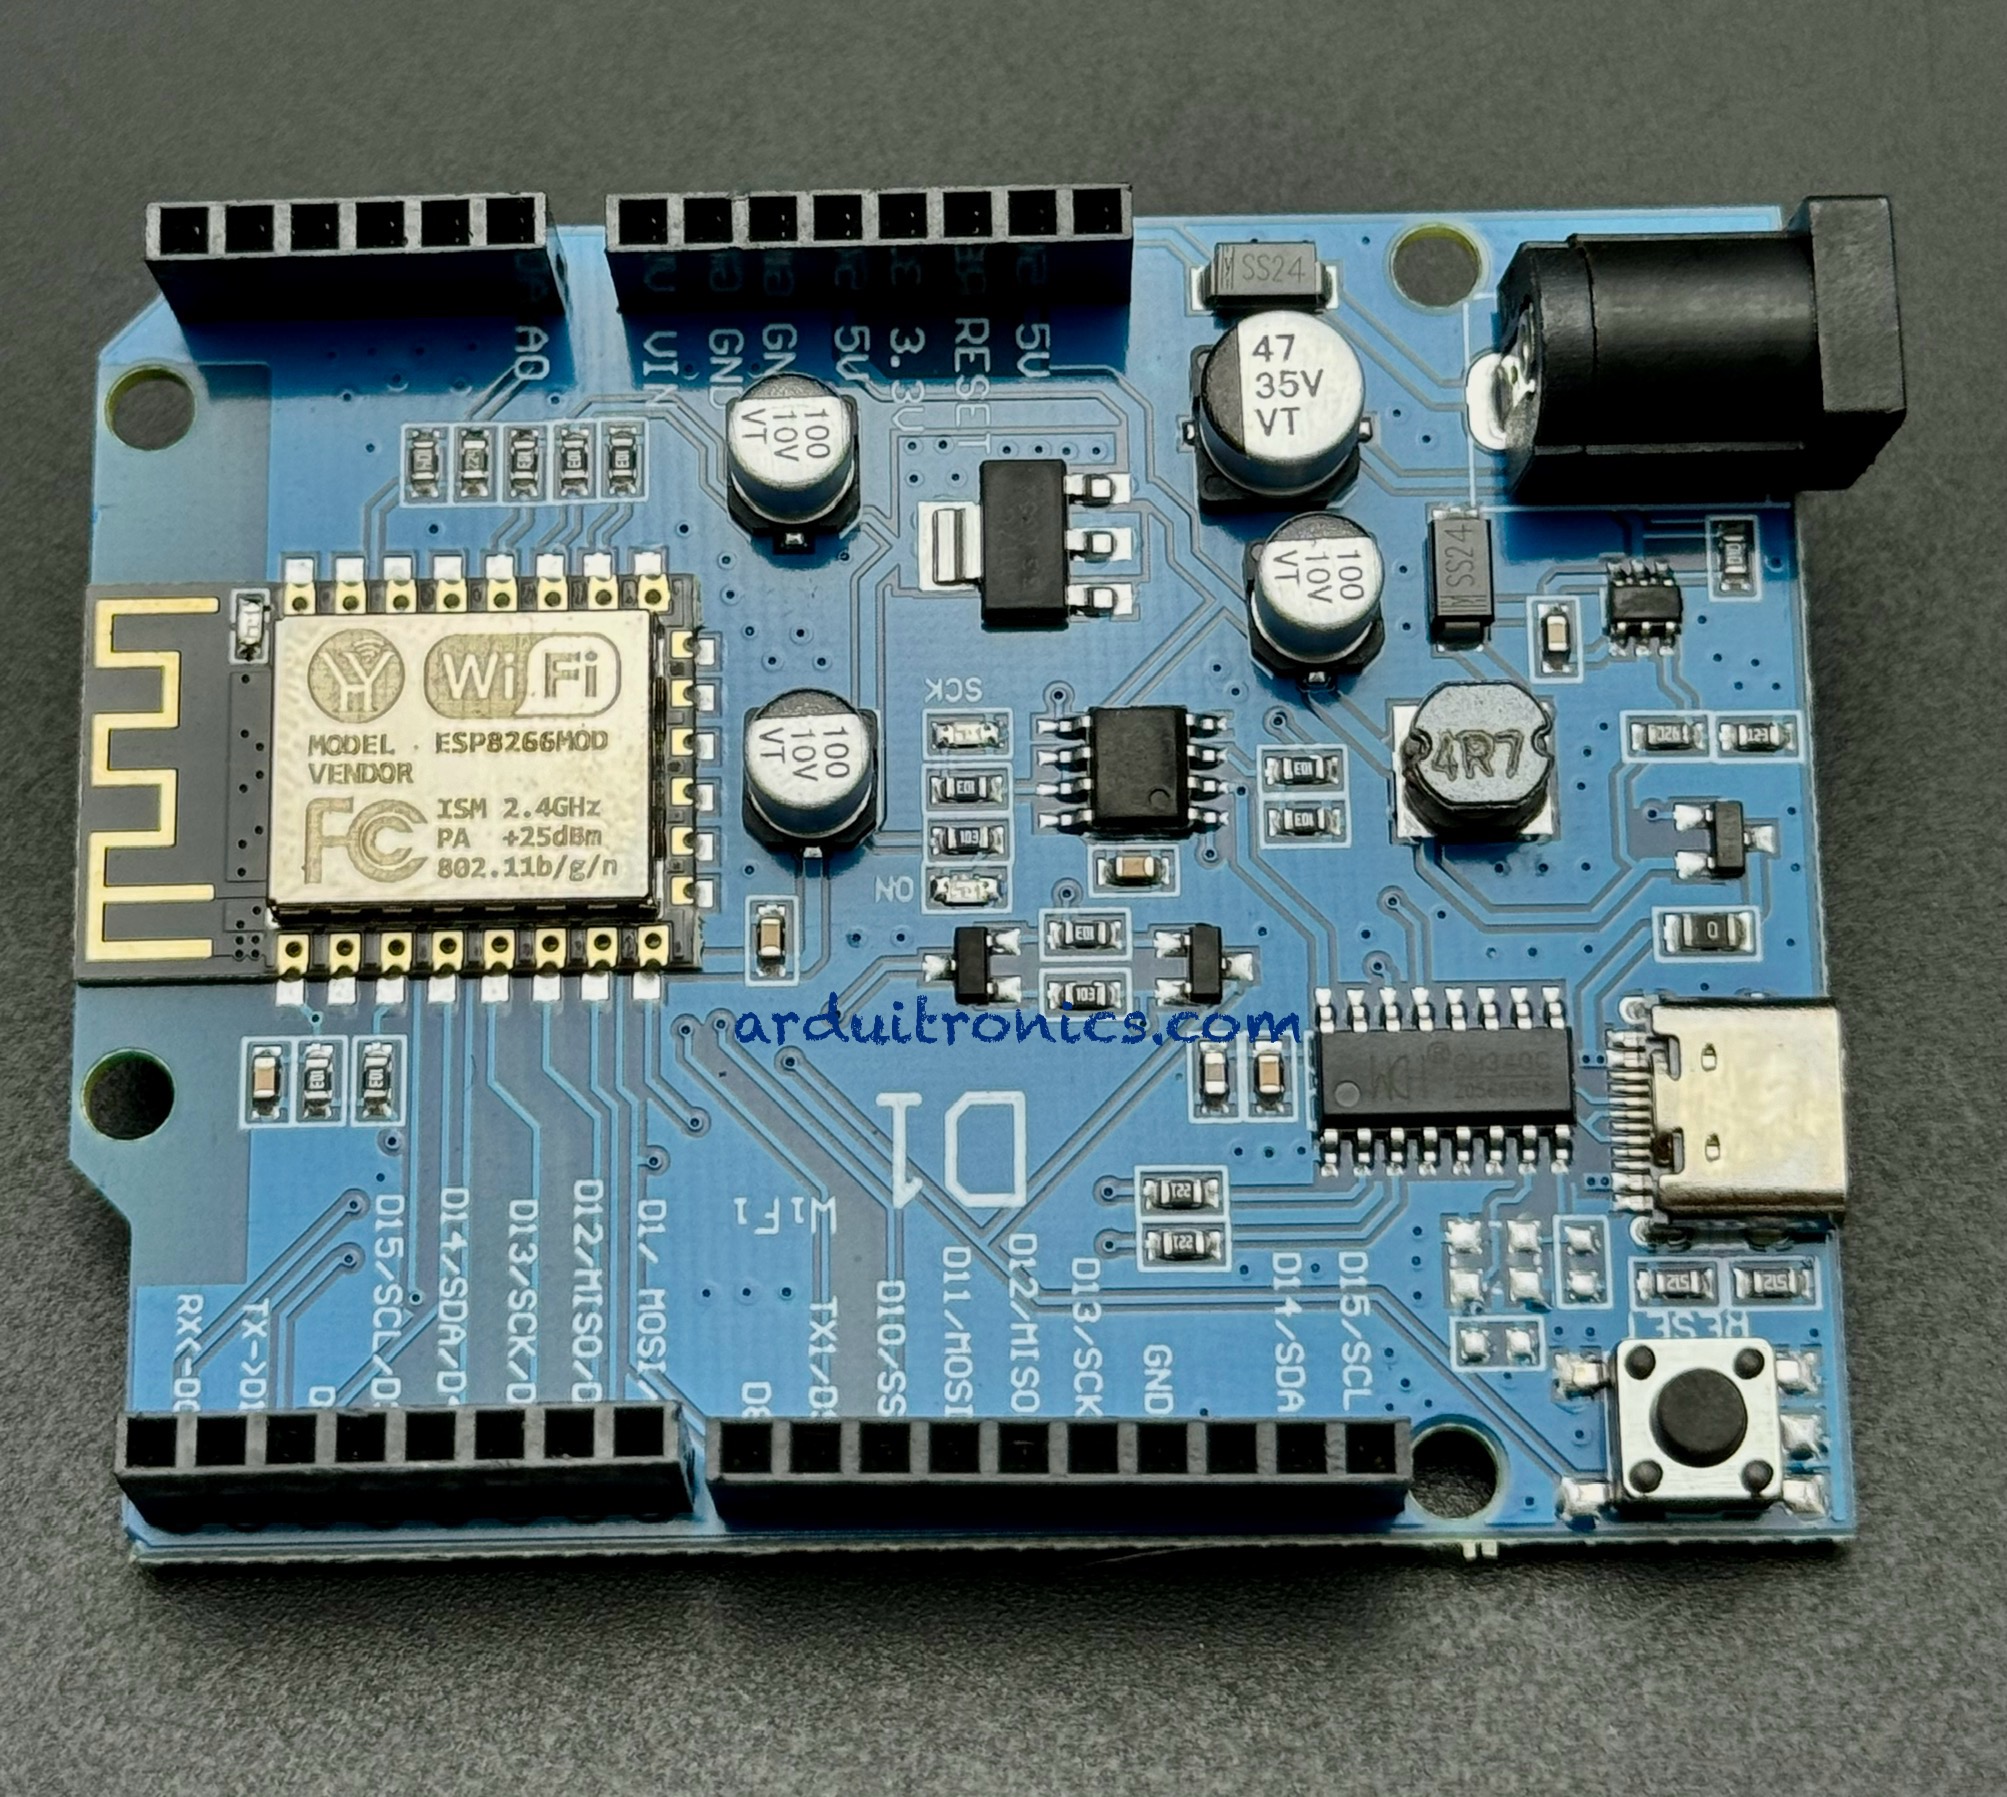
D1 WiFi UNO R3 development board based on ESP8266 ESP-12F module ( Type-C )
The D1 board is the same size as a traditional Arduino Uno R3, shown side by side above. With the same barrel connection for power and (most importantly) same headers for hats, the obvious differences are the micro USB port in place of the Uno’s mini USB connector, and the delightful WiFI enabled ESP8266 chip on the D1, instead of the usual Atmel ATmega328P microcontroller.
Setting up your environment
I’ve grown comfortable with Lua as my development environment for ESP8266 chips over the past few months, but just this week one of my friends worked hard to convince me that being able to use HTTPS support via Arduino Core, flashing my ESP’s with that firmware and using the Arduino development environment was going to tbe the way to go. Here’s how to get that set up.
WeMos D1 Drivers & Software Environment
Install the latest Ch340G drivers if you’re on Windows or Mac. Both platform’s drivers are available on that link. If you’re running Linux, you’re in luck – no drivers required.
I’m going to presume you already have at least v 1.6.5 of the Arduino developer environment set up on your PC – if not, visit the Arduino Software page, download, install, then come back here. Once you’re ready, start Arduino and:
1. Select File, then Preferences
2. In the Additional Boards Manager URLs text box, enterhttp://arduino.esp8266.com/stable/package_esp8266com_index.json and hit OK
3. Select Tools, mouse over your currently selected board, and choose Boards Manager from the popup menu
4. In the Boards Manager window that appears, enter ESP in the Filter your search… box, click on the esp8266 by ESP8266 Community entry that appears, and then select Install
5. Wait for a while, while the Board Definitions and Tools are downloaded – and note, you can use this same download to support a whole heap of other boards, including the WeMos D1 mini, the Adafruit HUZZAH ESP8266, and the NodeMCU ESP-12E dev board that I’m so, so fond of.
6. Once complete, select Tools again, and choose the WeMos D1 from the Boards dropdown.
Voila, you’re all set! Well, you might like to get some sample code to play with of course. Here’s how you can do that:
1. Download the Samples zip file from GitHub
2. Open the zip file, and move the D1_mini_Examples-master to your default Sketch directory (if you’re not sure where that is, open File / Preferences and it’ll tell you there)
3. Rename the D1_mini_Examples-master folder to D1_mini_Examples
4. Restart the Arduino IDE
5. You’ll find all the example code under File / Examples under the Examples from Custom Libraries section
Try some of the HelloServer sketch example – load it, enter your SSID name and password in place of the dots here:
const char* password = "........";
then verify and upload it. Open your serial monitor to see the IP address that your board has been assigned, and connect to it with your web browser.
WeMos D1 Documentation
You’ll absolutely want to review the ESP8266 Arduino Core documentation, a great resource covering Digital and Analog IO, timing and delays, the Serial object, use of WiFi, some ESP8266 specific APIs, and much more. Thre are many differences here if you’re coming from a NodeMCU Lua-based background, somewhat more familiar ground if your coming at this with Arduino experience, but either way a must-read. Other libraries include servo support (up to 24 supported on any available output pin), DNS, SPI, SSDP, and I2C. Plenty to keep you busy.
There’s a useful section linking on to other APIs not included in the standard setup – some particularly interesting examples include Blynk, the widget-based gui builder with Android support that let’s you control devices over the Internet, and Adafruit’s NeoPixel library.
วิธีการชำระเงิน
ชำระเงินค่าสินค้าโดยการโอนเงินเข้าบัญชีธนาคาร KBANK, SCB, BBL,TMB
กรุณาเก็บหลักฐานการโอนเงินของท่านไว้เพื่อแจ้งการชำระเงินด้วยค่ะ
ท่านสามารถแจ้งการชำระเงินผ่านระบบอัตโนมัติได้โดย Click Link ข้างล่างค่ะ
https://www.arduitronics.com/informpayment
ชำระเงินผ่านธนาคาร


@rfm0967y
ติดต่อสอบถาม
Join เป็นสมาชิกร้านค้า
MEMBER
