
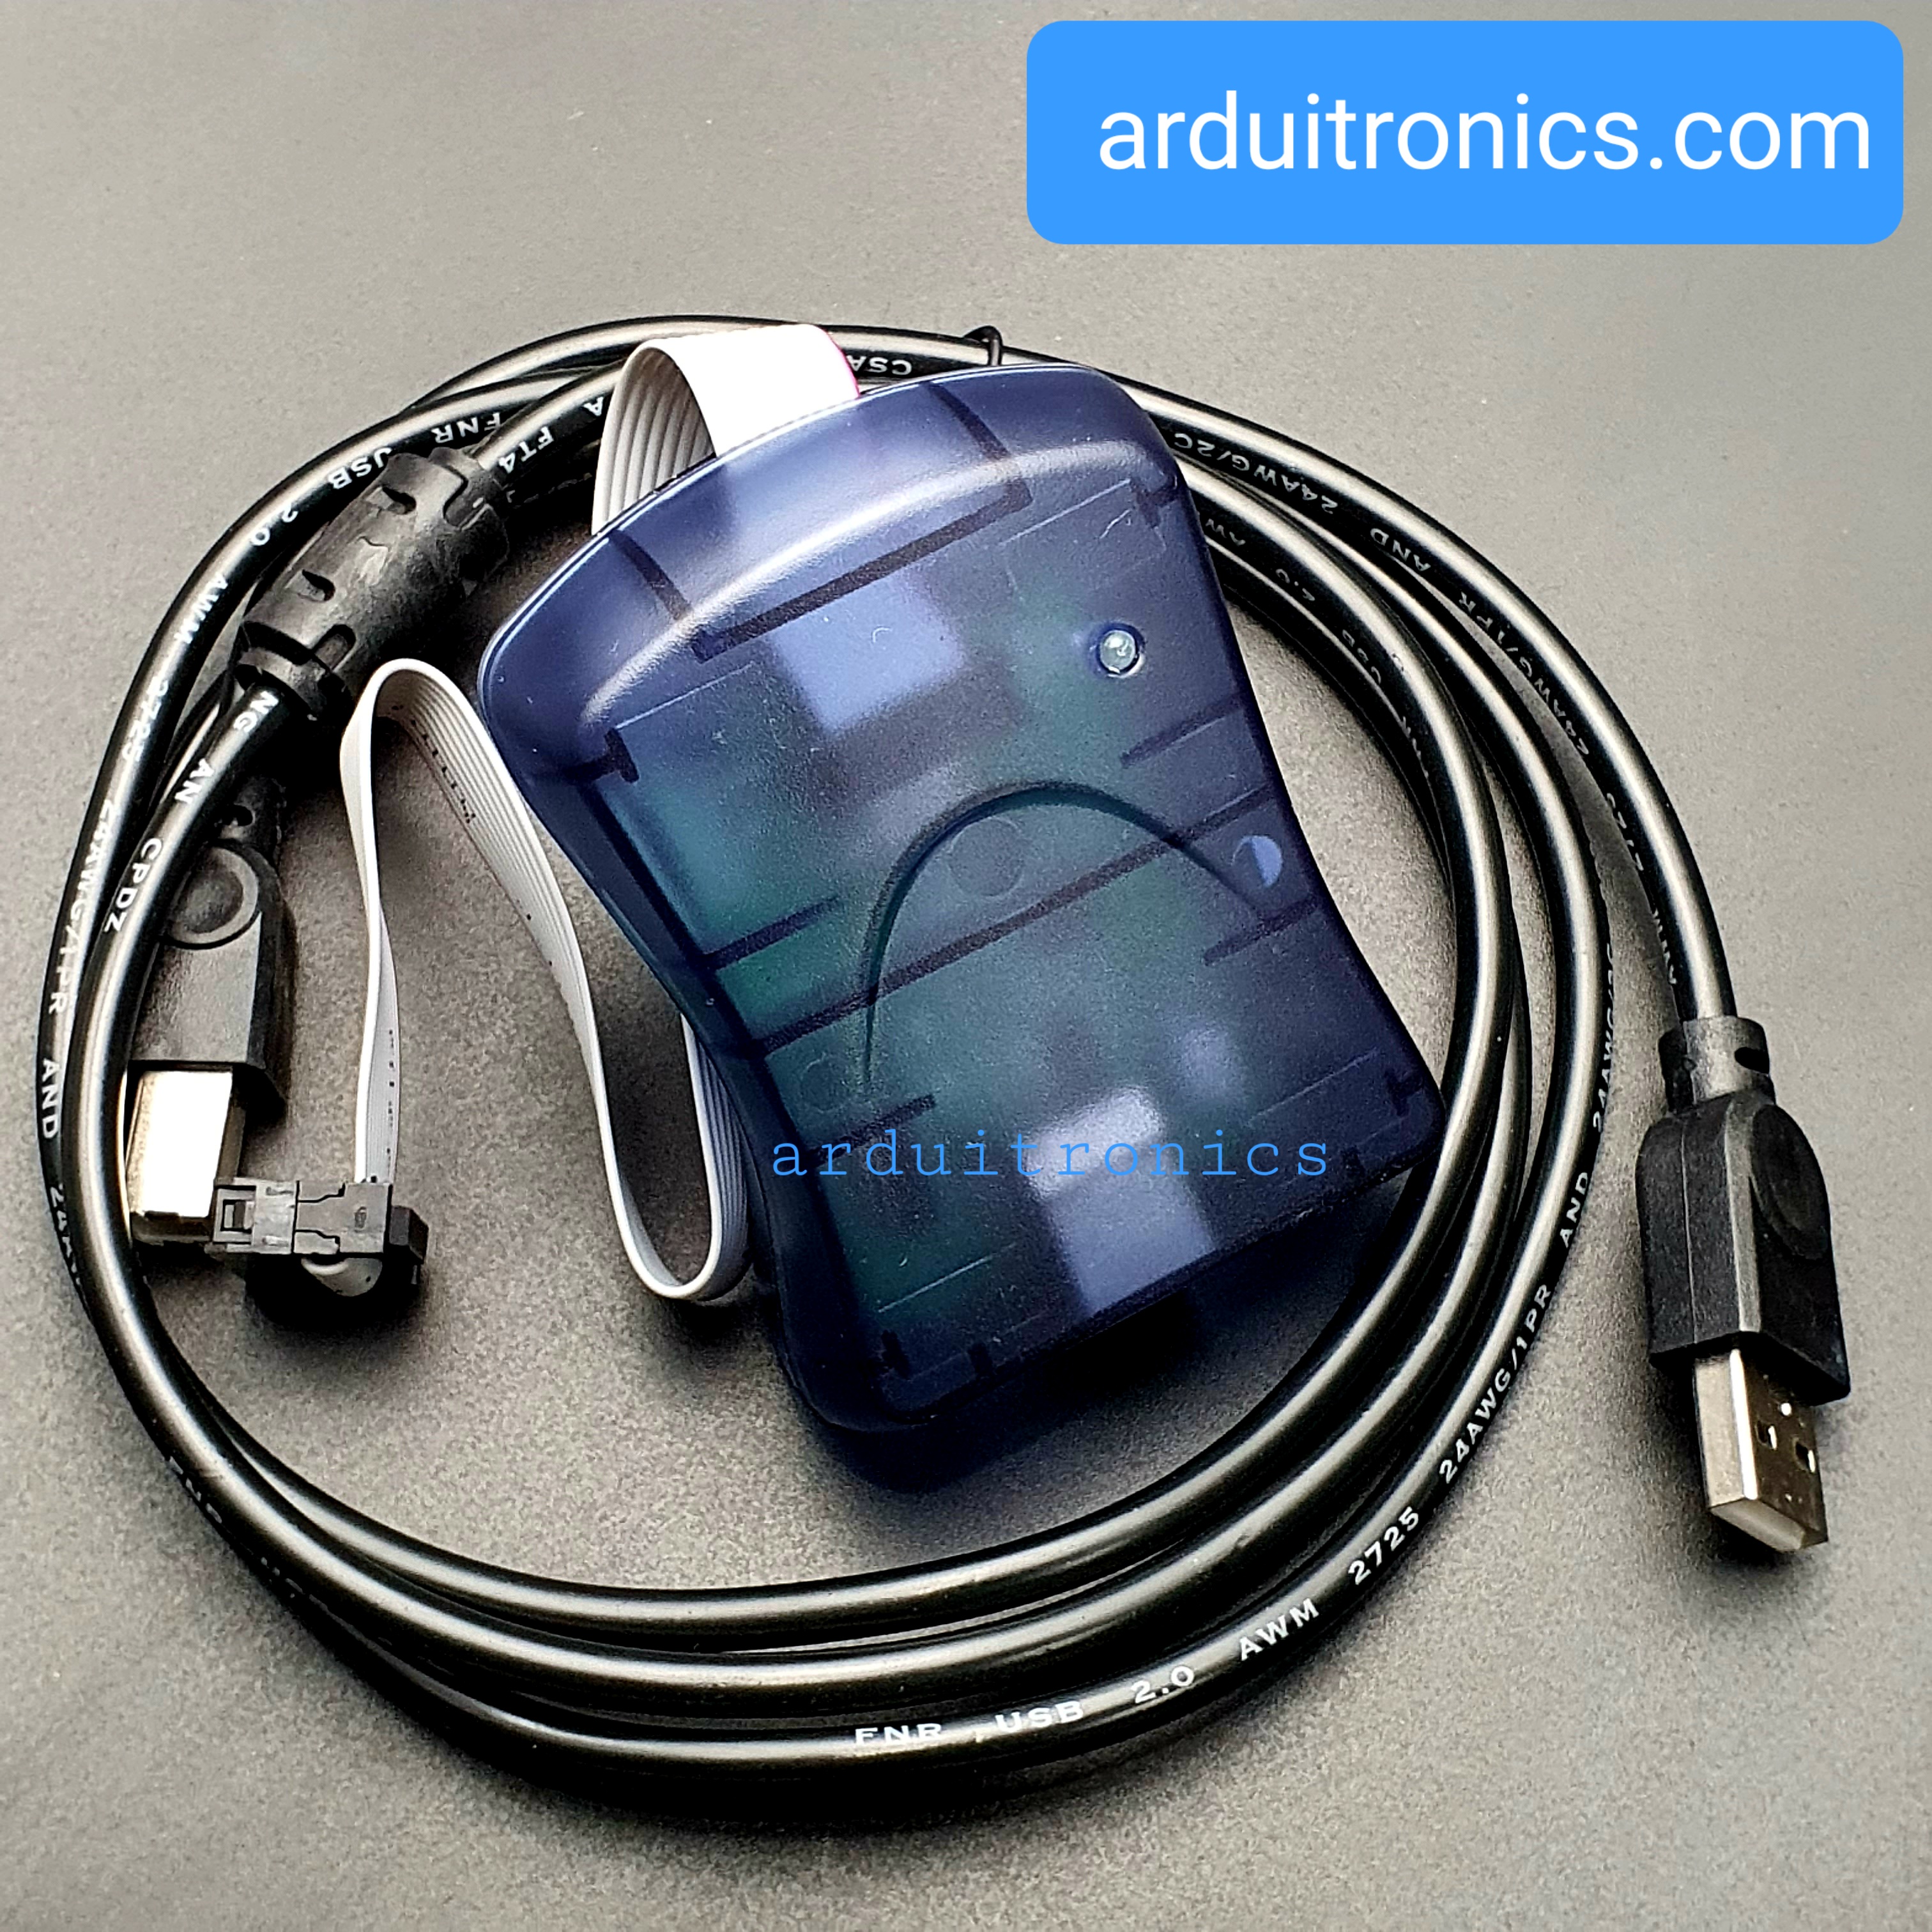
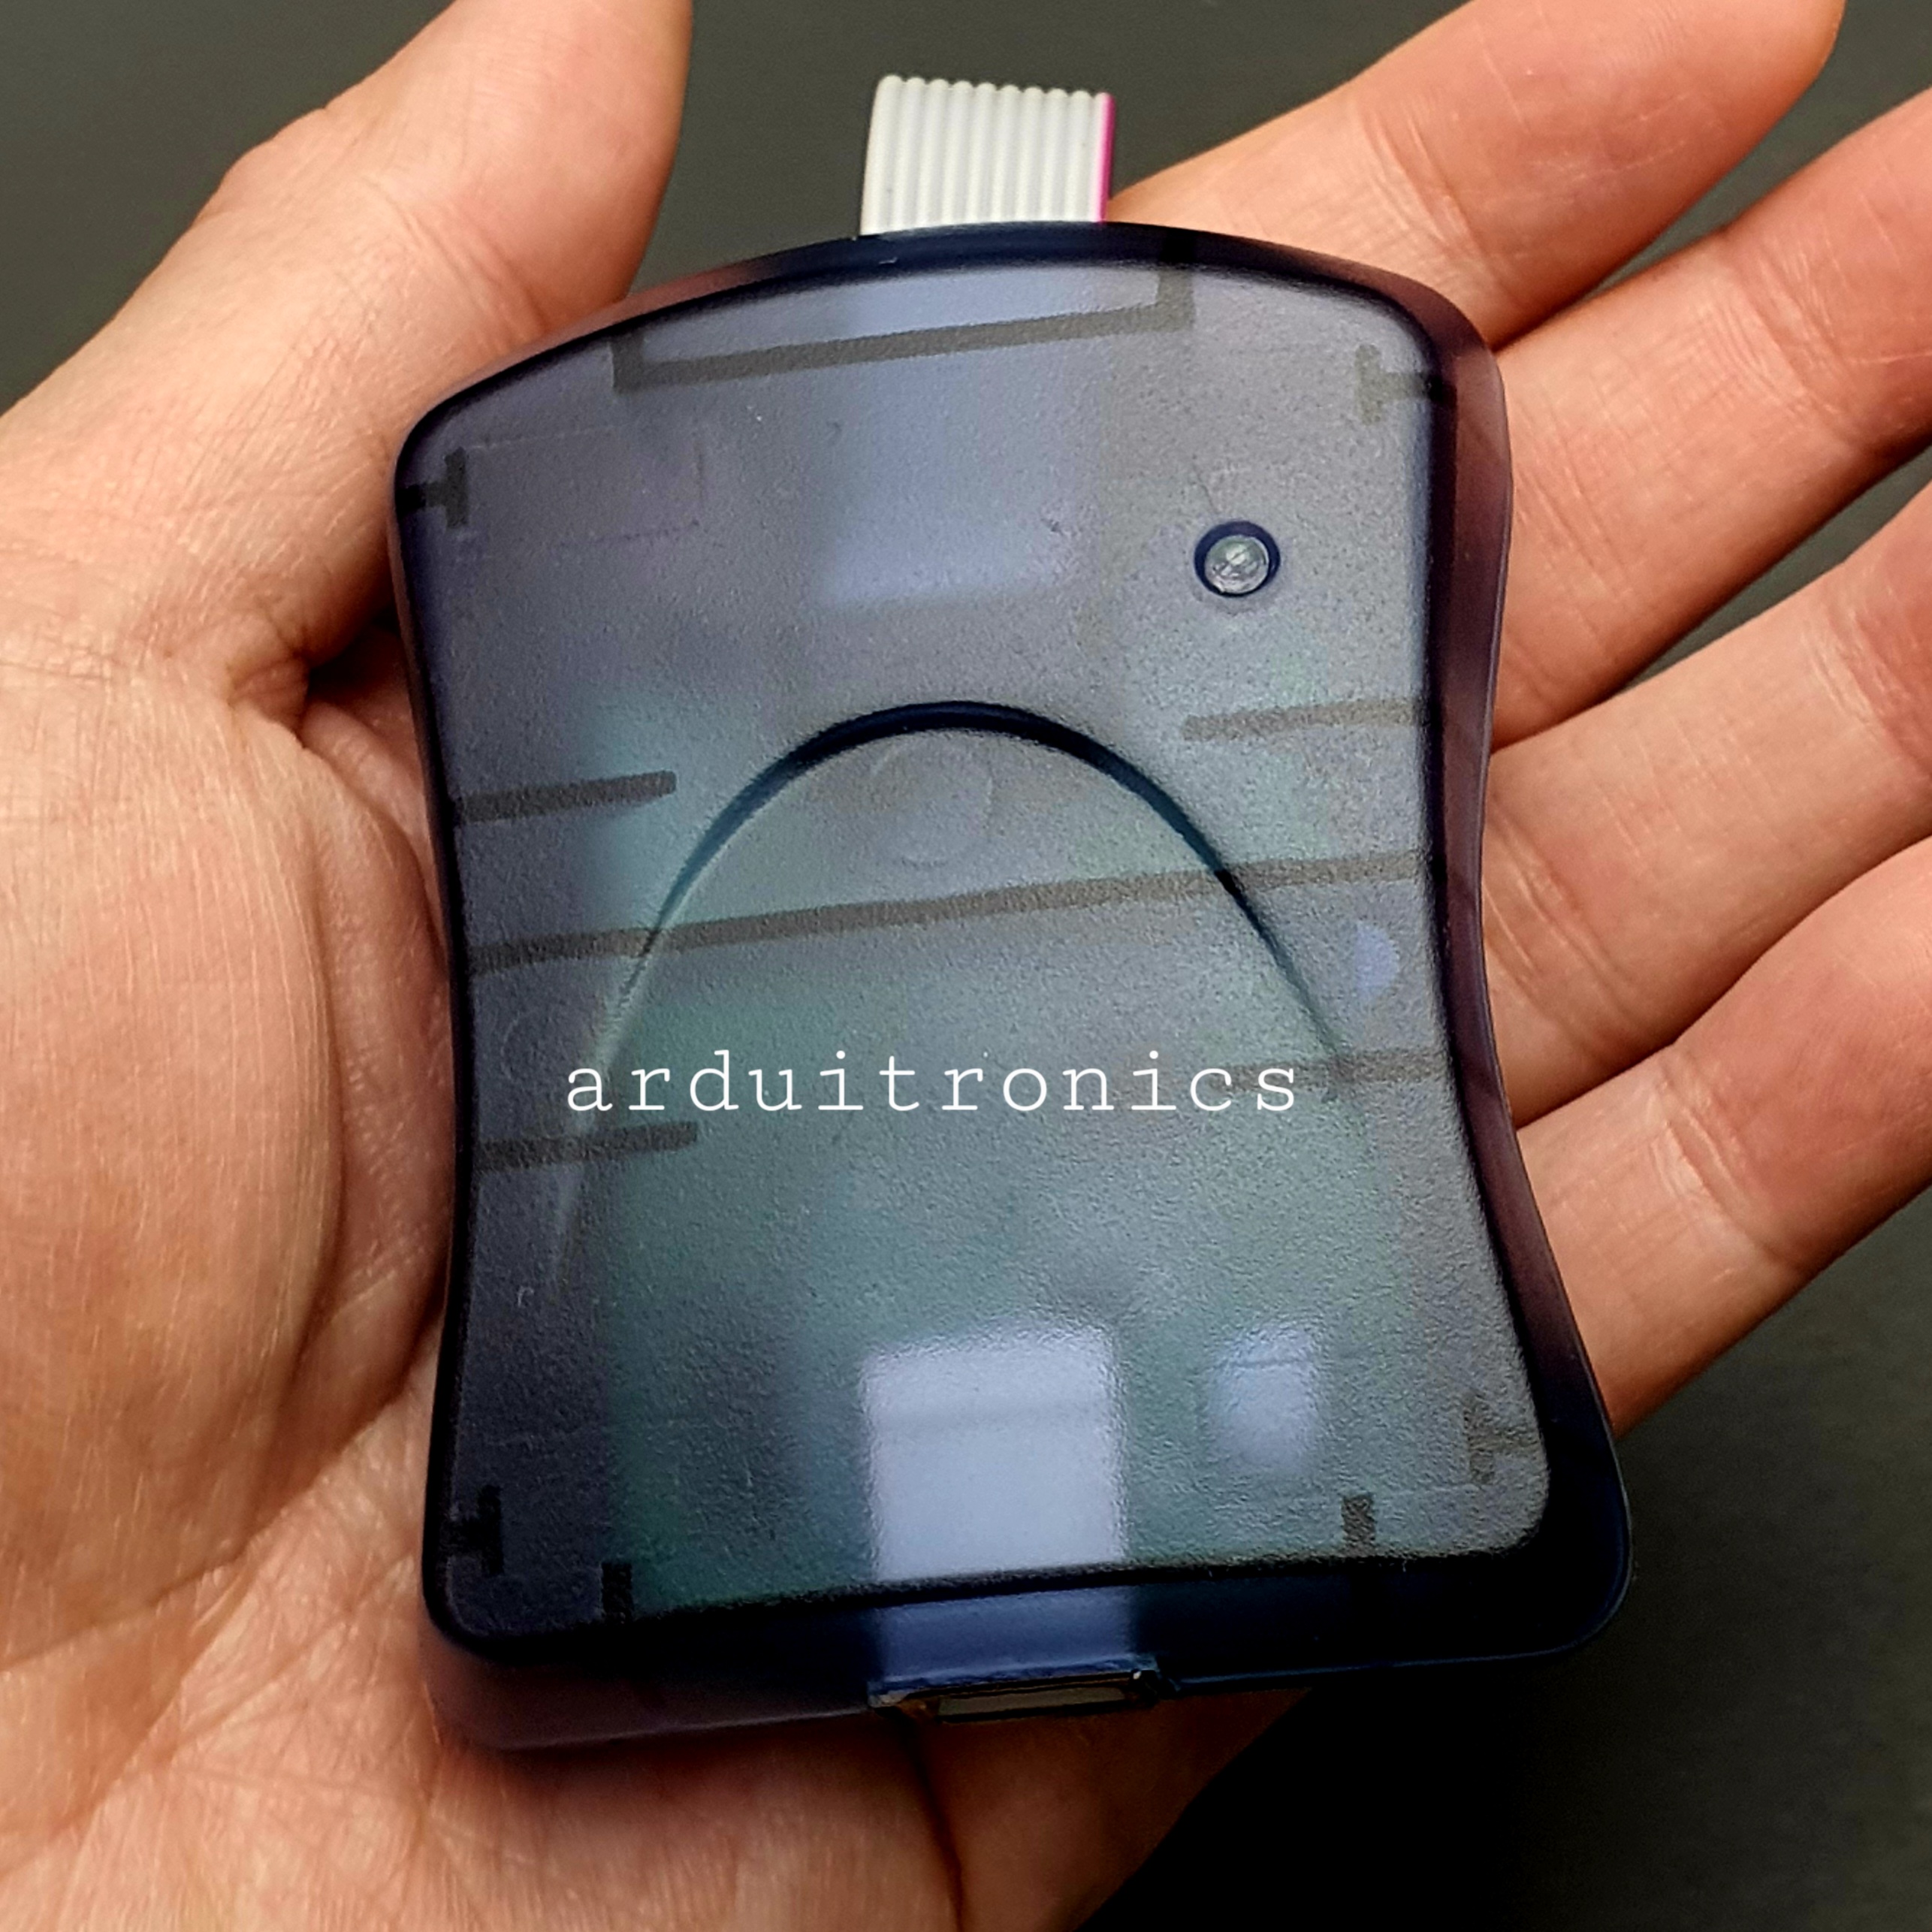
Atmel AT AVRISP AVR ISP mkII In-System Programmer ATAVRISP2 AVRISPmkII compliant


รายละเอียดสินค้า
Atmel AT AVRISP AVR ISP mkII In-System Programmer ATAVRISP2 AVRISPmkII compliant
- AVR ISP Programmer, compatible with AT AVRISP mkII from ATMEL
- A professional In-System Programmer. Supports all AVR devices with ISP or PDI interface, including XMEGA
- Supports AVR Studio 5
Features
- Supports all AVR devices with ISP or PDI interface, and certain 51 Devices
- Programs both Flash and EEPROM
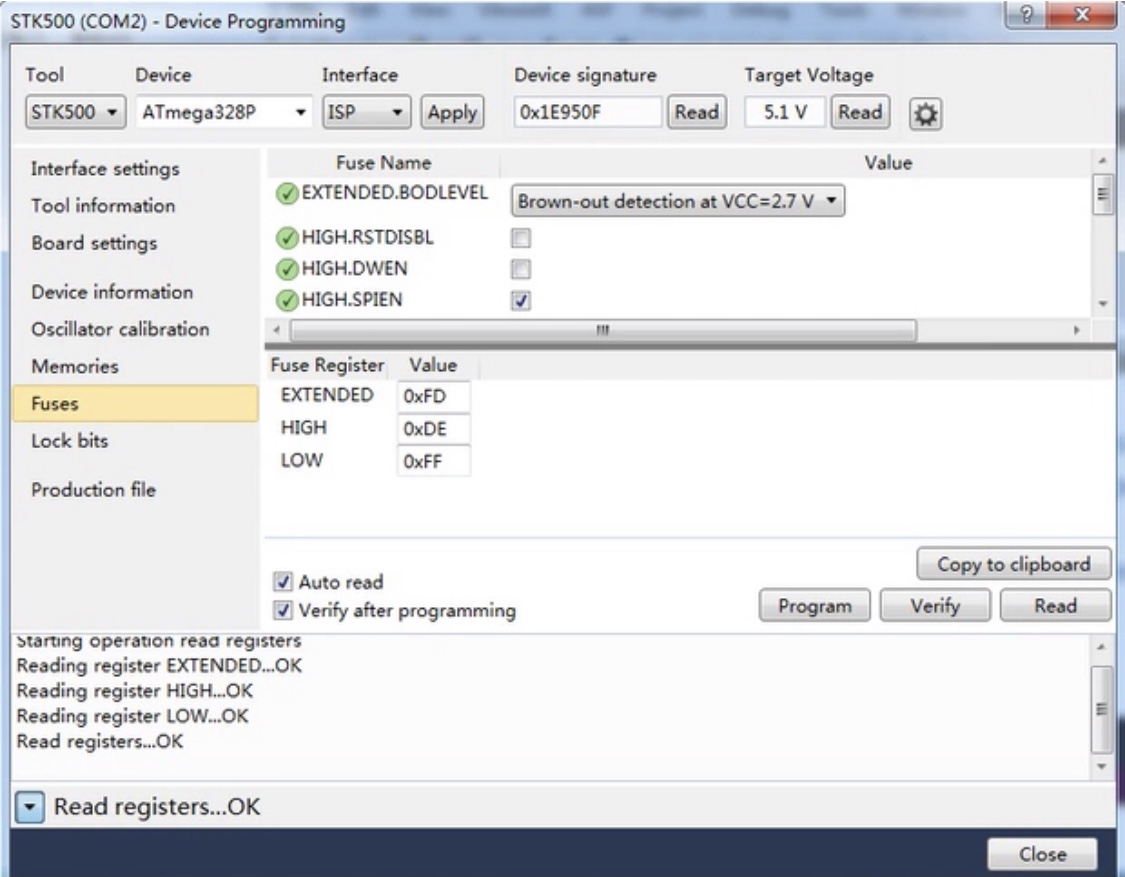
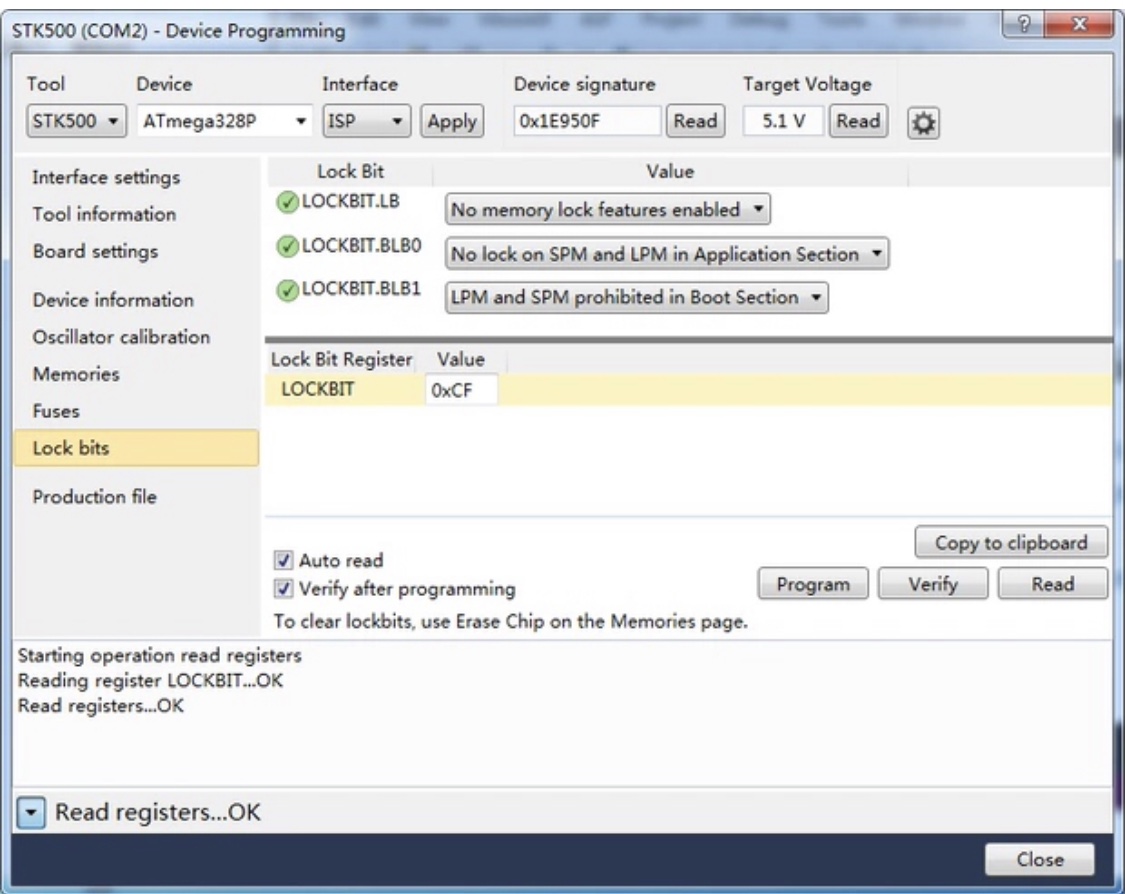
- Supports Fuses and Lock Bit Programming
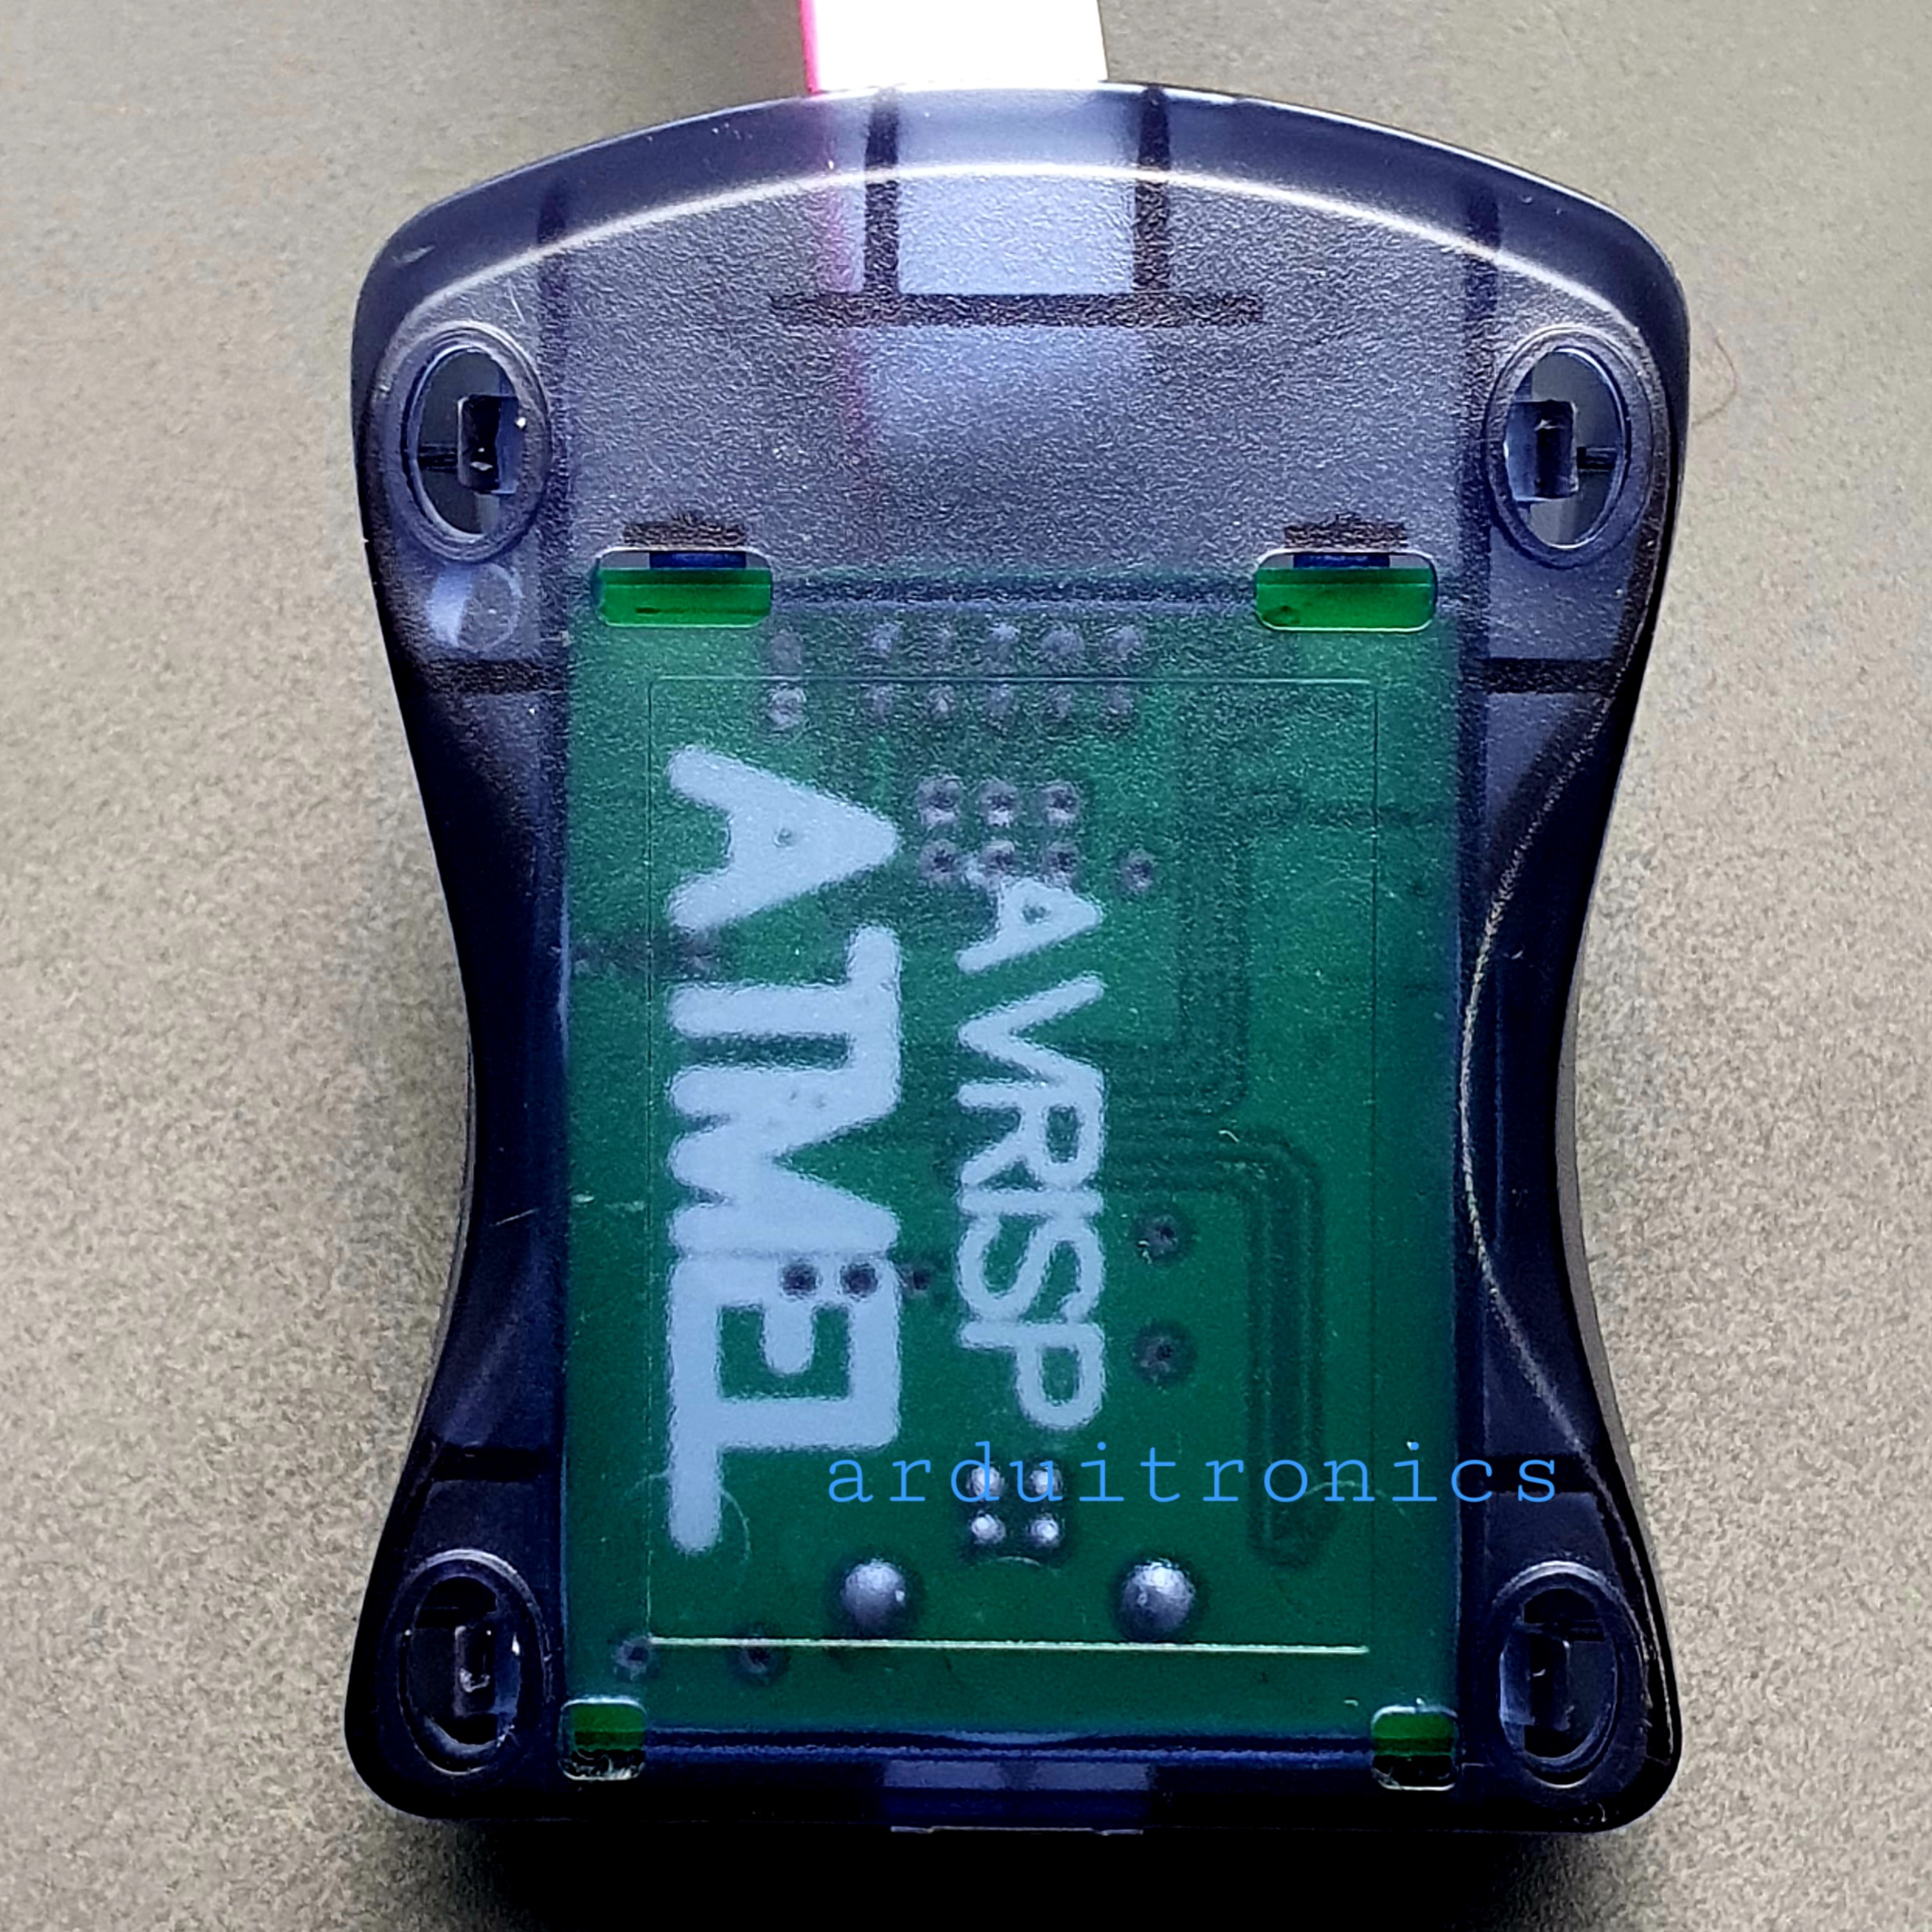
- Based on AT AVRISP mkII firmware
- Upgradable to Support Future Devices
- Adjustable ISP programming speed up to 8M frequency
- USB 2.0 compliant (full speed, 12Mbps)
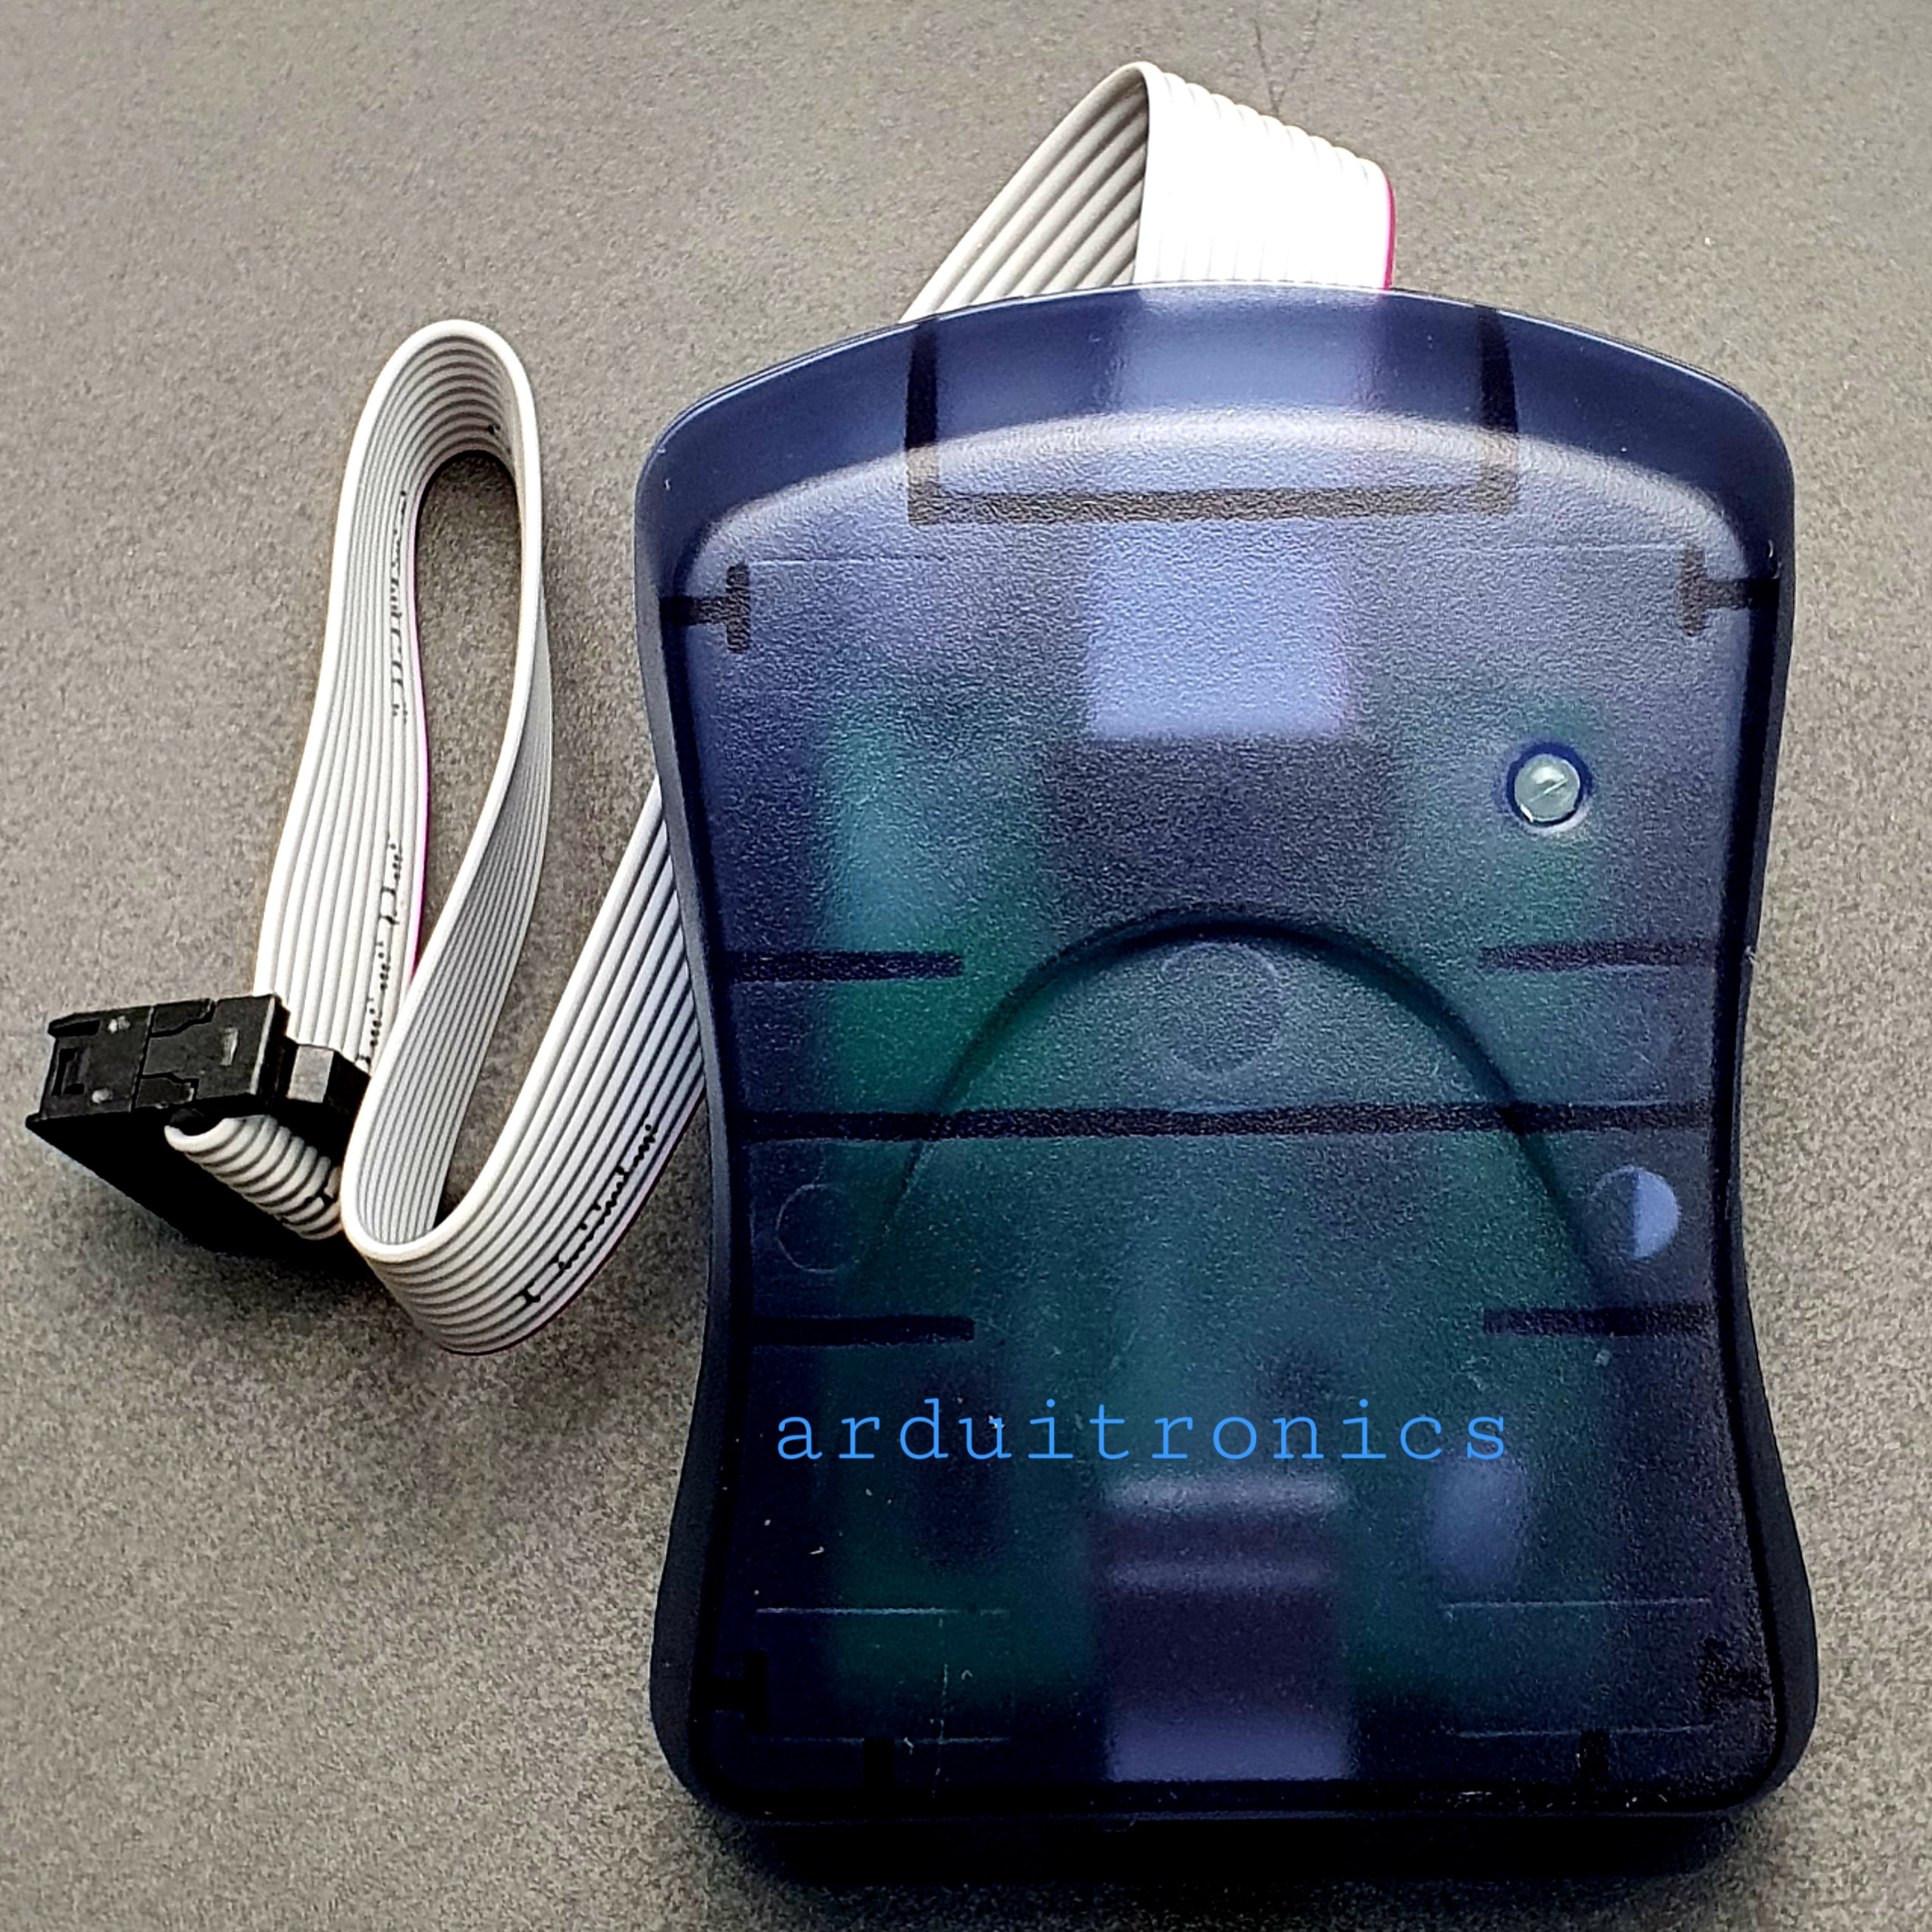
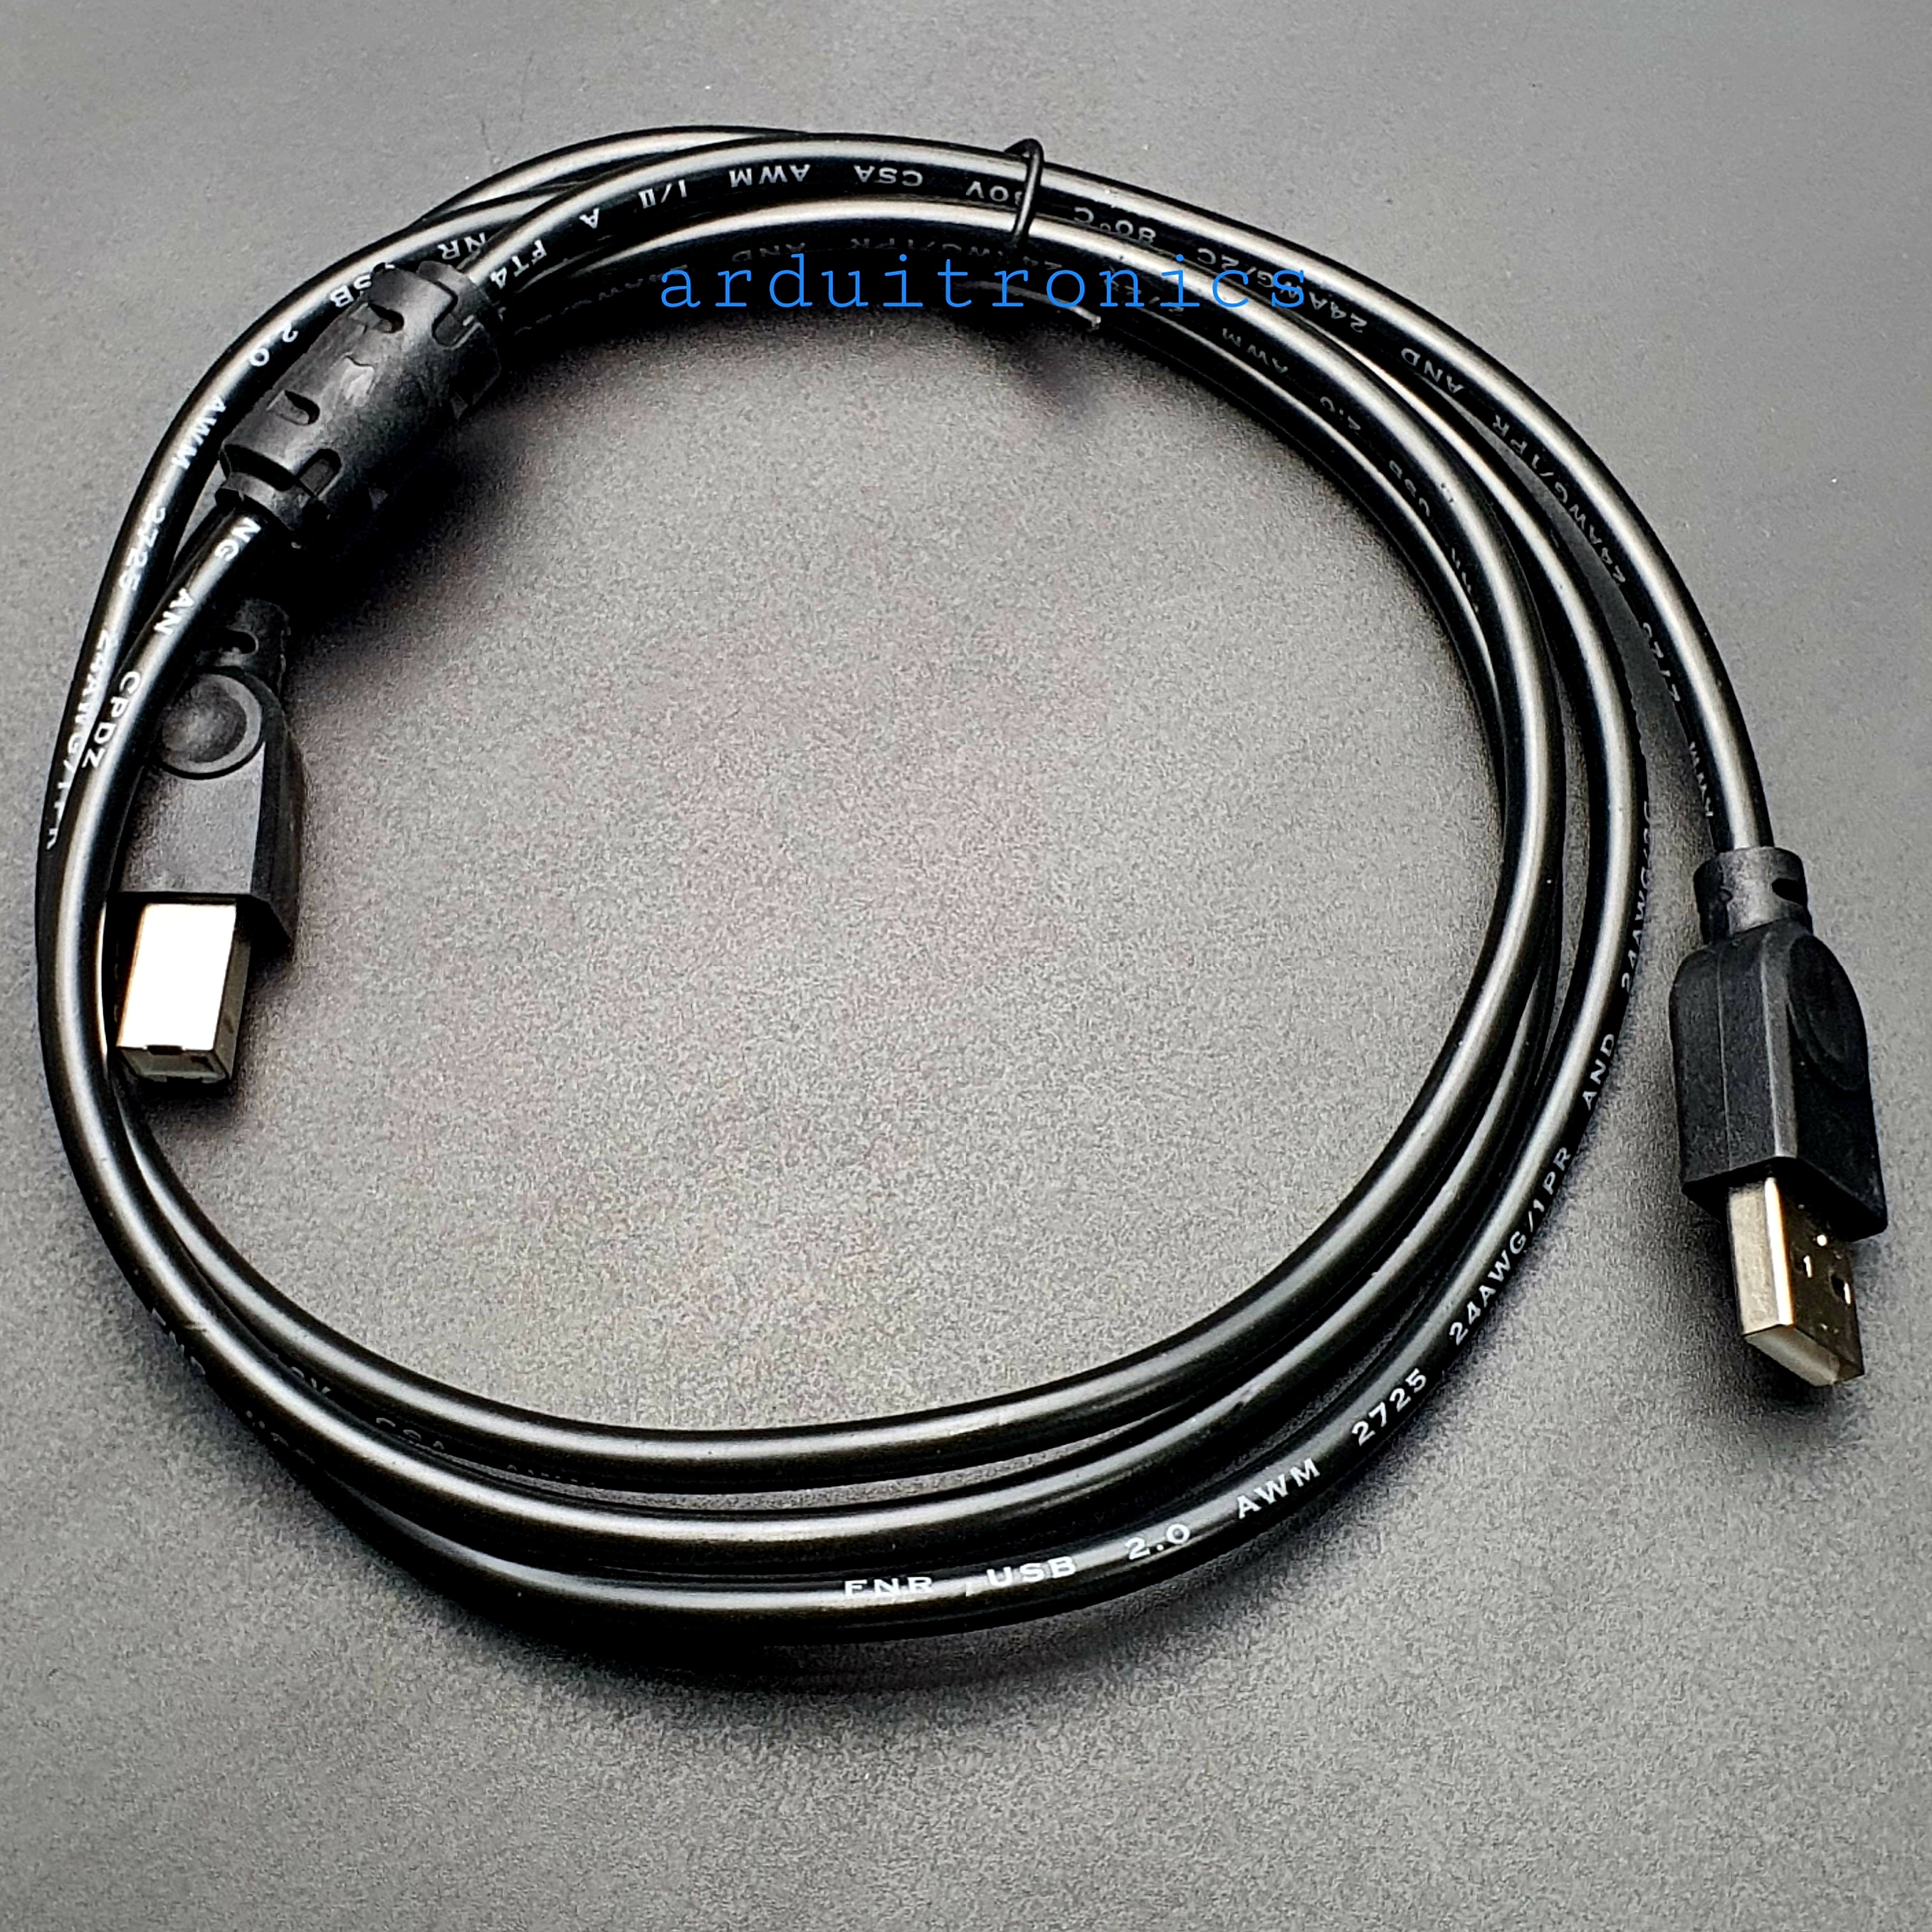
- 3 optional cables to target board
- Powered from USB bus, does not require external power supply
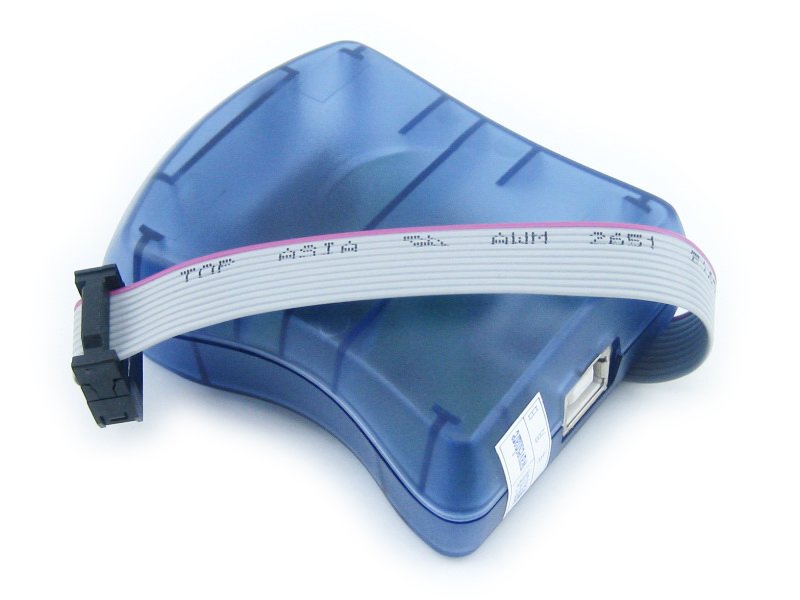
 Connecting USB AVRISP XPII to the target board (Click on the image to enlarge) AT AVRISP mkII compliant Based on AT AVRISP mkII firmware Upgradable firmware Supported software Device Support |
|
Refer to AVR Studio 5, the following devices are supported:
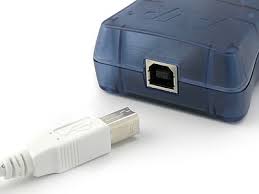
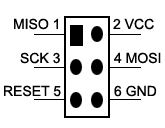
*Supports all the different voltages and speed grade versions of the devices listed in the table above. Performance Connects to PC The USB AVRISP XPII connects to the target board through 3 optional cables. Depending on the existed connector on the target board, the cable has to be changed accordingly. - Standard 6-pin ISP Connector, Using 6-pin ISP cable - Standard 10-pin ISP Connector, Using 6-pin to 10-pin ISP cable - Custom ISP Connector, Using 6-wire multicolour custom connector cable The figure 1 and 2 shows the pinouts for the 10-pin and 6-pin ISP connectors.
Powered from USB bus - Draws power from the USB bus, No need for Additional Power Supply - The target board should be powered from Another Power Supply |

Package Contains:
|
1 |
2 |
3 |
Link ที่น่าสนใจ
http://www.atmel.com/microsite/avr_studio_5/
https://www.youtube.com/watch?v=EsLOMdu50YU
https://www.youtube.com/watch?v=q5qcsWx4FdY
http://www.atmel.com/webdoc/avrispmkii/index.html
http://arduino.cc/en/main/standalone
http://www.telescriptwest.com/tswservice/onlinecs/hesk/knowledgebase.php?article=36
Bootloading your chips OPTIONAL
Bootloading Options
There are two options for bootloading your chips. The first being quite easy
and the other being a little more tricky. We will cover both.
- Bootloading your Atmega chip using a Arduino board and an AVR programmer
- Bootloading your Atmega chip in your newly prepared breadboard with an AVR programmer
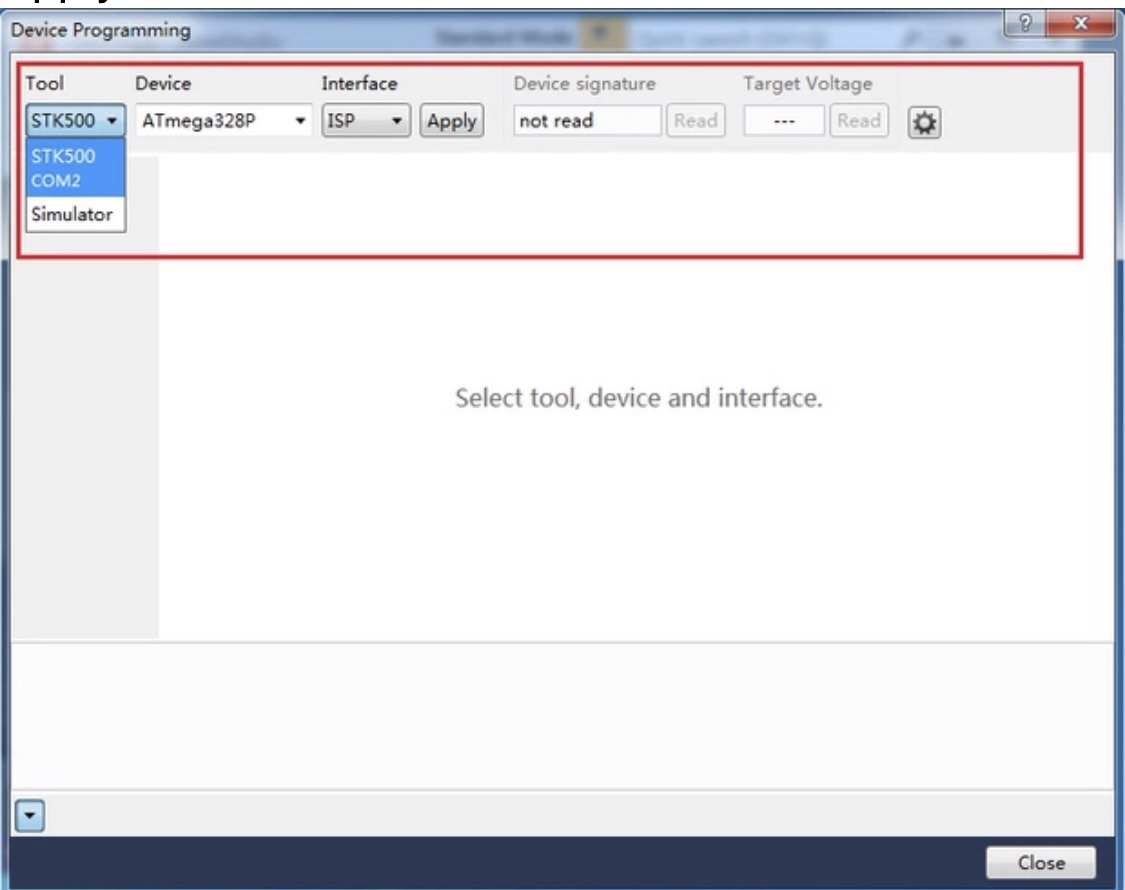
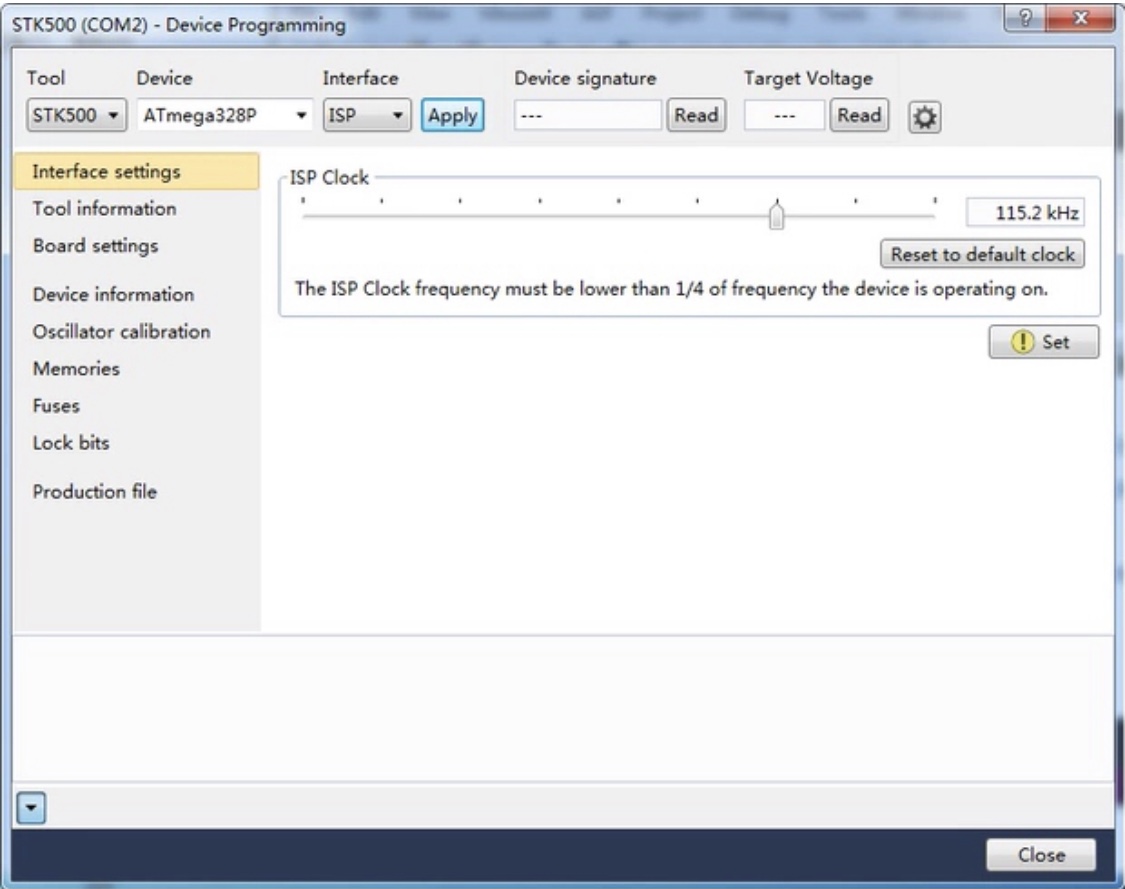
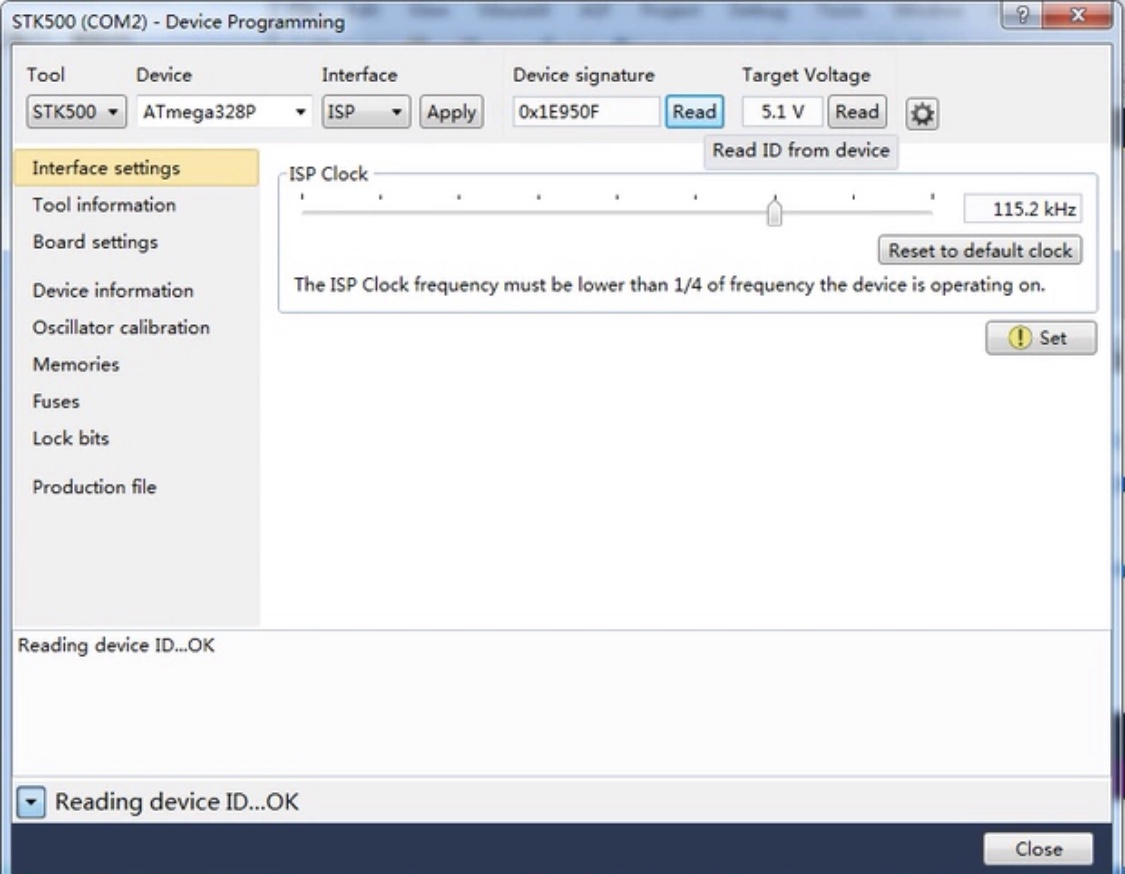
There are also many different kinds of AVR programmers but two are most commonly used:

AVRISP mkII

USBtinyISP

ArduinoISP
The AVRISP mkII can be purchased from Digikey (Part # ATAVRISP2-ND) while the USBtinyISP must be assembled and can be found at Adafruit Industries. The documentation and the links to the Arduino Store and to the distributors list can be found in the ArduinoISP product page.
Using an Arduino board

Bootloading on an Arduino board
Place your Atmega chip into the Arduino board with the divot of the chip facing outward. Set the jumper to an external power supply and connect a 12V power brick (your board needs to be externally powered when using the AVR ISP mkII but is not needed with the AVRtinyISP) . Then, attach the 6-pin female plug of your AVR programmer to the 6 male header ICSP pins with the plastic nub of the ribbon cable head facing inward.
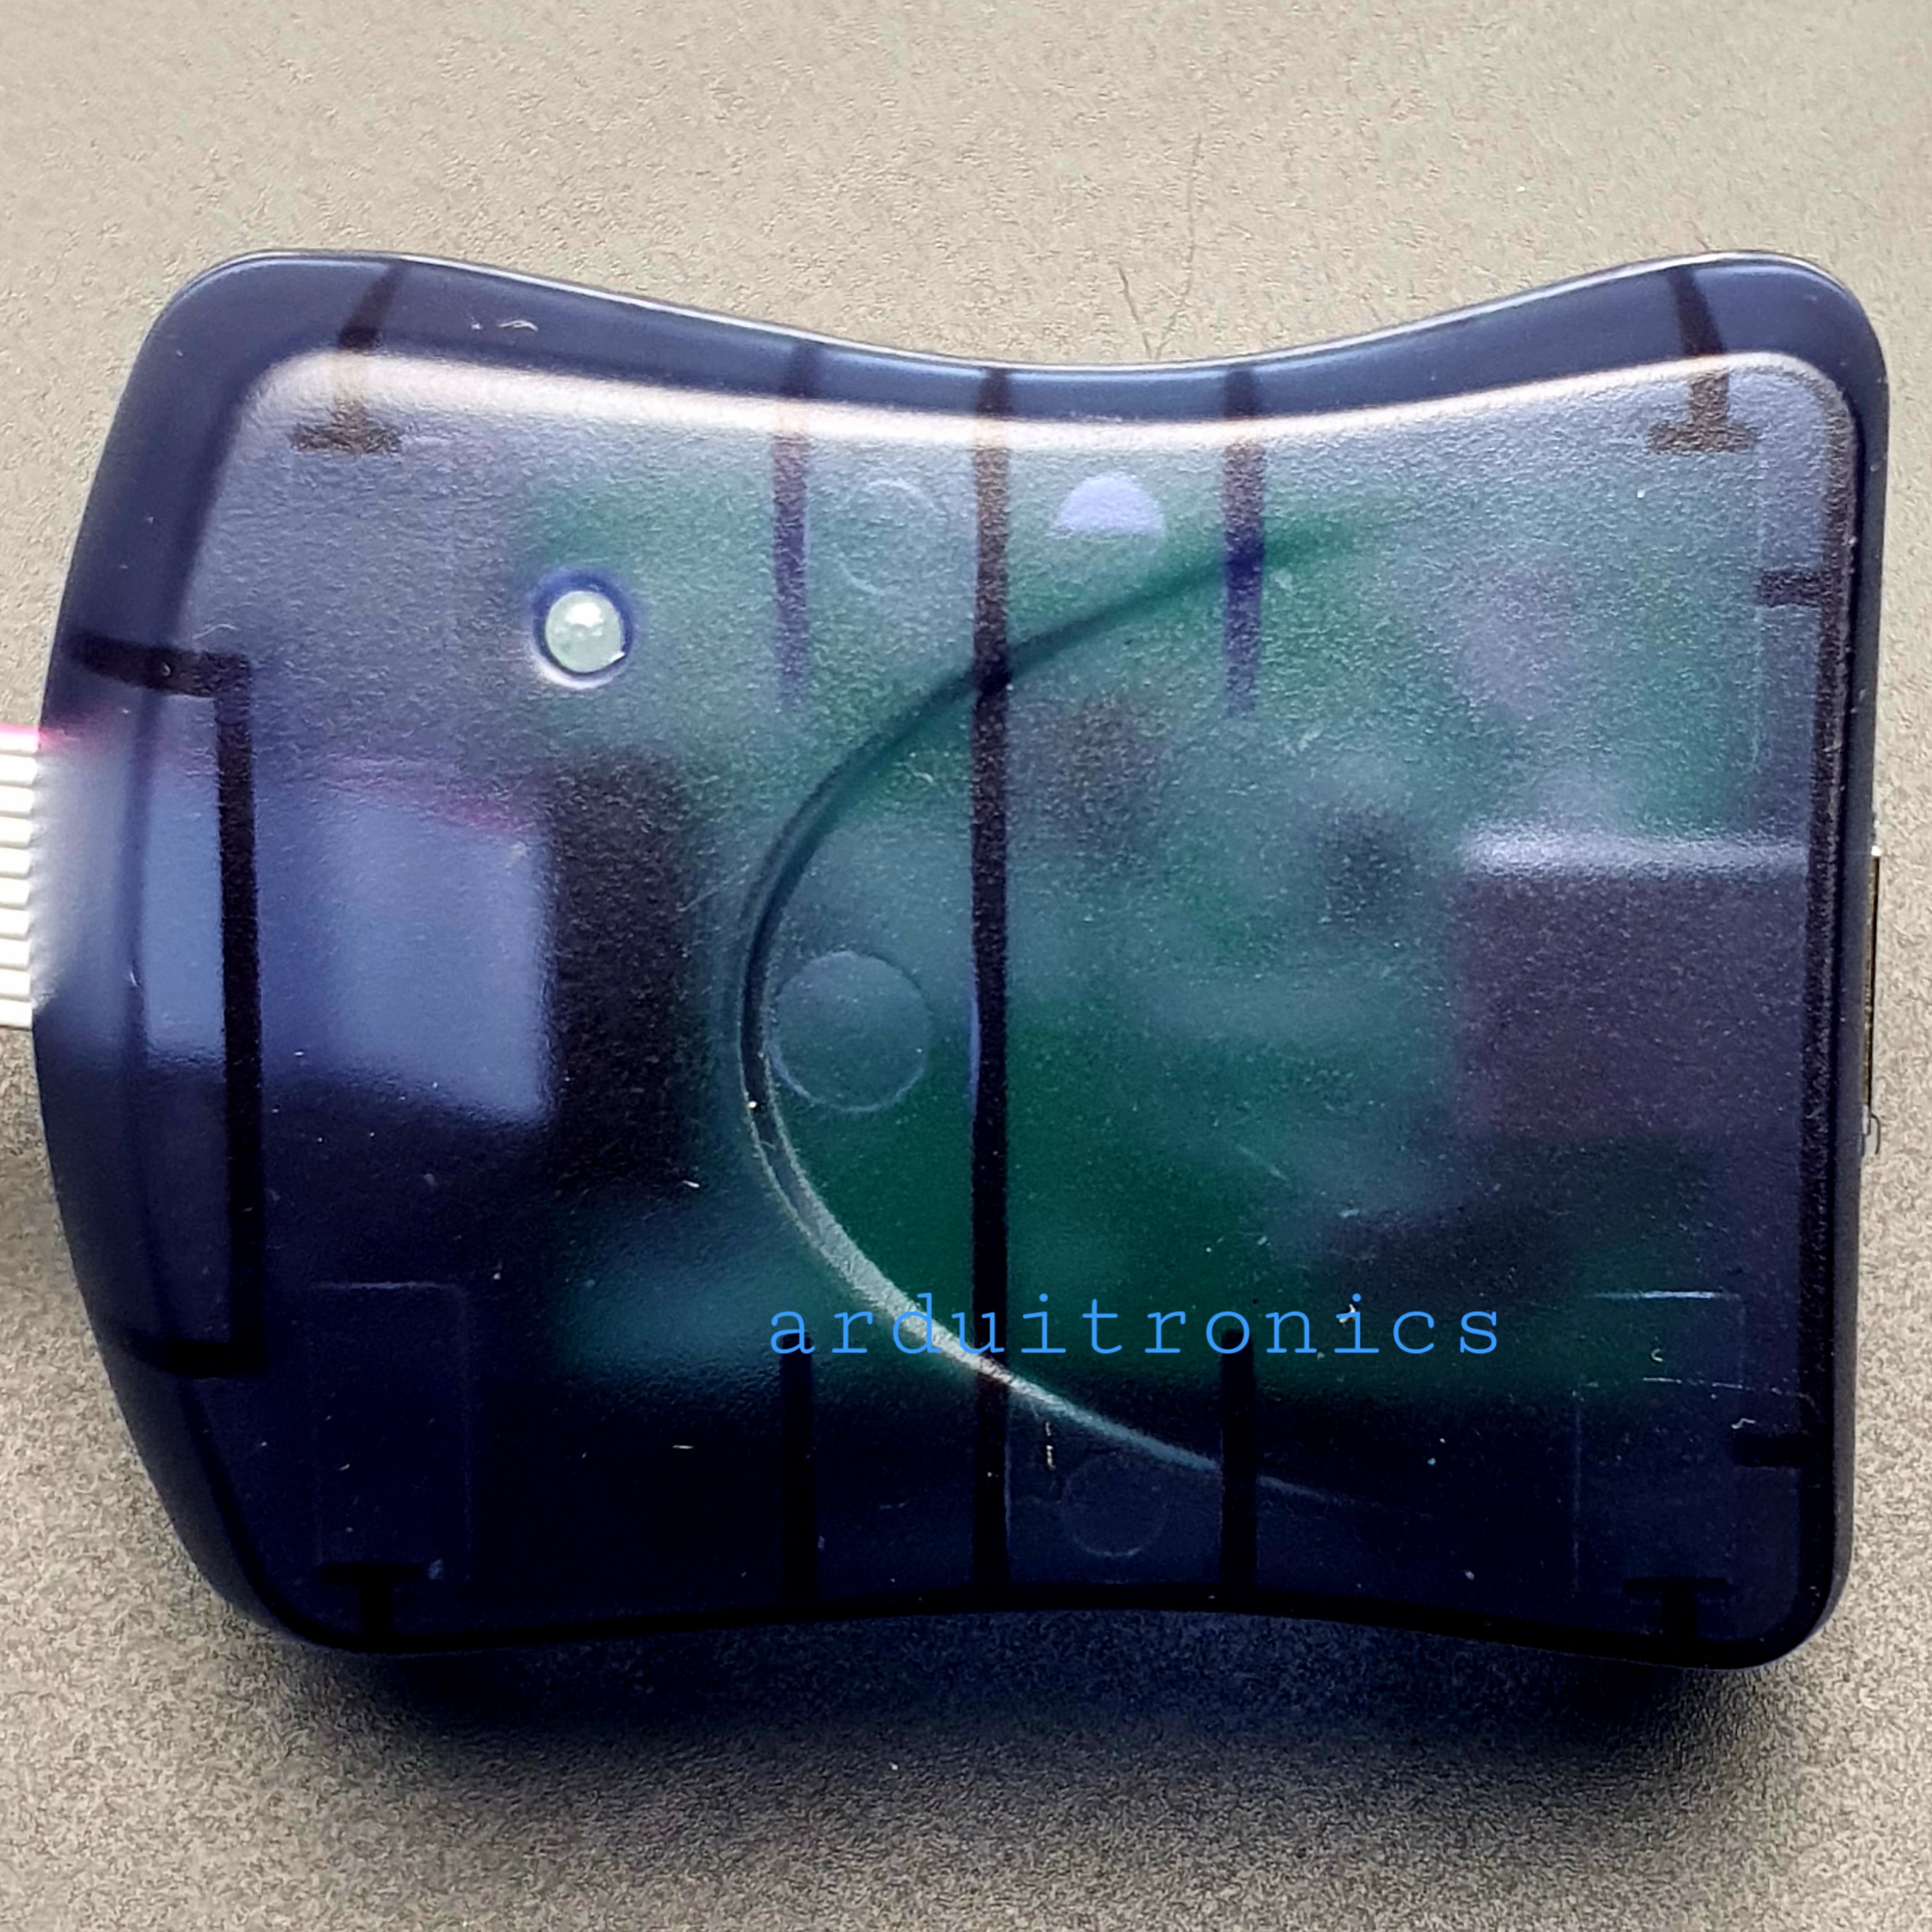
NOTE: The AVR ISP mkII turns its LED green when they've been hooked up correctly and are ready for programming. The LED turns red if it is hooked up wrong.

วิธีการชำระเงิน
ชำระเงินค่าสินค้าโดยการโอนเงินเข้าบัญชีธนาคาร KBANK, SCB, BBL,TMB
กรุณาเก็บหลักฐานการโอนเงินของท่านไว้เพื่อแจ้งการชำระเงินด้วยค่ะ
ท่านสามารถแจ้งการชำระเงินผ่านระบบอัตโนมัติได้โดย Click Link ข้างล่างค่ะ
https://www.arduitronics.com/informpayment
ชำระเงินผ่านธนาคาร


@rfm0967y
ติดต่อสอบถาม
Join เป็นสมาชิกร้านค้า
MEMBER
