
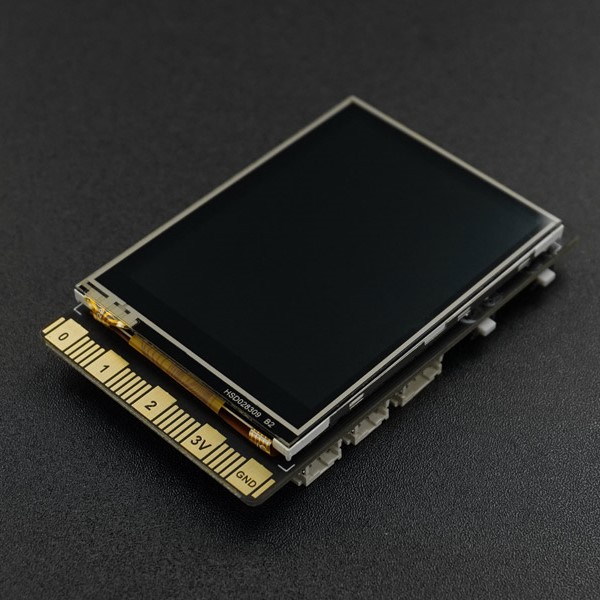
UNIHIKER - IoT Python Single Board Computer with Touchscreen


รายละเอียดสินค้า
Overview

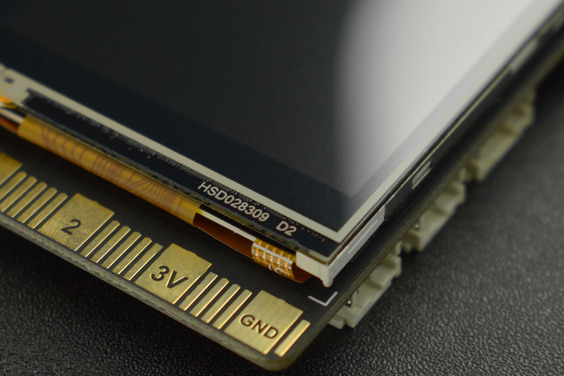
Built-in 2.8-inch Touch Screen

Incredibly Fast and Easy Start

Using Python to Sense and Control

Built-in IoT service

Can be Programmed Wirelessly
UNIHIKER can be programmed from a computer, an iPad, even a phone.
It also supports Hotspot, you can play it from anywhere.

Supports Popular Coding Software

Rich Interfaces and High Expandability


APPLICATIONS

SPECIFICATION
- CPU: Quad-Core ARM Cortex-A35, up to 1.2GHz
- RAM: 512MB
- Flash: 16GB
- OS: Debian
- Wi-Fi: 2.4G
- BT: Bluetooth 4.0
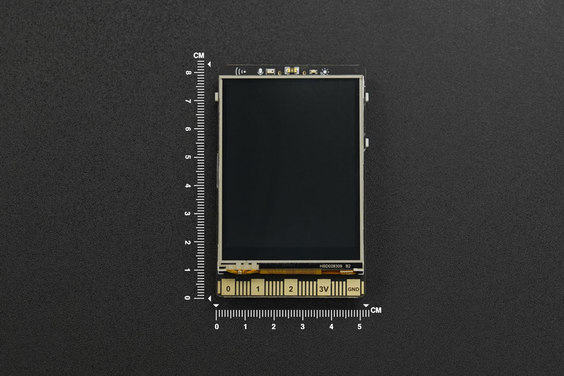
- Screen: 2.8inch, 240×320, Touch Screen
- MCU: GD32VF103
- Sensor: Button, Microphone, Light Sensor, Accelerometer Sensor, Gyroscope Sensor
- Actuator: Led, Buzzer
- Port: USB Type-C, USB-A, Gravity 3pin&4pin port, Edge connector
- Power: 5V 2A for USB Type-C
- Size: 51.6mmx83mmx13mm
DOCUMENTS
- Getting Started
- Product wiki
- FAQ
- Website
- UNIHIKER Graphical Python Tutorial
- CE Certifications
- FCC Certifications
- RoHS Certifications
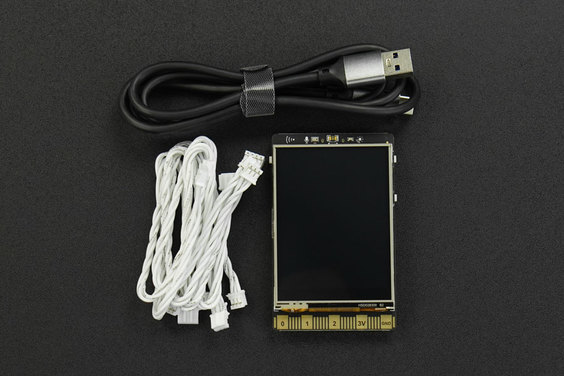
SHIPPING LIST
- UNIHIKER Single Board Computer x1
- Type-C USB cable x1
- Double Sided PH2.0-3P white 20cm silicone wire x4
- Double Sided PH2.0-4P white 20cm silicone wire x2
PROJECTS
1. Project: How to Make a Fruit Classification Project with UNIHIKER
Introduction: UNHIKER supports running machine learning, neural networks, and other AI-related Python libraries. With its ability to process image information, it is perfect for computer vision applications. In this tutorial, we will implement a fruit classification project using UNIHIKER and a USB camera.

2. Project: How to Build an Intelligent Car System with UNIHIKER
Introduction: Equipped with a variety of on-board hardware and expansion interfaces, UNIHIKER can control a wide range of sensors and actuators with ease. In this tutorial, we will demonstrate the implementation of an intelligent car system using UNIHIKER and Gravity modules.

Getting Started with UNIHIKER

1. Quick Start Tutorial
-
This tutorial will help you quickly get started on controlling the UNIHIKER with Python code through a few simple steps.
-
If you encounter any issues during use, please feel free to contact us through either of the methods listed below:
-
Join our UNIHIKER channel by scanning the QR code below or clicking the link https://discord.gg/rvvfNCvBKv.

- Send emails to our mailbox: unihiker@dfrobot.com
2. Preparation
- UNIHIKER * 1
- Type-C to USB cable * 1
- PC * 1
3. Starting up
Connect the UNIHIKER to your computer via the Type-C to USB cable. Once connected and powered on, the UNIHIKER logo will appear on the screen. At this time, the computer will automatically recognize the UNIHIKER as an network device, and you can access it directly through the fixed IP address 10.1.2.3.
Note: Please ensure that you plug the USB cable directly into the computer's USB port without using an extension cord or dock. If you experience any issues with the connection, please refer to the FAQ for a solution.
Note: After reading through this text, please refer to the ADVANCED FEATURES section for additional connection methods and explanations.

4. Programming Methods Explanation
As a single-board computer, the UNIHIKER can directly run Python code. It also has SSH and SMB file sharing services enabled by default, allowing you to use any text editor to write code and transfer it to the board for execution.
This document provides simple instructions for several commonly used software tools. Feel free to jump to the corresponding sections based on your preferences or follow the order as presented.
-
Jupyter Notebook:
The UNIHIKER comes with built-in Jupyter Notebook, which allows you to do Python programming on a web page using your computer or mobile device's browser. You can also use the web terminal to control the UNIHIKER. -
VSCode:
VSCode is a powerful code editor. If you are familiar with it, you can use VSCode to program and control the UNIHIKER. -
SSH Connection:
The UNIHIKER has SSH service enabled by default. If you are accustomed to using SSH terminals to control Linux devices, it will be convenient to do so on the UNIHIKER as well. -
MindPlus:
MindPlus is a software that supports graphical programming and code programming. It provides easy connection and file management, making it very user-friendly for beginners.
4.1. Programming on Jupyter
The UNIHIKER features built-in Jupyter service but it is disabled by default. Enable it and then you can directly program UNIHIKER on a web page.
-
1- Open a browser (not IE), and enter the website address 10.1.2.3 to access the local web page menu on the UNIHIKER.
Note: If there is a connection error, check if the USB cable is connected correctly or refer to FAQ for a solution. If the issue still exists, join our UNIHIKER official channel for assistance.]
Note: You can also directly enter the Jupyter page by inputting 10.1.2.3:8888 (require enabling Jupyter service first).
-
2-Select the Service Toggle, and check the status of the Jupyter. If it is disabled, click Start and wait until the status changes to be Enabled, then click Open Page to access the Jupyter programming page.

- 3- Create a new project. Once Jupyter is enabled, click New > Python 3 (ipykernel) and you can create a Jupyter project.

- 4- Program and run the code. Enter the code, and click Run to see the results displayed on UNIHIKER screen. Click interrupt kernel or Kernel > Restart and you can end the program.
# -*- coding: UTF-8 -*-
from unihiker import GUI
import time

gui = GUI()
#unihiker library text display
gui.draw_text(text="Hello,UNIHIKER!",origin="center",x=120,y=160,color="#0066CC")

while True:
#Keep program running
time.sleep(1)


4.2. SSH
The UNIHIKER has SSH service enabled by default, so you can use SSH tools like PuTTY or MobaXterm to connect to it from another computer.
To connect to the UNIHIKER using SSH:
- Use the SSH account:
root - Use the password:
dfrobot - When the UNIHIKER is connected to your PC via USB, the IP address is fixed at 10.1.2.3. You can find the IP address in the "Home" menu of the UNIHIKER.
4.3. Programming on VSCode
In VSCode, there is a Remote plug-in that allows you to connect to a remote host via SSH, enabling you to directly program the UNIHIKER.
- To use this feature, first, install the "Python" extension from the VSCode Extensions marketplace. Then, search for the "remote" extension and install "Remote - SSH".
- Once the installation is complete, you will find the Remote Explorer in VSCode. To add a new connection, enter the SSH account as "root" and the password as "dfrobot". When connected via USB, the IP address is fixed as "10.1.2.3", so enter "root@10.1.2.3" and select "Linux". Enter the password when prompted.
Note: If the connection fails, please retry multiple times.
- Once connected, you can select the UNIHIKER directory to open files and write programs for execution.
Please let me know if there is anything else I can assist you with.
4.4. Programming on Mind+
- Download the Mind+ application that supports UNIHIKER (V1.7.2 RC3.0 or above). [Dowload Mind+ from the official website]
- Follow the instructions and install the Mind+ software.launch the Mind+ Editor and select a language.

- Open Mind+ and switch to Python mode.

Mind+ supports programming by graphical blocks and Coding. You can choose as per your needs.

4.4.1. Graphical Blocks
Switch to Blocks.
-
Load the extension library of UNIHIKER. Click Extensions to load UNIHIKER, then return to the programming page, and you can see the UNIHIKER blocks and the Connect Remote Terminal item.

-
Drag blocks to program. The code to be written is shown below:

-
Connect to the UNIHIKER. After a successful connection, Mind+ will automatically detect the Python libraries inside the UNIHIKER(such as pinpong, SIoT, etc. If these library versions are outdated, a prompt to upgrade will appear).
If you click the run button without connecting to UNIHIKER, the code will be executed on your computer's Python environment and the result will be displayed on your computer.
If you want to see the result displayed on UNIHIKER, you need to open the Connect Remote Terminal menu in Mind+ and select 10.1.2.3 to connect to UNIHIKER. Then click the run button again, and the result will be displayed on the UNIHIKER screen.Note: If there is a connection error, check if the USB cable is connected correctly or refer to FAQ for a solution. If the error still exists, join our UNIHIKER channel for assistance.

-
Run the code. After connecting to UNIHIKER successfully, click Run to upload the code to the board for execution. You can see the running effect on the UNIHIKER screen.

4.4.2. FAQ
| Q | How to run graphical programs on UNIHIKER? |
|---|---|
| A | Click the button Run, and Mind+ will upload the generated Python code when coding by blocks to the mindplus folder in UNIHIKER. So you can find the corresponding project's .cache_file.py in the folder through the Home menu and run it.  |
| Q | How to upload resource files (such as images) to UNIHIKER for use in the program? |
|---|---|
| A | Open the File System in Mind+, drag the file into the File in the project, and click Run. Then Mind+ will upload all the files in the project to the mindplus folder on UNIHIKER for use. |
4.4.3. Coding
Switch to the Code (default page).
- Write the code. Create a new main.py file in the File in the project, double-click to open, and enter the following code:

# -*- coding: UTF-8 -*-
from unihiker import GUI
import time

gui = GUI()
#unihiker library text display
gui.draw_text(text="Hello,UNIHIKER!",origin="center",x=120,y=160,color="#0066CC")

while True:
#Keep the program running
time.sleep(1)
-
Connect to the UNIHIKER. If you click Run directly, the code will run on your PC's Python environment. If you want to run it on the UNIHIKER, you need to connect to it. Click the icon before the Terminal to activate the Connect to Remote Terminal menu, and then click 10.1.2.3 to connect to the UNIHIKER.
Note: If there is a connection error, check if the USB cable is connected correctly or refer to FAQ for solutions. If the issue still exists, join our UNIHIKER official channel for assistance.

Once UNIHIKER is connected, the File in UNIHIKER will be displayed in the File Catalog, the terminal will switch to the remote terminal of UNIHIKER, and the library management will switch to the library management of UNIHIKER.
- Run the code. After the UNIHIKER is successfully connected, click Run and Mind+ will upload the code to the board and run it. You can see the running effect on the screen.

Note: The code actually exists on the PC here. When you save the project, all the py codes or image resources contained in the project file will be packaged into the .mp file for easy transmission. In the UNIHIKER's Home menu, you can find the .mp package in the mindplus folder in Run Programs. Click it and you can run the code directly without connecting to Mind+.
วิธีการชำระเงิน
ชำระเงินค่าสินค้าโดยการโอนเงินเข้าบัญชีธนาคาร KBANK, SCB, BBL,TMB
กรุณาเก็บหลักฐานการโอนเงินของท่านไว้เพื่อแจ้งการชำระเงินด้วยค่ะ
ท่านสามารถแจ้งการชำระเงินผ่านระบบอัตโนมัติได้โดย Click Link ข้างล่างค่ะ
https://www.arduitronics.com/informpayment
ชำระเงินผ่านธนาคาร


@rfm0967y
ติดต่อสอบถาม
Join เป็นสมาชิกร้านค้า
MEMBER
