
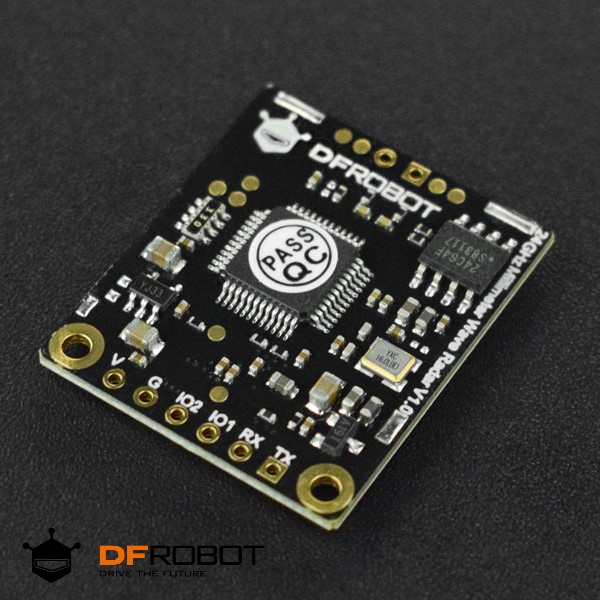
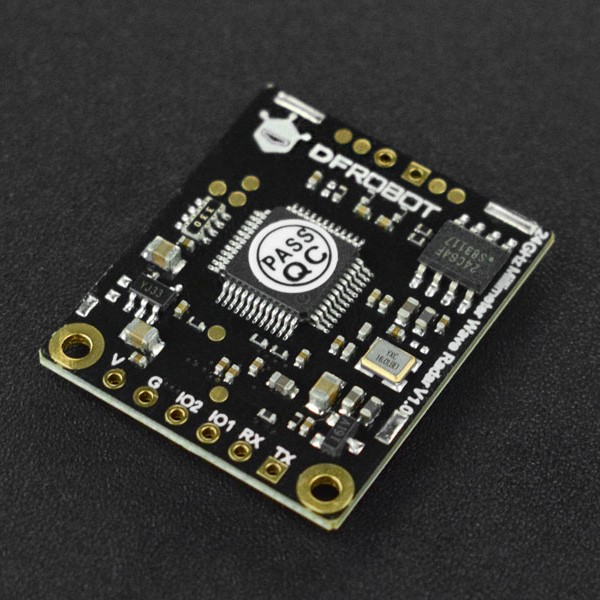
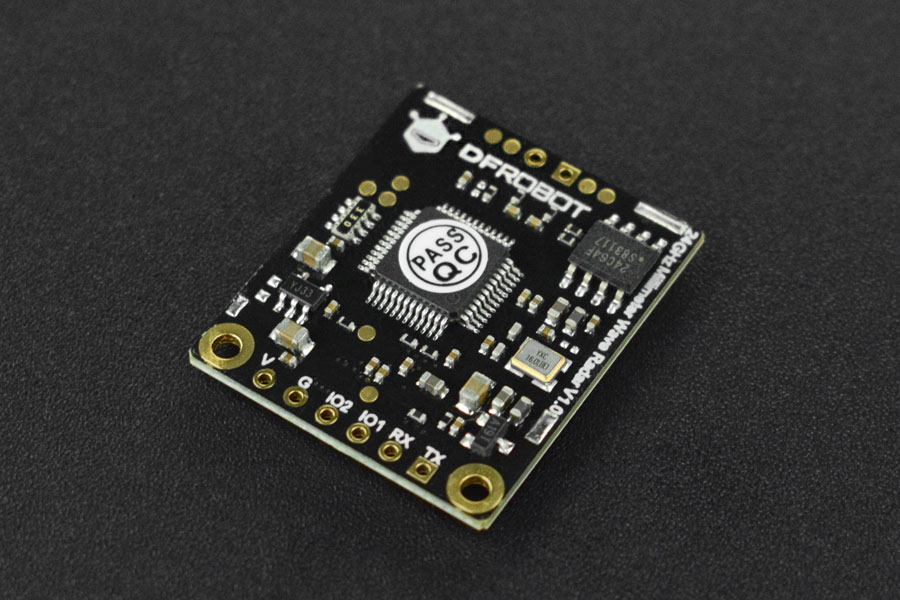
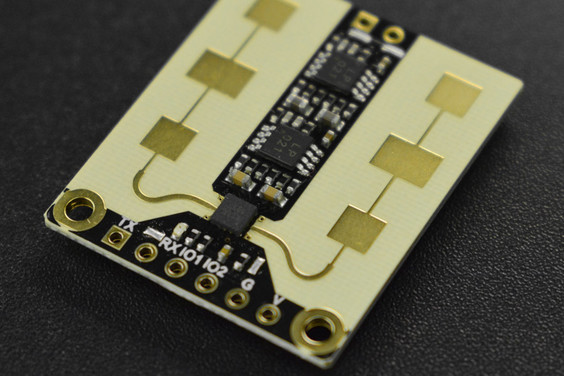
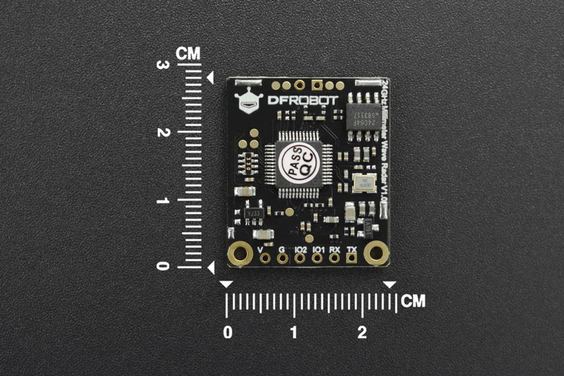
mmWave Radar - 24GHz Human Presence Detection Sensor (9 Meters) - แท้ DFRobot

| รหัสสินค้า | AS00555 |
| หมวดหมู่ | LIDAR / เซ็นเซอร์วัดระยะทาง / ความเร็ว Distance / Speed |
| ราคา | 1,585.00 บาท |
| สถานะสินค้า | พร้อมส่ง |
| จำนวน | ชิ้น |

รายละเอียดสินค้า
INTRODUCTION

-Bottom installation")
Bottom installation
-Horizontal installation")
Horizontal installation
-Top installation")
Top installation
FEATURES
-
Human presence sensing: sense if there is human body in areas.
-
I/O port switch quantity input and output control
-
Serial port input and output control
-
Strong anti-interference ability, not to be affected by snow, haze, temperature, humidity, dust, light, noise, etc
SPECIFICATION
-
Power Supply: 3.6~5V
-
Operating Current: 90mA
-
Detection Distance: 9m
-
Equivalent Transmit Power: 9-12dBM
-
Beam Angle: 100*40°
-
Modulation Mode: FMCW, CW
-
Operating Frequency: 24GHz
-
Operating Temperature Range: -40~85℃
-
Baud Rate: 115200
-
Dimension: 24*28mm/0.94*1.10"
DOCUMENTS
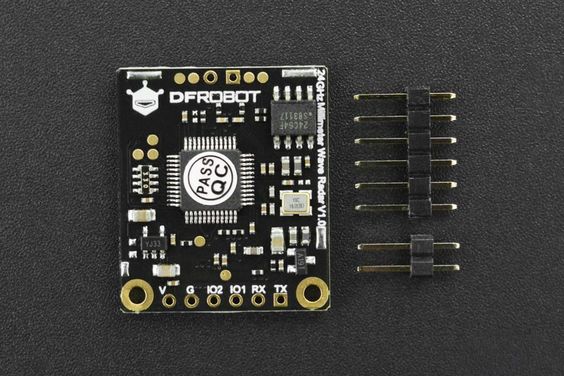
SHIPPING LIST
- mmWave - Human Presence Detection Sensor (9 Meters) ×1
Instructions
The module adopts serial communication protocol and uses ASCII code string as command interation and data interaction.
- Serail communication configuration: 115200 baud rate, 1 stop bit, 8 data bits, no parity bit, no flow control
- Command interaction: ASCII code string format, ending with a new line; separated by space between commands to parameters, parameters to parameters.
- When configuring the working parameters of the sensor, the sensor must be in a halted state; after the parameter configuration is completed, a save parameter command must be sent to save the changed parameters in the non-power-loss memory.
- If using this module as a trigger switch, that is, only use the I/O port of the module, and at the same time, when the configuration parameters meet the performance and functional requirements, the serial port is not necessary, and also users do not need to care about the communication protocol.
Output Information Configuration
Description: The default configuration of the sensor is to output the sensing results only in ASCII code string format, and modification is not supported temporarily.
Human body induction result output: ASCII code string format
Description:
- The string information starts with "$" and ends with "*". Multiple parameters are separated by ",", and placeholder parameters(reserved) are replaced by spaces.
- The sensing result of the "Human Sensor" is output at a data refresh rate of 1Hz by default.
Response: $JYBSS,par1,par2,par3,par4*
| Parameter Term | Description |
|---|---|
| par1 | Induction result: 0: No one 1: People presence detected(stationary or moving) |
| par2 | Placeholder parameter: reserved, replace with spaces |
| par3 | Placeholder: reserved, replace with spaces |
| par4 | Placeholder: reserved, replace with spaces |
| Example | Command |
|---|---|
| People presence detected (moving or stationary) | $JYBSS,1, , , * |
| No one detected | $JYBSS,0, , , * |
Sensor Detection Area Configuration
Description:
- The module configures the sensing area as 128 equal parts by default, each equal part is about 15cm. The configuration parameters are selected from 0~127, as the index of the distance value in the sensing area.
- The sensing area allows configuration of 4 segments, the configuration values of the 4 segments must be configured in order from small to large, and cannot contain each other.
Command: detRangeCfg par1 parA_s parA_e parB_s parB_e parC_s parC_e parD_s parD_e
| Parameter Term | Description |
|---|---|
| par1 | Retained, constant -1 |
| parA_s parA_e |
The 1st segment of the sensing area configuration value: parA_s: the starting value index of the sensing area distance(≥0) parA_e: the ending value index of the sensing area distance |
| parB_s parB_e |
The 2nd segment of the sensing area configuration value (the index must start after the 1st segment sensing area configuration index): parB_s: the starting value index of the sensing area distance parB_e: the ending value index of the sensing area distance |
| parC_s parC_e |
The 3rd segment of the sensing area configuration value (the index must start after the 2nd segment sensing area configuration index): parC_s: the starting value index of the sensing area distance parC_e: the ending value index of the sensing area distance |
| parD_s parD_e |
The 4th segment of the sensing area configuration value (the index must start after the 3rd segment sensing area configuration index): parD_s: the starting value index of the sensing area distance parD_e: the ending value index of the sensing area distance(≤127) |
Note: Multiply the start or end value index of the sensing area distance by 15cm, it represents the start or end distance value.
| Response | Description |
|---|---|
| Done | The command was executed successfully |
| Error | Command execution failed |
| Example | Command |
|---|---|
| (Default configuration) Sensing distance: "0m to 3m" (0m=0 * 0.15cm, 3m=20 * 0.15cm) |
detRangeCfg -1 0 20 |
| Sensing distance: "1.5m to 3m" (1.5m=10 * 0.15cm, 3m=20 * 0.15cm) |
detRangeCfg -1 10 20 |
| Sensing distance: "1.5m to 3m" "7.5m to 12m" (1.5m=10 * 0.15cm, 3m=20*0.15cm) (7.5m=50 * 0.15cm, 12m=80 * 0.15cm) |
detRangeCfg -1 10 20 50 80 |
| Sensing distance: "1.5m to 3m" "7.5m to 12m" "13.5m to 15m" (1.5m=10 * 0.15cm, 3m=20 * 0.15cm) (7.5m=50 * 0.15cm, 12m=80 * 0.15cm) (13.5m=90 * 0.15cm, 15m=100 * 0.15cm) |
detRangeCfg -1 10 20 50 80 90 100 |
| Sensing distance: "1.5m to 3m" "7.5m to 12m" "13.5m to 15m" "15.75m to 16.5m" (1.5m=10 * 0.15cm, 3m=20 * 0.15cm) (7.5m=50 * 0.15cm, 12m=80 * 0.15cm) (13.5m=90 * 0.15cm, 15m=100 * 0.15cm) (15.75m=105 * 0.15cm, 16.5m=110 * 0.15cm) |
detRangeCfg -1 10 20 50 80 90 100 105 110 |
Sensor Output Delay Configuration
Description: configure, when the sensor detects a target, the delay time for the output of the sensing result; after the target disappears, the delay time for the output of the sensing result. By default, when a target detected, the delayed output time is 2.5s; after the target disappears, the delayed output time is 10s.
Command: outputLatency par1 par2 par3
| Parameter Term | Description |
|---|---|
| par1 | Retained, constant -1 |
| par2 | When the target is detected, the delay time for output of sensing results: Value range: 0~65535, unit: 25ms |
| par3 | After the target disappears, the delay time for output of sensing results: Value range: 0~65535, unit: 25ms |
| Response | Description |
|---|---|
| Done | The command was executed successfully |
| Error | Command execution failed |
| Example | Command |
|---|---|
| (Default configuration) The target is detected, the delay time is 2.5 seconds. The target disappears, the delay time is 10 seconds. | outputLatency -1 100 400 |
| The target is detected, the delay time is 5 seconds. The target disappears, the delay time is 20 seconds. | outputLatency -1 200 800 |
Sensor Start-up Mode Configuration
Description: Configure the sensor to start running immediately after power-on or wait for the start command after power-on. The former is set by default.
Command: sensorCfgStart par1
| Parameter Term | Description |
|---|---|
| par1 | Enable the sensor to start running immediately after power-on: 0: Prohibit the sensor to start running immediately after power-on. The sensorStart command is required to start running (default value) 1: Enable the sensor to start running immediately after power-on. No sensorStart command is required to start running |
| Response | Description |
|---|---|
| Done | The command was executed successfully |
| Error | Command execution failed |
| Example | Example |
|---|---|
| Prohibit the sensor to start running immediately after power on | sensorCfgStart 0 |
| (Default configuration) Enable the sensor to start running immediately after power on | sensorCfgStart 1 |
Sensor Start Control
Description:
**- When the sensor is in an unstarted state and there are no set parameters to be saved, start the sensor to run.
- Through the sensorCfgStart command, when the sensor is configured to start running immediately after power-on, there is no need to execute the sensorStart command to start running.**
Command: sensorStart
| Parameter Term | Description |
|---|---|
| Null | No parameters |
| Response | Description |
|---|---|
| Done | The command was executed successfully |
| Error | Command execution failed |
Sensor Reset Control
Description: Reset the sensor by software
Command: resetSystem
| Parameter Term | Description |
|---|---|
| Null | No parameters |
| Response | Description |
|---|---|
| Error | Command execution failed |
| No response string | After the command is executed successfully, the sensor will be reset directly, so there is no response string |
Sensor Stop Control
Description: Stop the sensor when it is running.
Commands: sensorStop
| Parameter Term | Description |
|---|---|
| Null | No parameter |
| Response | Description |
|---|---|
| Done | The command was executed successfully |
| Error | Command execution failed, the sensor is not in |
| operating status |
Configuration Save Parameter
Description: When the sensor parameters are reconfigured through the UART and have not been saved, this command saves the new configuration parameters to the sensor Flash
Command: saveCfg par1 par2 par3 par4
| Parameter Term | Description |
|---|---|
| par1 | Fixed value: 0x45670123 |
| par2 | Fixed value: 0xCDEF89AB |
| par3 | Fixed value: 0x956128C6 |
| par4 | Fixed value: 0xDF54AC89 |
| Response | Description |
|---|---|
| Done | The command was executed successfully |
| Error | Command execution failed (If there are no parameters to save, the command will fail to execute) |
Save the configuration parameters to the non-power-loss memory unit, command: saveCfg 0x45670123 0xCDEF89AB 0x956128C6 0xDF54AC89
Factory reset
Description: Restore the current configuration parameter value of the sensor to the factory default value.
Command: factoryReset par1 par2 par3 par4
| Parameter Term | Description |
|---|---|
| par1 | Fixed value: 0x45670123 |
| par2 | Fixed value: 0xCDEF89AB |
| par3 | Fixed value: 0x956128C6 |
| par4 | Fixed value: 0xDF54AC89 |
| Response | Description |
|---|---|
| Done | The command was executed successfully |
| Error | Command execution failed |
Restore configuration parameters to factory default values, command: factoryReset 0x45670123 0xCDEF89AB 0x956128C6 0xDF54AC89
Tutorial for Arduino
Requirements
- Hardware
- Arduino UNO R3 (or similar) x 1
- mmWave Radar x1
- M-M/F-M/F-F Jumper wires
- Software
- Arduino IDE
- Download and install the DFRobot_mmWave Radar Library (About how to install the library?)
API Function List
Connection Diagram

| mmWave Radar | Arduino Uno |
|---|---|
| VCC | 5V |
| GND | GND |
| RX | D2 |
| TX | D3 |
Copy the following code to your Arduino IDE and upload it.
Sample Code
Expected Results

วิธีการชำระเงิน
ชำระเงินค่าสินค้าโดยการโอนเงินเข้าบัญชีธนาคาร KBANK, SCB, BBL,TMB
กรุณาเก็บหลักฐานการโอนเงินของท่านไว้เพื่อแจ้งการชำระเงินด้วยค่ะ
ท่านสามารถแจ้งการชำระเงินผ่านระบบอัตโนมัติได้โดย Click Link ข้างล่างค่ะ
https://www.arduitronics.com/informpayment
ชำระเงินผ่านธนาคาร


@rfm0967y
ติดต่อสอบถาม
Join เป็นสมาชิกร้านค้า
MEMBER
