
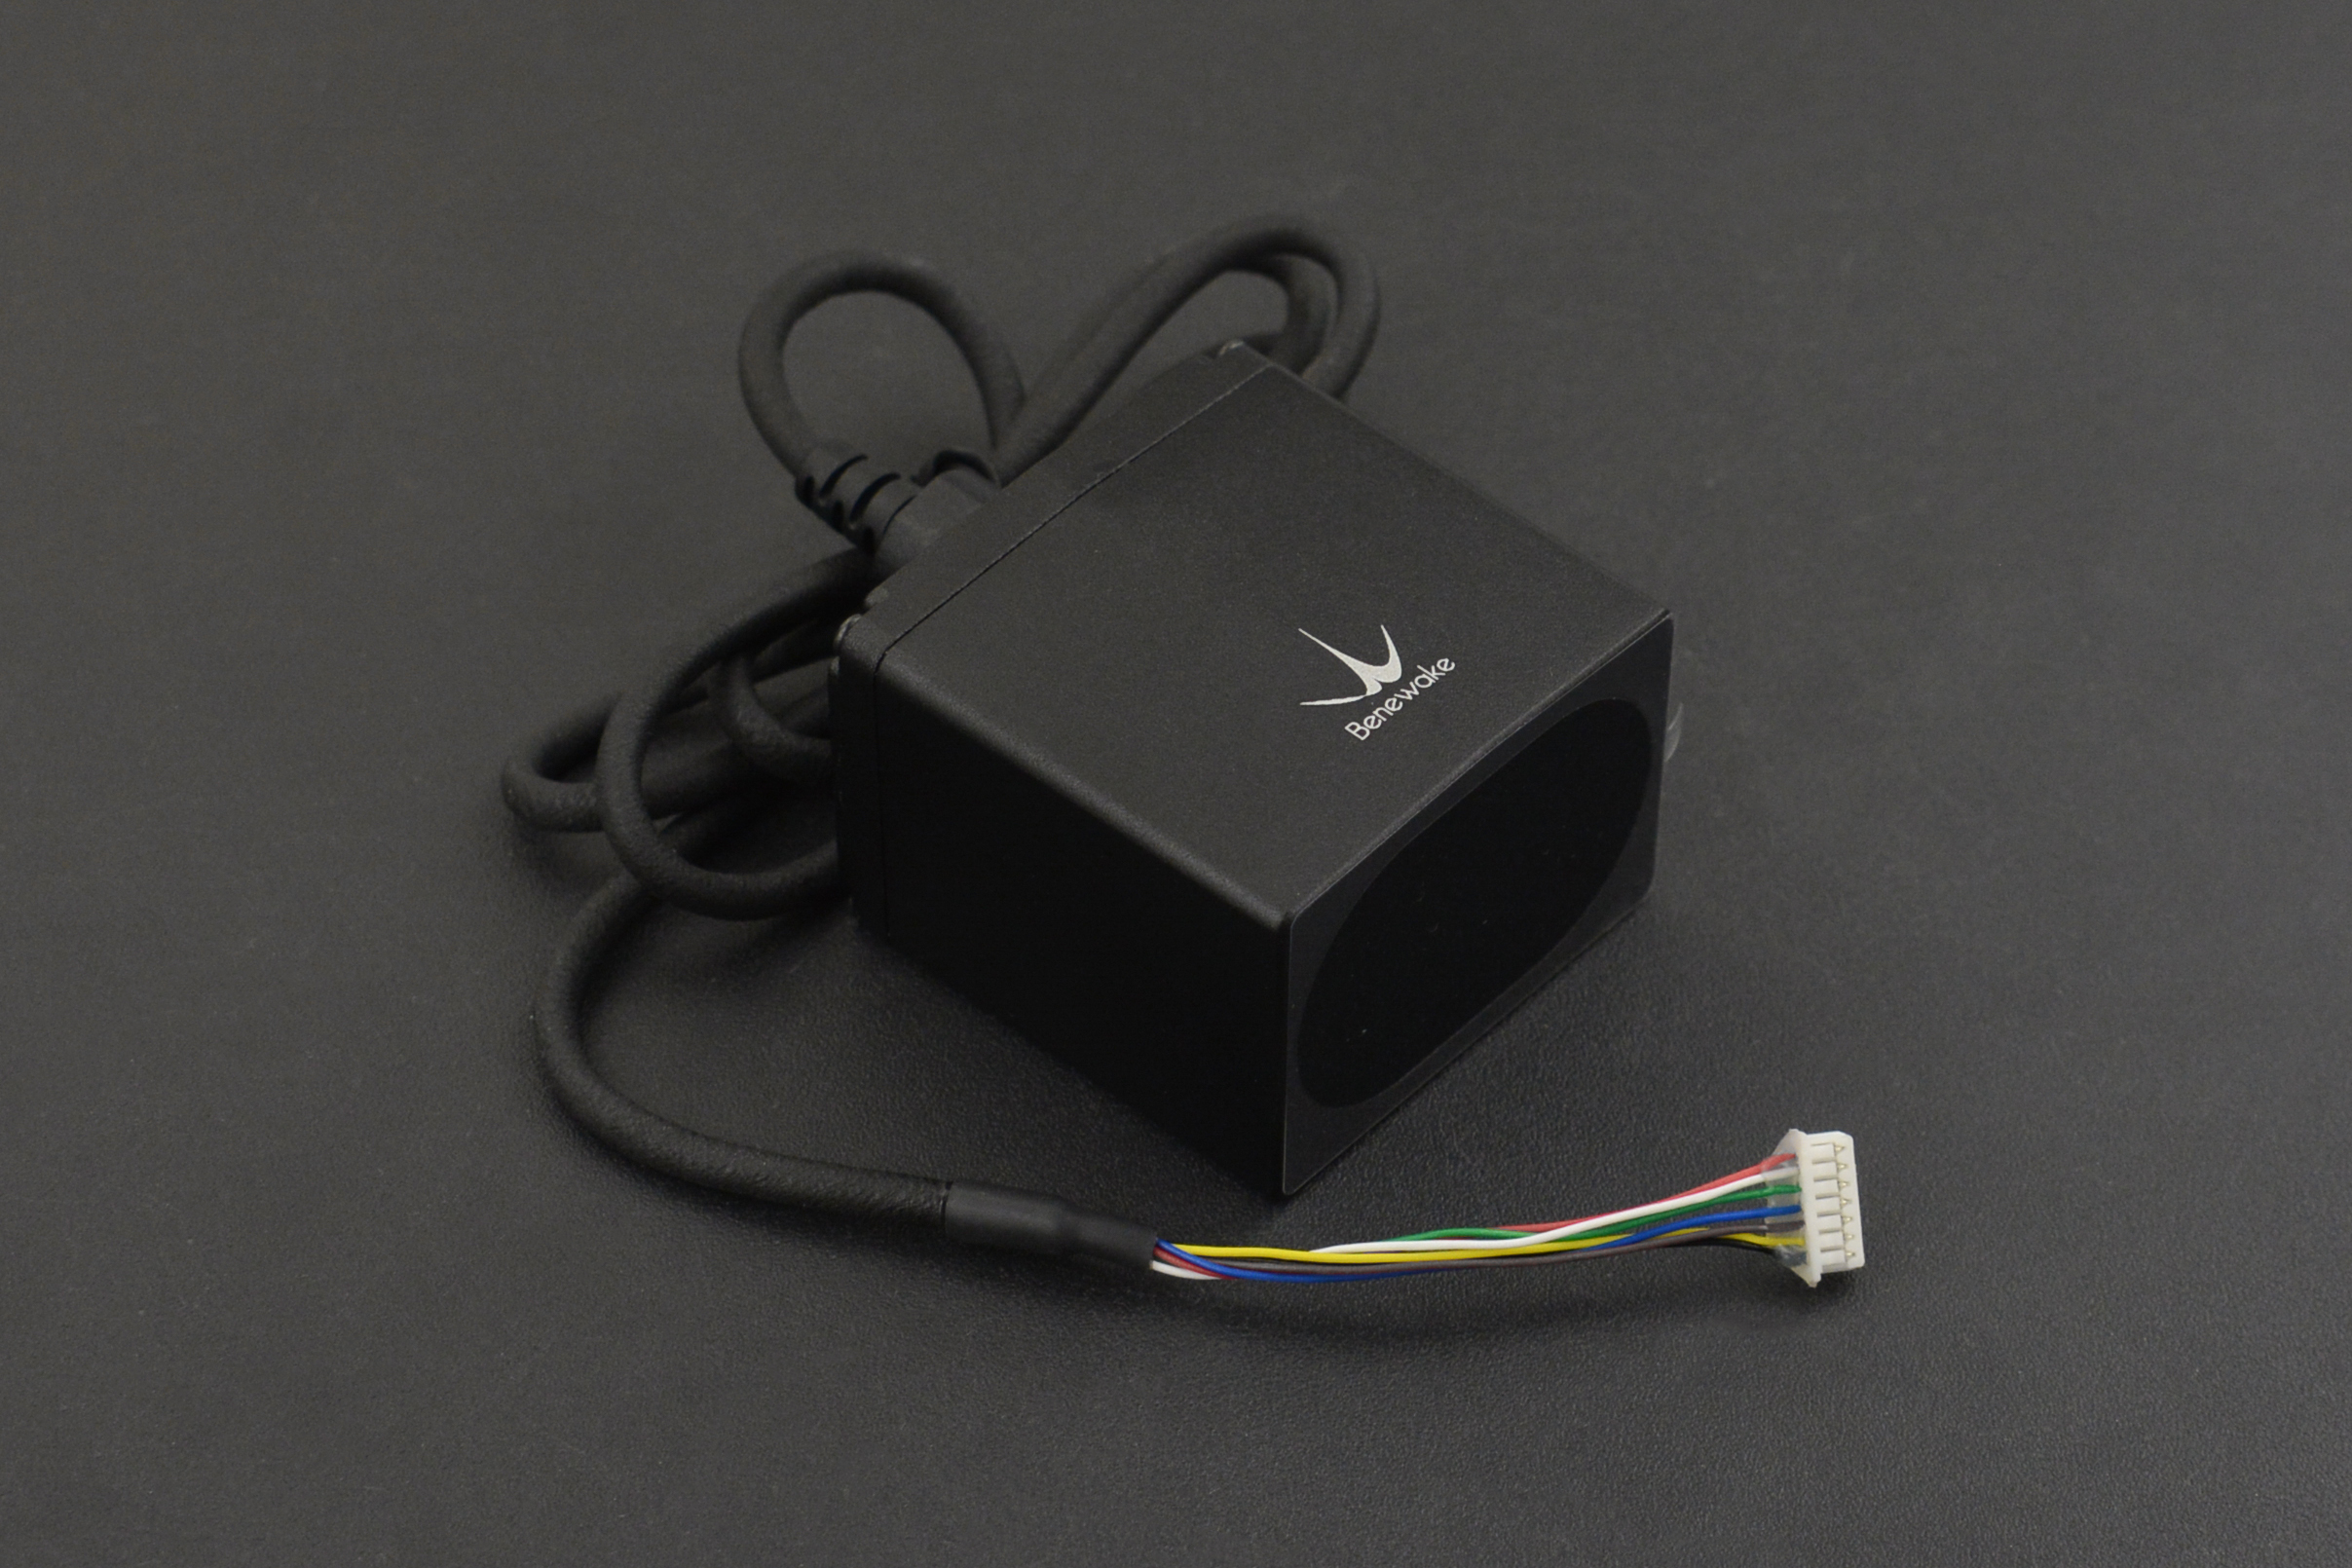
TF03 (ToF) Laser Range Sensor (180m)

| รหัสสินค้า | AS60239 |
| หมวดหมู่ | LIDAR / เซ็นเซอร์วัดระยะทาง / ความเร็ว Distance / Speed |
| ราคา | 12,850.00 บาท |
| สถานะสินค้า | พร้อมส่ง |
| จำนวน | ชิ้น |

รายละเอียดสินค้า
INTRODUCTION
TF03 employs the pulsed time-of-flight principle. The unique design of the optical system and the signal processing circuit improved the detecting performance in a compact size. In addition to increasing the range to more than 100 meters, this sensor features 0.1m blind zone, ±10cm accuracy, up to 10KHz frequency, and 100Klux ambient light immunity. TF03 also contains a compensation algorithm targeting outdoor highlight environment, so that it can still keep excellent performance in harsh environment.
 Laser Range Sensor(100m)")
Detection angle schematic
 Laser Range Sensor(100m)")
Spot simulated diagrams and sizes at different distances
Note: In it, the red is the strongest, the green is weak, and the dark blue is the background, and the spot size is the length and width of the green in the figure.
The shell of TF03 is made of aluminum alloy and infrared band-pass glass to improve the overall strength. With IP67 enclosure rate, the sensor can be applied in various extreme environments. It supports multiple interfaces for different applications, such as, UART, CAN, IO. Besides that, multiple parameters of TF03 can be configured by customers, including the measuring frequency, baud rate, trigger mode, over-range assignment, and so on. TF03 is also equipped with BootLoader function, enabling users to upgrade product firmware locally. Power the sensor with 5V. The average power consumption is 0.55W. It is compatible with controllers like Arduino, Raspberry Pi. With Arduino and Raspberry Pi libraries developed by DFRobot, users can conveniently integrate functions into system to develop their applications.
 Laser Range Sensor(100m)")
Dimension Diagram
Note
1. This product can only be maintained by qualified professionals and only the original spare parts can be used to ensure its performance and safety.
2. The product itself has no polarity and over-voltage protection. Please complete wiring and supply power correctly according to the contents of the Manual.
3. The working temperature of the product is -20°C~60°C, do not use it beyond this range so as to avoid risks.
4. The storage temperature of the product is -40°C~85°C; please do not store it beyond this temperature range, so as to avoid risks.
5. Do not open its enclosure for assembly or maintenance beyond this Manual; otherwise, it will affect the product performance.
6. When the product transmitter and receiver lens are covered by dirt, there will be a risk of failures. Please keep the lens clean.
7. The product will have a risk of failure when immersed completely in water. Do not use it underwater.
8. When detecting objects with high reflectivity, such as mirrors and smooth tiles, the product may have a risk of failures.
- Range: 0.1m-180m@90% reflectivity
0.1m-130m@90%reflectivity&100Klux
0.1m-50m@10%reflectivity &100Klux
- Accuracy: ±10cm (less than 10m), 1%(more than 10m)
- Distance Resolution: 1cm
- Frame Rate: 1Hz-1000Hz Adjustable (Default 100Hz)
- Ambient Light Immunity: 100klux
- Repeatability: 1σ:<3cm
- Operating Temperature: -25°C~60°C
- Enclosure Rate: IP67
- Light Source: LD
- Wavelength of Light Source: 905nm
- FOV Angle: 0.5°
- Laser Class: CLASS1 (EN60825)
- Supply Voltage: 5V~24V
- Average Current: ≤150mA@5V,≤80mA@12V,≤50mA@24V
- Power Consumption: ≤0.9W
- Peak Current: ≤180mA
- Communication Voltage Level: LVTTL (3.3V)
- Communication Interfaces: UART/CAN/IO
- Dimension: 44*43*32mm/1.73*1.69*1.26”
- Enclosure Material: Aluminum alloy
- Storage Temperature: -40℃~85℃
- Weight: 89g±3g
- Wiring Length: 70cm/27.56”
- TF03 (ToF) Laser Range Sensor(100m) x1
Tutorial
To give users a direct impression on the Laser Range Sensor, this tutorial provides the following information:
-
How to use this TF03 Laser Range Sensor on Arduino?
-
How to read the output distance of the sensor on PC?
-
Black and white line detection.
Requirements
-
Hardware
- DFRduino UNO R3 (or similar) x 1
- IO Sensor Expansion Board V7.1 x 1
- Gravity: I2C 16x2 Arduino LCD with RGB Backlight Display x 1
- 7.4V 2500MA Li-ion Battery (With rechargeable protection board) x 1
- USB to Serial Cable x 1
- Jumper wires
-
Software
- Arduino IDE
- Click to download DFRobot TF Mini Library
- Click to download DFRobot LCD library file
Debugging on Arduino (PC serial port)
Since the TF mini is a serial device and the ordinary Arduino has only one hardware serial, we recommand using the sensor together with a software serial. Of course, users can also use device with multi-serial port, such as Arduino Leonardo, Arduino Mega2560 and so on. Here we use the common Arduino Uno as the controller, and define D12 and D13 as software serial port.
Arduino Connection
- Use the serial software to display the measured distance and power the entire system.

Sample Code(Arduino Debugging)
- A PC serial port tool is needed here and the readings will be displayed on the tool's interface.
- The following is the data format displayed on serial software.
Distance = 1000 mm
Strength = 688
Distance Display on LCD
In actual applications, the sensor may need to be used without a PC. So in this tutorial, the li-ion battery will be power supply and the LCD is used for displaying detected distance.

Arduino Test Code
/*
* @File : DFRobot_TFmini_test.ino
* @Brief : This example use TFmini to measure distance
* With initialization completed, we can get distance value and signal strength
* @Copyright [DFRobot](https://www.dfrobot.com), 2016
* GNU Lesser General Public License
*
* @version V1.0
* @date 2018-1-10
*/
#include <Wire.h>
#include <DFRobot_RGBLCD.h>
#include <DFRobot_TFmini.h> //TF Mini header file

SoftwareSerial mySerial(12, 13); // RX, TX
DFRobot_TFmini TFmini;
uint16_t distance,strength;

unsigned int lcd_r = 0, lcd_g = 0, lcd_b = 0;
unsigned long delaytime = 0, lighttime = 0;
DFRobot_RGBLCD lcd(16, 2);
void setup()
{lcd.init();
delay(5000);
Serial.begin(115200);
Serial.println("hello start");

TFmini.begin(mySerial);
lighttime = millis();
lcd.setCursor(0, 0);
lcd.print("Dis:");
lcd.setCursor(0, 1);
lcd.print("Str:");
lcd.setRGB(255, 255, 000);
}
void loop() {

/******************LCD*******************/
lcd_r = random(256);
delayMicroseconds(10);
lcd_g = random(256);
delayMicroseconds(10);
lcd_b = random(256);
if (millis() - lighttime > 3000)
{
lcd.setRGB(lcd_r, lcd_g, lcd_b);
lighttime = millis();
}
//delay(100);
/**************TF Mini***************/
if(TFmini.measure()){ //Measure Distance and get signal strength
distance = TFmini.getDistance(); //Get distance data
strength = TFmini.getStrength(); //Get signal strength data

lcd.setCursor(5, 0); //LCD display
lcd.print( distance / 10000);
lcd.print( distance/ 1000 % 10);
lcd.print('.');
lcd.print( distance / 100 % 10);
lcd.print( distance / 10 % 10);
lcd.print( distance % 10);
lcd.print(" m");
lcd.setCursor(5, 1);
lcd.print(strength / 10000);
lcd.print(strength / 1000 % 10);
lcd.print(strength / 100 % 10);
lcd.print(strength / 10 % 10);
lcd.print(strength % 10);
}
} - The following data format will be displayed ont he LCD screen:
Dis: 05.000 m
Str: 00600
Distance Display on Upper PC
In addition to reading data through a single chip, we can also use a PC software to read the detected distance.
Connection: connect the TF mini to a computer via a USB-to-TTL module, and read data through the upper PC.

Result:

Detection of Black and White Line
- Since TF Mini Laser Ranging Sensor is an optical sensor and features high sensitivity to light, we can use it to achieve close-range black and white line detection (White has the highest reflectivity while black has the lowest reflectivity).
- The signal "strength" will be used to distinguish the two colors.
Connection

Arduino Code
- Note: the code needs to be used with TF Mini Library.
/*
* @File : DFRobot_TFmini_test.ino
* @Brief : This example use TFmini to measure distance
* With initialization completed, we can get distance value and signal strength
* @Copyright [DFRobot](https://www.dfrobot.com), 2016
* GNU Lesser General Public License
*
* @version V1.0
* @date 2018-1-10
*/

#include <DFRobot_TFmini.h>

SoftwareSerial mySerial(12, 13); // RX, TX

DFRobot_TFmini TFmini;
uint16_t distance,strength;

void setup(){
Serial.begin(115200);
TFmini.begin(mySerial);
}

void loop(){
if(TFmini.measure()){ //Measure Distance and get signal strength
strength = TFmini.getStrength(); //Get signal strength data
Serial.print("Strength = ");
Serial.println(strength);
}
} - Download the program, use the sensor to detect the white and black paper at a same distance, then the signal strength will be showed on the serial drawing tool interface.

Tutorial on Raspberry Pi
Requirements
- Raspberry Pi 4B
- Raspberry IO Expansion Board
- TF03(TOF) Laser Range Sensor(180m)
- Connector
Connection with Raspberry Pi

Sample Code
# -*- coding:utf-8 -*-

'''
# DFRobot_TFmini.py
#
# Connect board with raspberryPi.
# Run this demo.
#
# Connect TFmini to UART
# get the distance value
#
# Copyright [DFRobot](https://www.dfrobot.com), 2016
# Copyright GNU Lesser General Public License
#
# version V1.0
# date 2019-8-31
'''

import time

from DFRobot_TFmini import TFMINI

mini = TFMINI()

def main():
while True:
if mini.measure():
distance = mini.getDistance()
strength = mini.getStrength()
print("Distance = %.d" % distance)
print("Strength = %.d" % strength)
time.sleep(0.5)
time.sleep(0.5)

if __name__ == "__main__":
main()
วิธีการชำระเงิน
ชำระเงินค่าสินค้าโดยการโอนเงินเข้าบัญชีธนาคาร KBANK, SCB, BBL,TMB
กรุณาเก็บหลักฐานการโอนเงินของท่านไว้เพื่อแจ้งการชำระเงินด้วยค่ะ
ท่านสามารถแจ้งการชำระเงินผ่านระบบอัตโนมัติได้โดย Click Link ข้างล่างค่ะ
https://www.arduitronics.com/informpayment
ชำระเงินผ่านธนาคาร


@rfm0967y
ติดต่อสอบถาม
Join เป็นสมาชิกร้านค้า
MEMBER
