
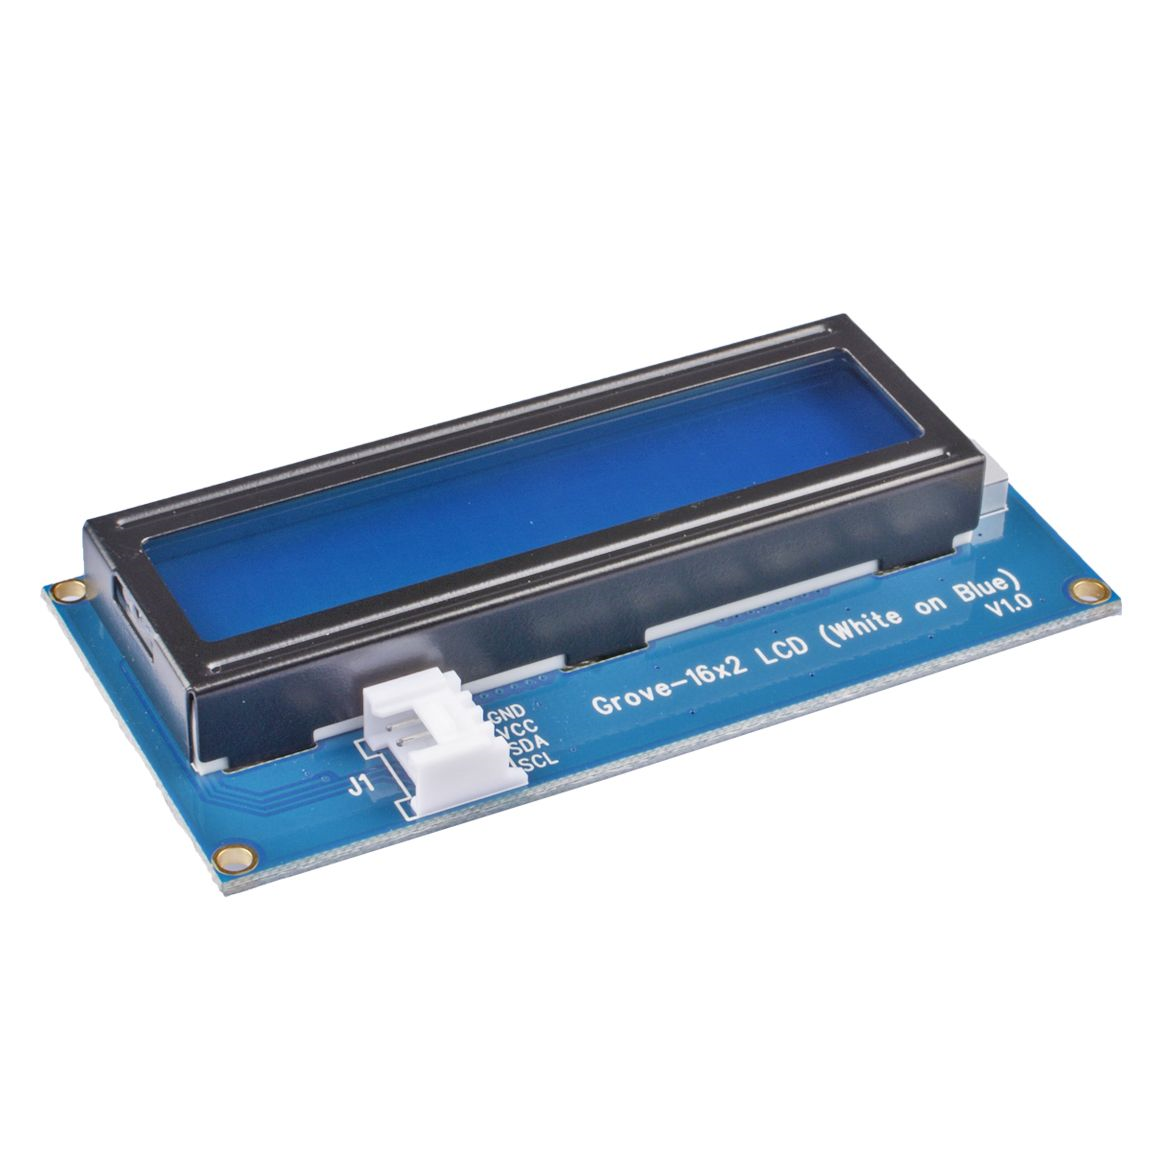
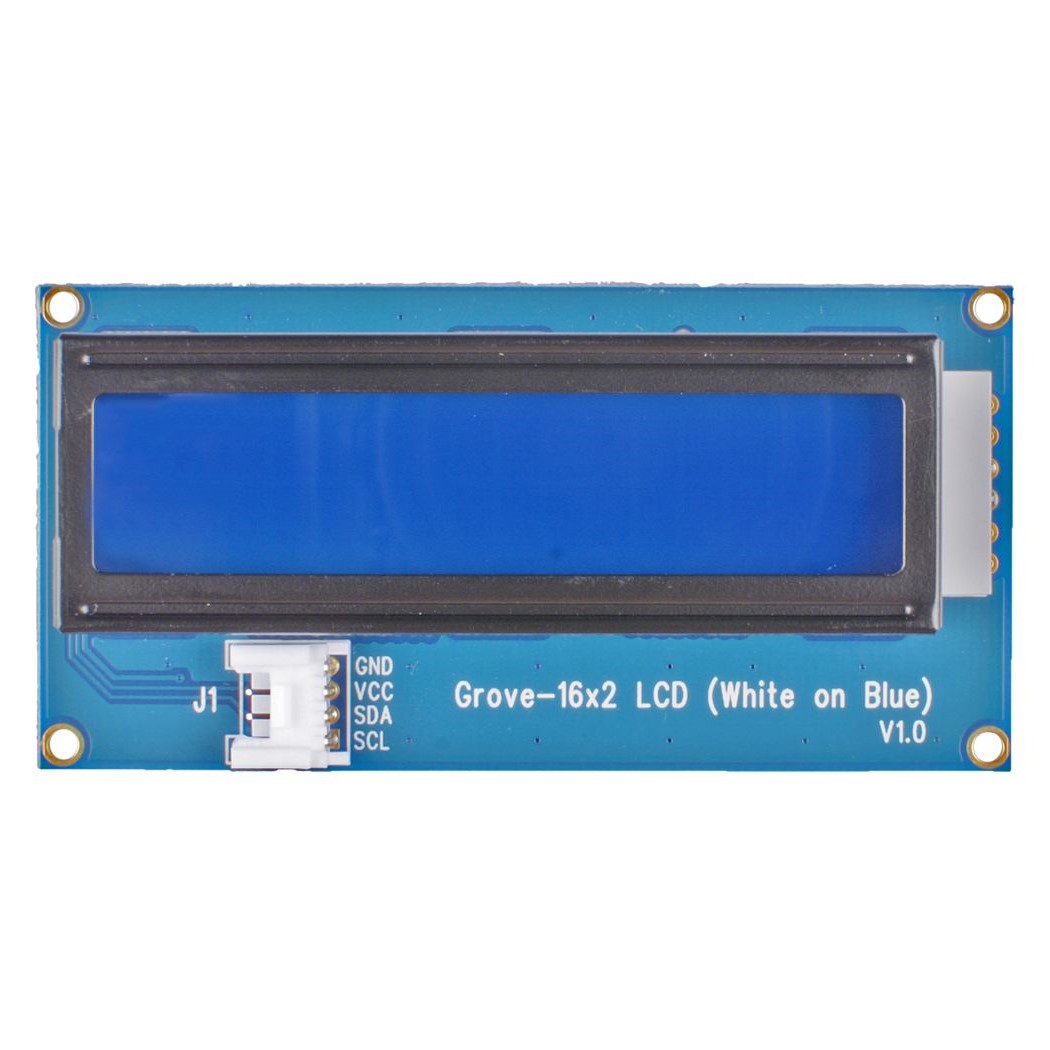
Grove - 16 x 2 LCD (White on Blue) + Grove Cable (ของแท้จาก SeeedStudio, GD)


| รหัสสินค้า | GS00029 |
| หมวดหมู่ | Grove Modules |
| ราคา | 350.00 บาท |
| สถานะสินค้า | พร้อมส่ง |
| จำนวน | ชิ้น |

รายละเอียดสินค้า
Features
-
Display construction: 16 Characters x 2 Lines
-
Display mode: STN
-
On board MCU
-
I2C-bus interface
-
Support English and Japanese fonts
Resources
Typical Applications
-
Temperature display
-
Time display
-
Any project that requires a simple display
Technical details
| Dimensions | 0mm x0mm x0mm |
| Weight | G.W 1g |
| Battery | Exclude |
Part List
| Grove - 16 x 2 LCD (White on Blue) | 1 |
| Grove Cable | 1 |
Steps
-
Step 1. Connect the Grove - 16 x 2 LCD to port I2C of Grove-Base Shield.
-
Step 2. Plug Grove - Base Shield into Seeeduino.
-
Step 3. Connect Seeeduino to PC via a USB cable.

Note
If we don't have Grove Base Shield, We also can directly connect this module to Seeeduino as below.
Software
Attention
If this is the first time you work with Arduino, we strongly recommend you to see Getting Started with Arduino before the start.
- Step 1. Download the Grove-LCD RGB Backlight Library from Github.
Tips
The Grove - 16 x 2 LCD shares the same library with the Grove-LCD RGB Backlight. Their usage is almost the same, except that the Grove - 16 x 2 LCD does not support the RGB color API, such as setRGB().
-
Step 2. Refer to How to install library to install library for Arduino.
-
Step 3. Restart the Arduino IDE. Open the example, you can open it in the following three ways:
-
Open it directly in the Arduino IDE via the path: File → Examples → Grove - LCD RGB Backlight → HelloWorld.

-
Open it in your computer by click the HelloWorld.ino which you can find in the folder XXXX\Arduino\libraries\Grove_LCD_RGB_Backlight-master\examples\HelloWorld, XXXX is the location you installed the Arduino IDE.

-
Or, you can just click the icon
 in upper right corner of the code block to copy the following code into a new sketch in the Arduino IDE.
-
|
|
#include <Wire.h> |
|
|
#include "rgb_lcd.h" |
|
|
|
|
|
rgb_lcd lcd; |
|
|
|
|
|
/* |
|
|
const int colorR = 255; |
|
|
const int colorG = 0; |
|
|
const int colorB = 0; |
|
|
*/ |
|
|
|
|
|
void setup() |
|
|
{ |
|
|
// set up the LCD's number of columns and rows: |
|
|
lcd.begin(16, 2); |
|
|
|
|
|
//lcd.setRGB(colorR, colorG, colorB); |
|
|
|
|
|
// Print a message to the LCD. |
|
|
lcd.print("hello, world!"); |
|
|
|
|
|
delay(1000); |
|
|
} |
|
|
|
|
|
void loop() |
|
|
{ |
|
|
// set the cursor to column 0, line 1 |
|
|
// (note: line 1 is the second row, since counting begins with 0): |
|
|
lcd.setCursor(0, 1); |
|
|
// print the number of seconds since reset: |
|
|
lcd.print(millis()/1000); |
|
|
|
|
|
delay(100); |
|
|
} |
|
|
|
|
|
/********************************************************************************************************* |
|
|
END FILE |
|
|
*********************************************************************************************************/ |
Attention
1** The library file may be updated. This code may not be applicable to the updated library file, so we recommend that you use the first two methods.
2** Since the Grove - 16 x 2 LCD series are all monochrome backlight, you need to comment out the RGB color related code. In the demo code above, i.e., line 6 and line 17.
- Step 4. Upload the demo. If you do not know how to upload the code, please check How to upload code.
วิธีการชำระเงิน
ชำระเงินค่าสินค้าโดยการโอนเงินเข้าบัญชีธนาคาร KBANK, SCB, BBL,TMB
กรุณาเก็บหลักฐานการโอนเงินของท่านไว้เพื่อแจ้งการชำระเงินด้วยค่ะ
ท่านสามารถแจ้งการชำระเงินผ่านระบบอัตโนมัติได้โดย Click Link ข้างล่างค่ะ
https://www.arduitronics.com/informpayment
ชำระเงินผ่านธนาคาร


@rfm0967y
ติดต่อสอบถาม
Join เป็นสมาชิกร้านค้า
MEMBER
