
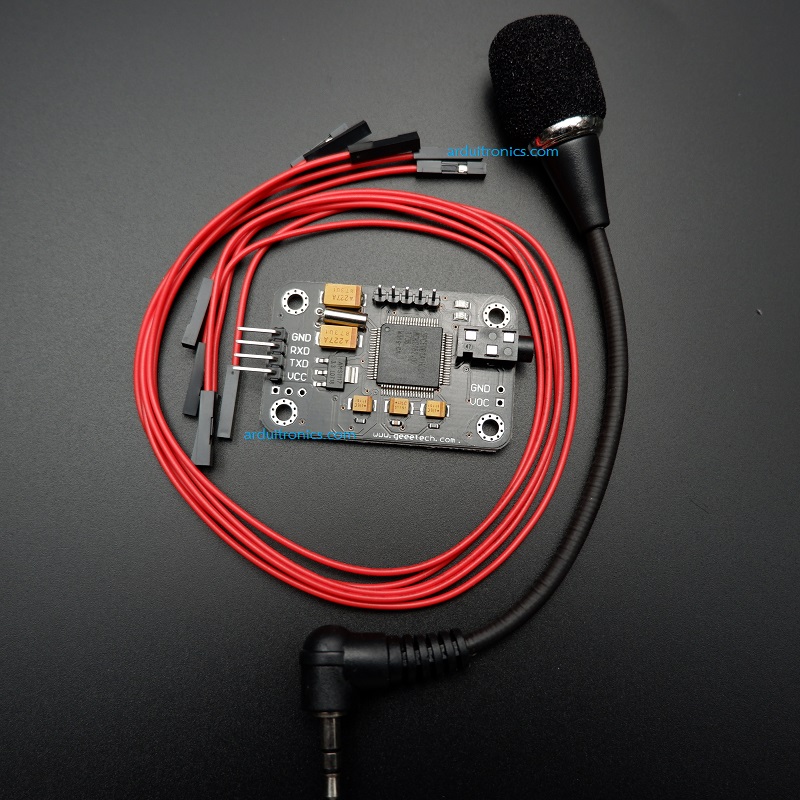
Voice / Speech Recognition Module (PCB สีดำ)


| รหัสสินค้า | AG20170 |
| หมวดหมู่ | Audio/Sound/MP3/Voice |
| ราคา | 1,180.00 บาท |
| สถานะสินค้า | พร้อมส่ง |
| จำนวน | ชิ้น |
หยิบลงตะกร้า

Tags : Voice Recognition Shield, Voice Recognition, Speech recognition, Speech, Voice Recognition Module, Easy VR
รายละเอียดสินค้า
โมดูลรู้จำเสียงพูดสำหรับใช้ในการควบคุมการเปิดปิดอุปกรณ์ไฟฟ้าผ่านทางเสียง
Introduction
In this tutorial you will learn how to use a voice recognition - serial - module with the Arduino uno board. This module can store up to 15 voice commands. Those are divided into 3 groups, with 5 commands in each group. First we should train the module with voice instructions group by group. After that, we should import one group before it could recognize the 5 voice instructions within that group.
If we need to implement instructions in other groups, we should import the group first. In this tutorial we will use an RGB LED and we will try to change the color of it with voice commands.
What you will need - Hardware
|
Recording
The first thing that we have to do is to record voice instructions/commands. Each voice instruction has the maximum length of 1300ms (1.3sec), which ensures that most words can be recorded. Once you start recording, you can’t stop the recording process until you finish all the 5 voice instructions/commands of one group. Also, once you start recording, the previous content of that group will be erased.
Download and extract AccessPort from here. This tool will allow us to send HEX commands to the voice recognition module.
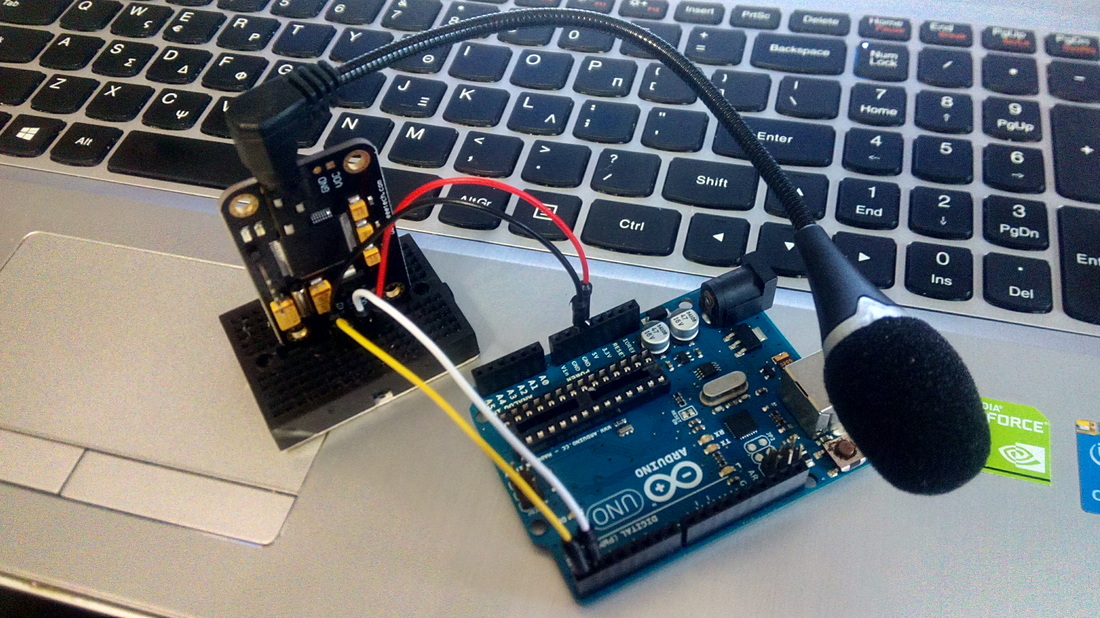
Connection between Arduino* and module for recording procedure:
Available commands:
Download and extract AccessPort from here. This tool will allow us to send HEX commands to the voice recognition module.
Connection between Arduino* and module for recording procedure:
- Module Vcc to Arduino 5V
- Module GND to Arduino GND
- Module RX to Arduino RX
- Module TX to Arduino TX
Available commands:
- Delete Group 1 - send hex AA 01
- Delete Group 2 - send hex AA 02
- Delete Group 3 - send hex AA 03
- Delete All Groups - send hex AA 04
- Record Group 1 - send hex AA 11
- Record Group 2 - send hex AA 12
- Record Group 3 - send hex AA 13
- Import Group 1 - send hex AA 21
- Import Group 2 - send hex AA 22
- Import Group 3 - send hex AA 23
- Query the recorded group - send hex AA 24
Let's get started with our voice commands!

click to re size
|
We will record the group 1 with 5 commands: White, Red, Blue, Green and OFF. Open AccessPort app and begin the serial communication at 9600 bps. (click on image). Now click on hex and type AA 11 and click the send button. This will start the recording procedure for the first group.
In this step, time is the key... You will be asked to record each command (white, red etc) three times. |
If you having troubles with this, try to read this manual. When recording is completed type and send AA 21.
Disconnect the voice recognition module from the Arduino uno board and proceed to next step.
Disconnect the voice recognition module from the Arduino uno board and proceed to next step.
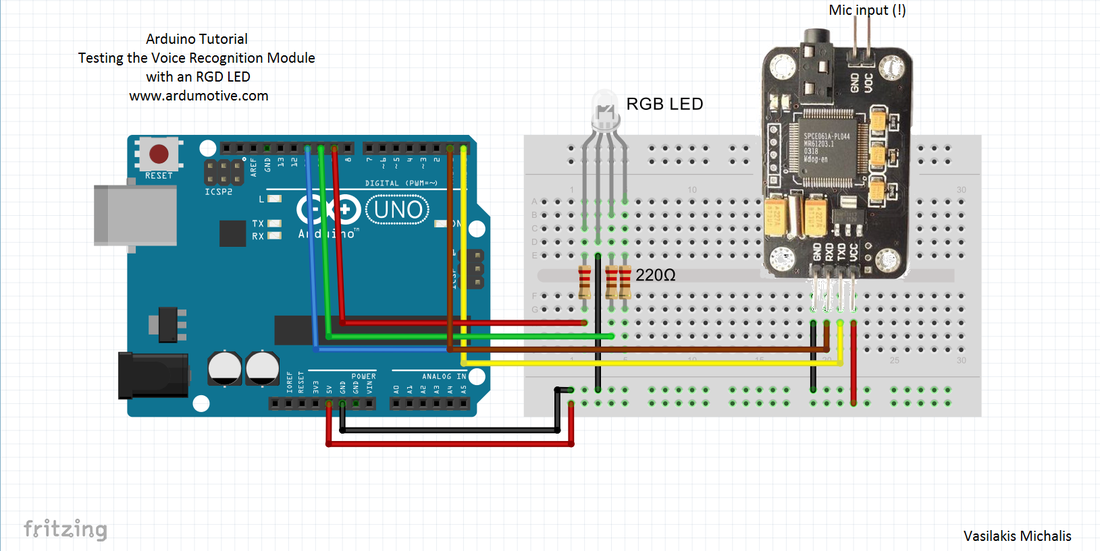
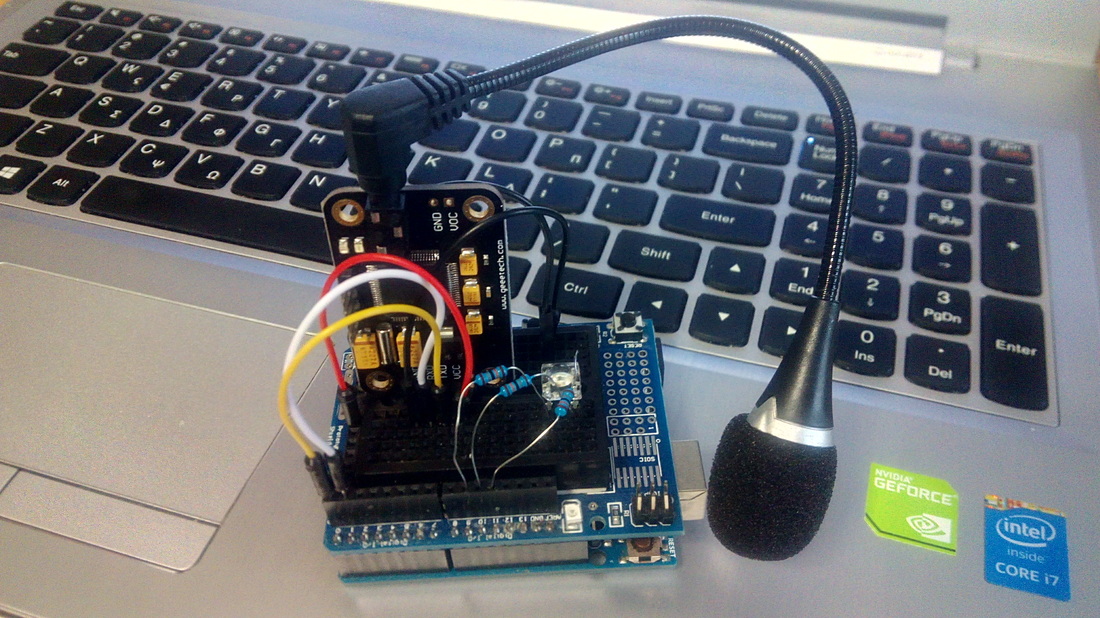
The Circuit
|
The connections are pretty easy, see the above image with the breadboard circuit schematic.
Note: Module RX - Arduino TX and Module TX - Arduino RX |
The code
1 2 3 4 5 6 7 8 9 10 11 12 13 14 15 16 17 18 19 20 21 22 23 24 25 26 27 28 29 30 31 32 33 34 35 36 37 38 39 40 41 42 43 44 45 46 47 48 49 50 51 |
int redPin = 9; // R petal on RGB LED module connected to digital pin 11 int greenPin = 10; // G petal on RGB LED module connected to digital pin 9 int bluePin = 11; // B petal on RGB LED module connected to digital pin 10 byte com = 0; //reply from voice recognition void setup() { Serial.begin(9600); pinMode(redPin, OUTPUT); // sets the redPin to be an output pinMode(greenPin, OUTPUT); // sets the greenPin to be an output pinMode(bluePin, OUTPUT); // sets the bluePin to be an output delay(2000); Serial.write(0xAA); Serial.write(0x37); delay(1000); Serial.write(0xAA); Serial.write(0x21); color(255,255,255); // turn RGB LED on -- white delay(5000); } void loop() // run over and over again { while(Serial.available()){ com = Serial.read(); switch(com){ case 0x11: color(255,255,255); // turn RGB LED on -- white break; case 0x12: color(255, 0, 0); // turn the RGB LED red break; case 0x13: color(0,255, 0); // turn the RGB LED green break; case 0x14: color(0, 0, 255); // turn the RGB LED blue break; case 0x15: color(0,0,0); // turn the RGB LED off break; } } } void color (unsigned char red, unsigned char green, unsigned char blue) // the color generating function { analogWrite(redPin, red*102/255); analogWrite(bluePin, blue*173/255); analogWrite(greenPin, green*173/255); } |
|
Download the code from here and open it with Arduino IDE.
|
|
||
Well done!
You have successfully completed one more "How to" tutorial and you learned how to use the voice recognition module. What next? Try to add more voice commands!
วิธีการชำระเงิน
ชำระเงินค่าสินค้าโดยการโอนเงินเข้าบัญชีธนาคาร KBANK, SCB, BBL,TMB
กรุณาเก็บหลักฐานการโอนเงินของท่านไว้เพื่อแจ้งการชำระเงินด้วยค่ะ
ท่านสามารถแจ้งการชำระเงินผ่านระบบอัตโนมัติได้โดย Click Link ข้างล่างค่ะ
https://www.arduitronics.com/informpayment
ชำระเงินผ่านธนาคาร


@rfm0967y
ติดต่อสอบถาม
Join เป็นสมาชิกร้านค้า
ร้านArduitronics
/www.arduitronics.com/
สมัครสมาชิกร้านนี้ เพื่อรับสิทธิพิเศษ
MEMBER
สินค้าในตะกร้า ({{total_num}} รายการ)

ขออภัย ขณะนี้ยังไม่มีสินค้าในตะกร้า
ราคาสินค้าทั้งหมด
฿ {{price_format(total_price)}}
- ฿ {{price_format(discount.price)}}
ราคาสินค้าทั้งหมด
{{total_quantity}} ชิ้น
฿ {{price_format(after_product_price)}}
ราคาไม่รวมค่าจัดส่ง
➜ เลือกซื้อสินค้าเพิ่ม